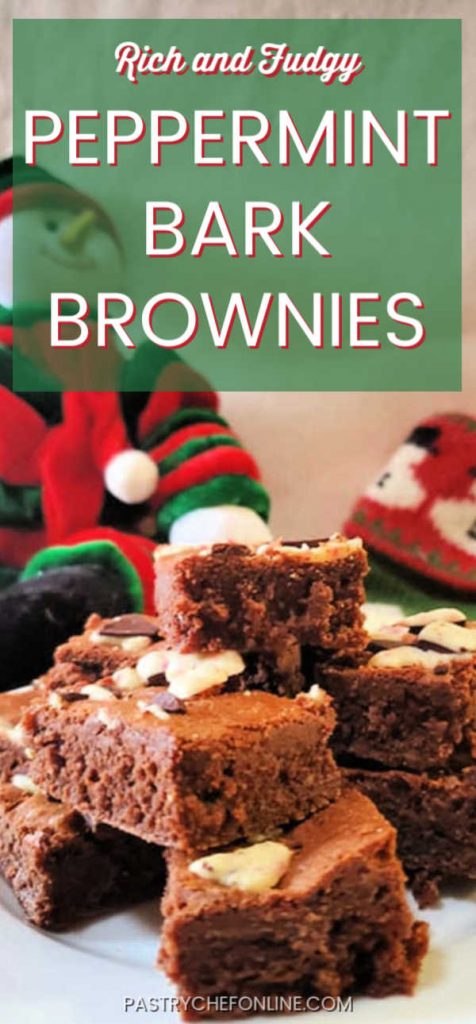
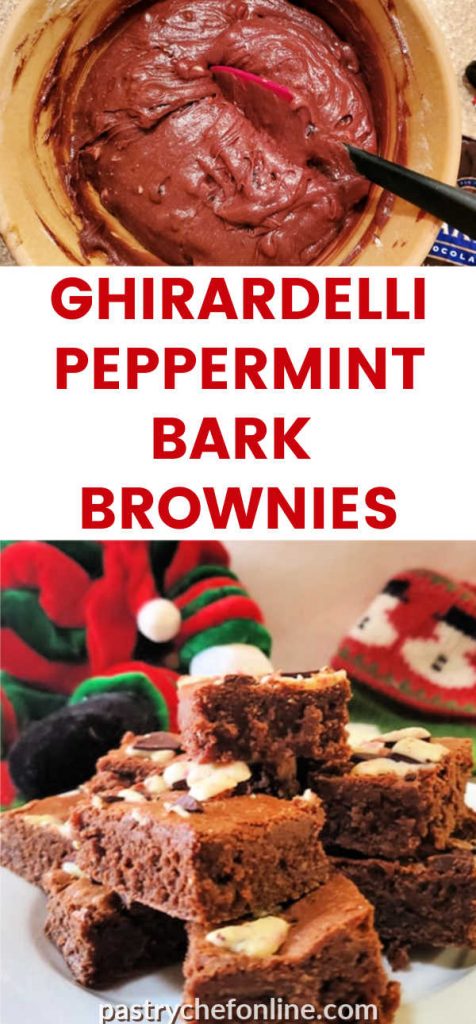
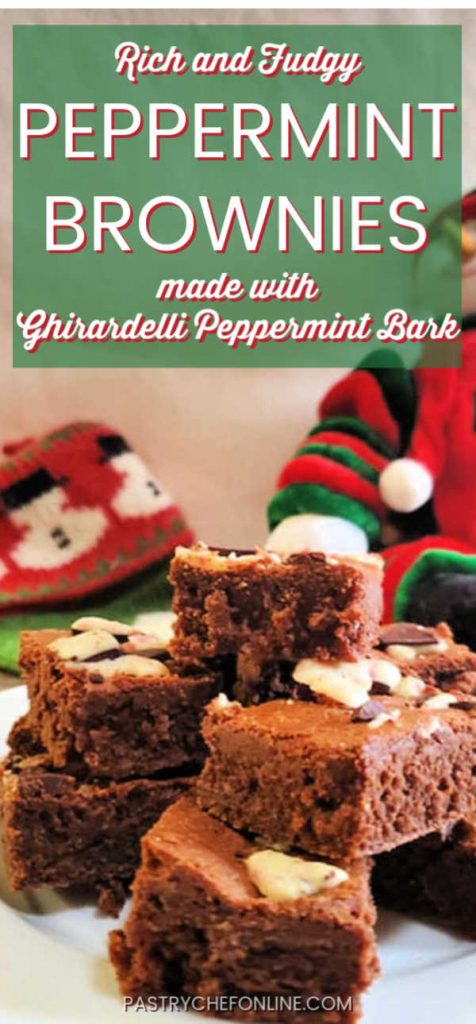
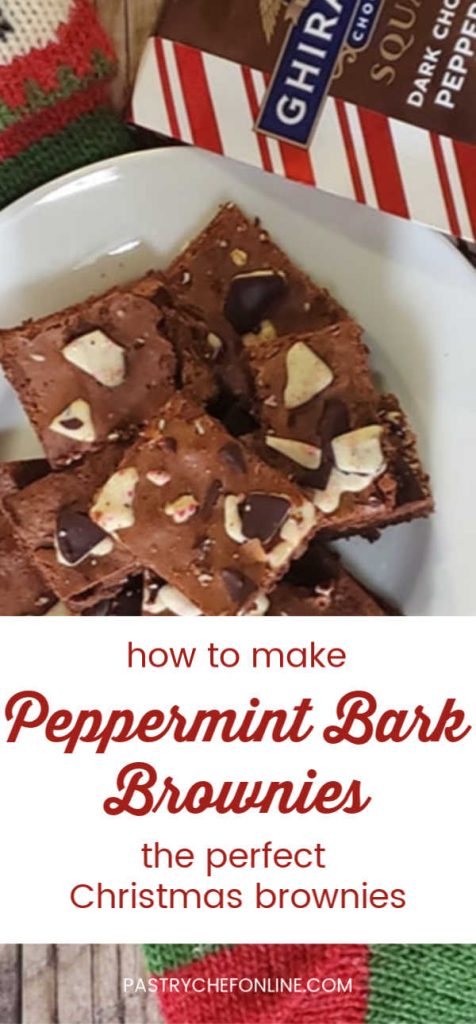
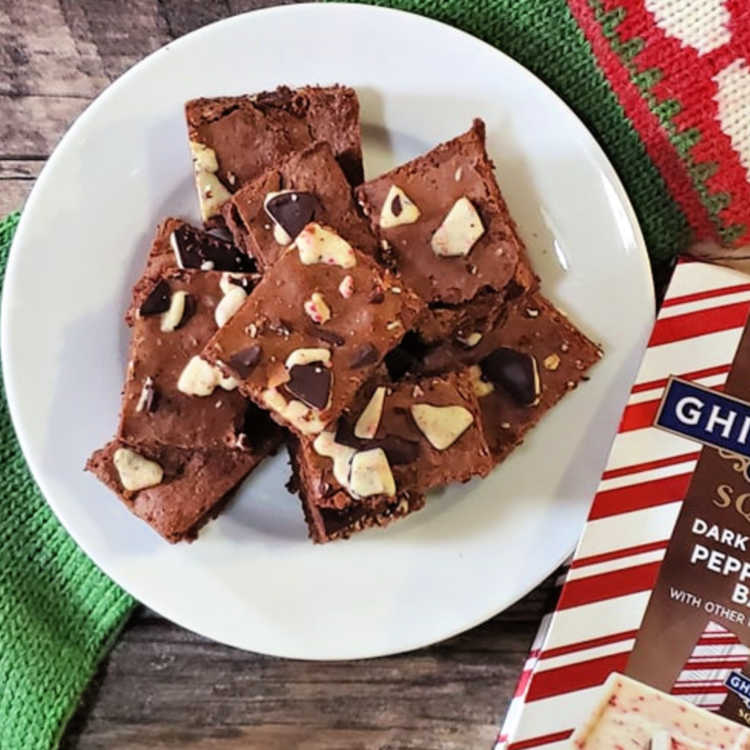
Y’all. If you’re a chocolate mint lover, you will be pleased to know that these Peppermint Bark Brownies are the perfect Christmas brownies!
Rich, fudgy, and minty with pieces of chopped Ghirardelli Peppermint Bark, they’re based on Nick Malgieri’s “Supernatural Brownies,” with a few extras. And they are spectacular!
Enjoy them with a cold glass of milk or with a comforting mug of beaten coffee. I hear Santa sometimes gets tired of cookies!
For ease of browsing, here are all of my cookie and bar recipes. Thanks for stopping by!
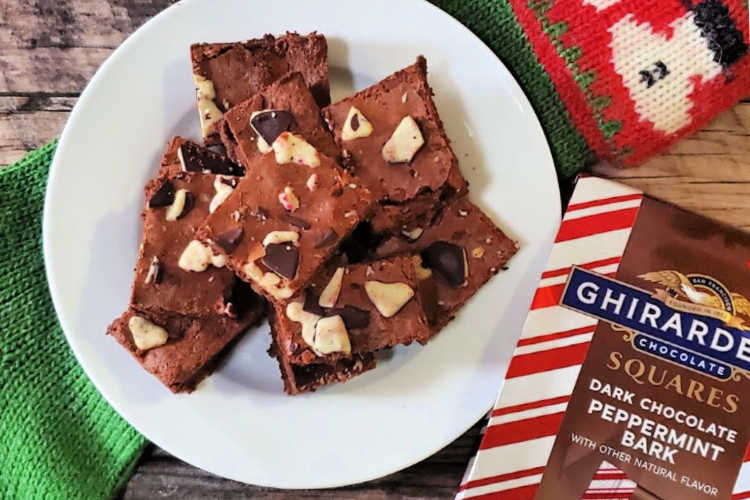
Absolutely delicious! I omitted the peppermint oil however, I did sprinkled some sea salt on top as suggested and one small, finely ground up candy cane for an extra peppermint flavor and it did not disappoint. Highly recommend this recipe if you love chocolate and peppermint.
Pinner S. Carroll
Mint and Chocolate
As I said at the beginning, I turn to mint and chocolate for a classic Christmas flavor combination.
You’ll find that pairing in my rich and fudgy chocolate peppermint crinkle cookies and in my peppermint brownie bark.
I am also a fan of the 1-2 punch of chocolate and mint in ice cream as well. I have two no-churn ice creams that fit the bill: Andes Mint Chip Ice Cream and Junior Mint Ice Cream. Both are so good, and no churn is so easy to make, too.
Pastry Chef Online Participates in Affiliate Programs. If you make a purchase through one of my links, I may earn a small commission. For more information click to read my disclosure policy
Credit Where Credit Is Due
For this recipe, I turned to Nick Malgieri’s wonderful book Chocolate: From Simple Cookies to Extravagant Showstoppers to use his “Supernatural Brownies” as the base for my chocolate peppermint extravaganza.
I had some store bought peppermint bark, and I had been seeking inspiration for how to use it.
Then lo and behold, a friend said she was making the Supernatural Brownies, and I was all “Hey, I have that book!” and a plan was born. Enter Ghirardelli Peppermint Bark Brownies!
Changes
To Nick’s base recipe, here are the changes I made:
- I added 6 drops of LorAnn Peppermint Oil to the batter. If you have peppermint extract, you may need to use more, but for the more concentrated oil, I found 6 drops to be my sweet spot.
- I added Ghirardelli Peppermint Bark (the dark chocolate kind, but you can use your favorite or even homemade bark) to the batter and melted some on top during the last 5 minutes of baking.
- I sprinkled a touch of grey sea salt over the top of the batter before baking, just for a little bit of salty sizzle in every bite or two.
What Makes This Recipe So Great

The brownies are deeply, richly chocolatey.
For my palate, the mint and chocolate is perfectly balanced.
The addition of finishing salt to the tops really makes the flavors sparkle.
Since they’re so nicely balanced, these aren’t just for kids. Adults will love them too.
You can serve them at room temperature for a gooey texture or chilled for a fudgy texture.
Warm them up, top them with peppermint ice cream, and you have the perfect holiday brownie sundae, too!
Tips for Success
- Melt the chocolate slowly. Start with 1 minute at full power, and then go in bursts of 30 seconds on medium power. This ensures that you won’t inadvertently burn your chocolate.
Make sure to stir the chocolate between bursts to make sure the chocolate is melting evenly. - Line the pan with parchment. It not only makes for easier cleanup, but it also allows you to pull the entire brownie out of the pan for easier slicing.
- Slice off the outer edges of the tray of brownies. This gives the cook a little treat to snack upon while letting making the prettiest squares for gifting.
Of course, if you like the crunchy edges or are giving these to folks who do, you don’t have to cut off the edges first. It’s totally up to you. - Wait to add the chopped bark on top. Add the chopped bark to the top of the brownies in the last few minutes of baking or the white chocolate will darken. It will still taste good, but the presentation isn’t as nice.
How to Make These Brownies
As with most brownies, these guys are pretty straightforward to make. You probably own most of the ingredients already, and it is 100% okay to use Ghirardelli bittersweet chocolate chips for the chocolate in this recipe. I did, and they turned out great.
What You Need
Here’s what you’ll need:
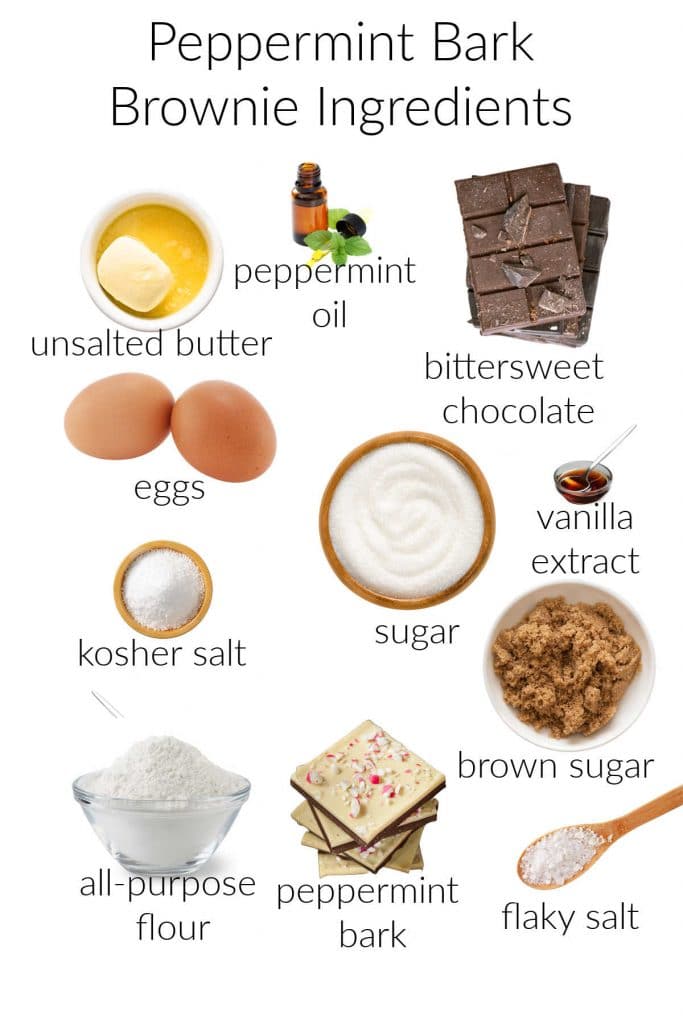
- unsalted butter: I prefer using unsalted butter because it’s fresher and I can also better control the amount of salt in the dish
- bittersweet or semisweet chocolate (your favorite or a blend of your favorites. Or good quality chips): you don’t need to use the highest quality chocolate here, but you do want one that you’d enjoy eating plain
- granulated sugar: for sweetness and gooeyness
- brown sugar: for additional depth of flavor and gooeyness. You could use all white sugar or all brown sugar, but the mix is really nice here
- eggs: for richness and liquid. The water in the whites makes up the bulk of the liquid in this recipe
- salt: necessary to counteract any bitterness and to bring all the flavors into focus. I use kosher salt in the brownie batter and a flaky finishing salt on top
- vanilla extract: vanilla and chocolate love each other. You could leave it out to have a stronger mint flavor, but I prefer the mellowness of the vanilla-mint combination with the white chocolate from the bark
- all purpose flour: you can sub bread flour for chewier brownies. Dont’ use cake flour or your brownies won’t have enough structure and might fall apart
- peppermint oil: you can sub peppermint extract, but you will need to use more than you would if you were using oil. Start with 1/2 teaspoon, taste, and go from there
- peppermint bark: both chopped up in the batter and more for the top
What to Do
If you’ve read my blog before, you may know I’m pretty keen on mixing methods.
The mixing method for my favorite type of brownie (dense, moist, fudgy, gooey) is called the dissolved sugar method. It’s the same method I use in my chocolate stout cake with burnt caramel buttercream.
Here are the basics:
- Mix sugar with liquid (usually at least partly liquid fat)
- Mix in eggs
- Mix in dry ingredients
- Mix in any additional liquid
To apply that to these brownies, here’s how you do it:
- Melt the butter and chocolate together
- Whisk together the eggs, sugars, peppermint oil, and vanilla
- Whisk egg mixture into the chocolate mixture.
- Fold in the flour and chopped peppermint bark.
I took some process shots to illustrate some of this for you.
Would you like to save this post?
Making Peppermint Bark Brownies, Step by Step in Photos (Well, Most Steps, Anyway)
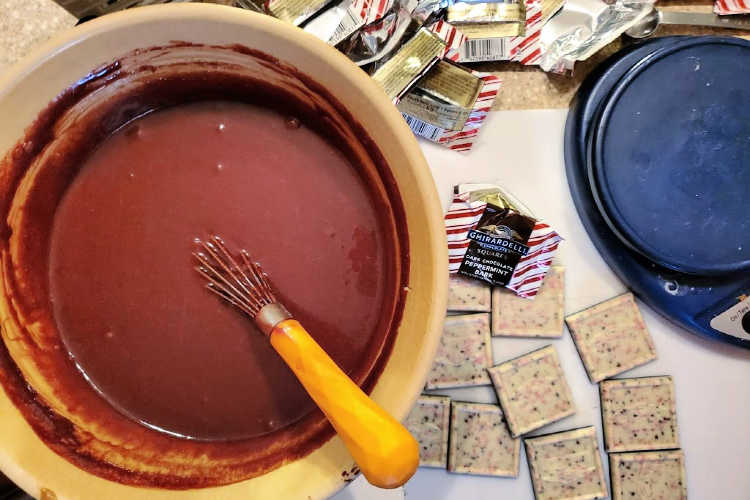
Melt the the butter and chocolate together in the microwave. Start with 1 minute on full power, then stir.
Next, use medium power, 30 seconds at a time, stirring in between, until the butter and chocolate is completely melted.
In another bowl, whisk the eggs, granulated sugar, brown sugar, peppermint oil, and vanilla extract.
What you see in the photo above is those two mixtures–the butter/chocolate and the egg/sugar–whisked together.
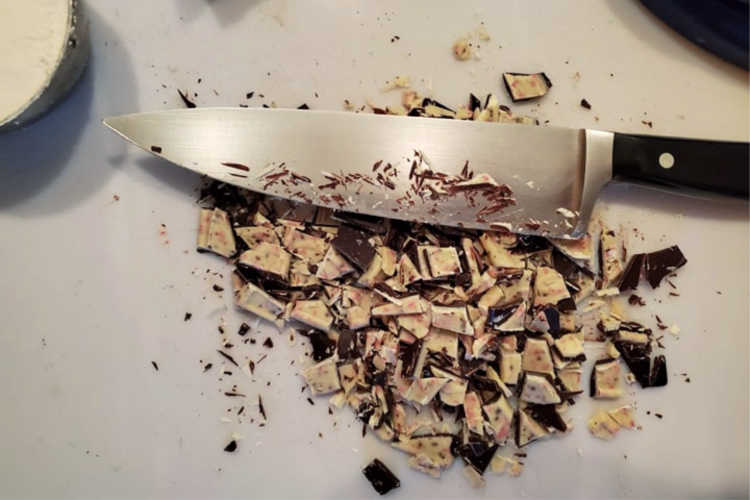
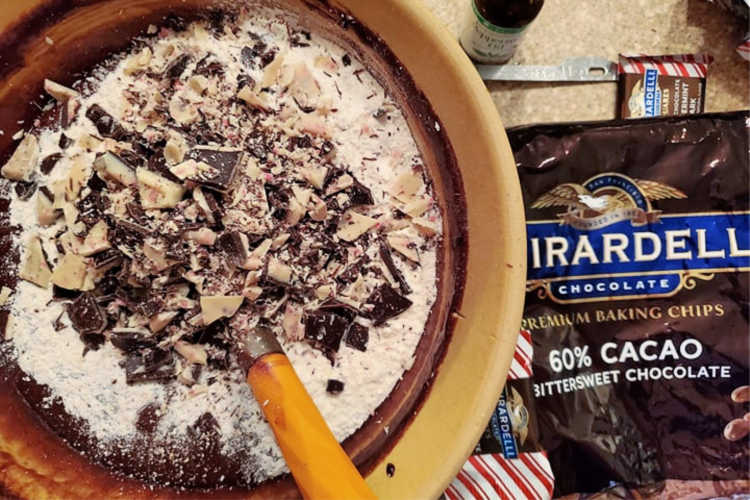
Once you chop your chocolate, you can add it and the flour at the same time.
If you add the flour, mix it in, and then add the peppermint bark and mix in, you run the risk of over-mixing the batter and ending up with dry brownies. Nobody wants that.
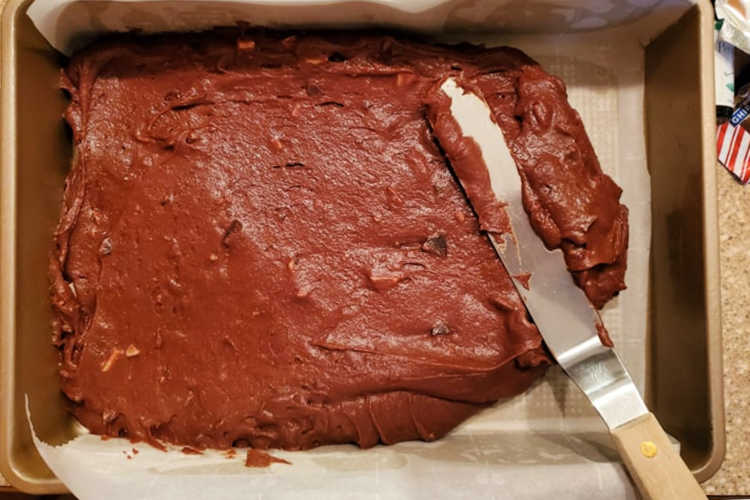
Prepare your 9 x 13 pan by spraying it with pan spray and lining it with parchment, then spread the rich, thick batter in the pan.
Look how thick and luscious!
After spreading the batter, sprinkle on a touch of your favorite finishing salt. This is optional, but I love the sparkle even a tiny bit of finishing salt lends to chocolate desserts.
Bake at 350F and add some more chopped peppermint bark to the top of the brownies during the last 5 minutes of baking.
This gives the chocolate a chance to melt so it adheres to the brownies without baking so long that the creamy white chocolate caramelizes and turns beige.
Once you bake them, Nick suggests cooling them, chilling them, and then trimming the edges. This does two things:
- it makes them super pretty for gifting
- it allows you to eat all the trimmings
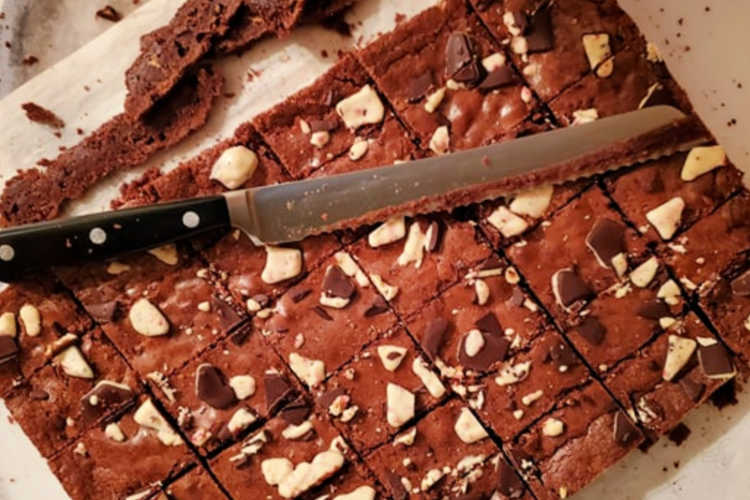
I only trimmed maybe 1/4″ off each side of the pan, and then I sliced them into 36 pieces using a serrated knife.
Brownie Making Q&A
No. Since chocolate has different proportions of fat to solids than cocoa powder, you can’t really swap one for the other. If you want to use some cocoa powder in the batter along with the melted chocolate, feel free to substitute 2 tablespoons of cocoa powder for 2 tablespoons of the all purpose flour called for.
Yup. You can freeze them uncut or slice them first and then freeze them. Wrap them in 2 layers of plastic wrap and then freeze them in zip top bags for up to 3 months. Thaw them, still wrapped, in the fridge overnight and then put them on the counter to come to room temperature before unwrapping.
Nick Malgieri suggests wrapping brownies individually in plastic wrap and then storing them at room temperature in a tight-sealing container. Storing in the fridge also works. I just cover the pan tightly with aluminum foil and let each brownie come to room temperature as I need it. But they’re also really good cold!
Easy! Just warm them slightly in the microwave, top with a scoop or two of your favorite ice cream, and then douse them in either the best hot fudge sauce in the world or my quick hot fudge sauce. Don’t forget to hand whip some cream as the crowning glory.
Of course not! Leave out the peppermint oil and then your mix-ins are limited by your imagination. Add chopped toasted nuts, chocolate chips, chopped up candy bars, pretzels, etc. Make them your own, and enjoy every bite!
You Gotta Love a Good Brownie
And I am quite the brownie fan. They’re easy to make, they usually make a ton so they’re good for sharing, and there are so many ways to vary the flavor.
For example, I won a contest with these strawberry balsamic swirl brownies, and I use the exact same base to make my “Sachertorte Brownies” or apricot brownies.
These Mocha Brownies with Toasted Pecans and Raspberry Cheesecake Brownies also call to me.
And if you love crispiness, give my peppermint brownie brittle a try. That stuff is really good!
Let’s Make These Guys
A Note About Measurements
Don't let its small price and small size fool you. The Escali Primo is an accurate and easy-to-use food scale that I have used for years. It's easy to store, easy to use, has a tare function, and easily switches between grams and ounces/pounds for accurate measurements.
It will help me and other readers so much if you take a moment to rate and leave a review for this recipe.
You can use the stars to rate 1-5 (5 is best), and leave a review in the comments. It helps me make adjustments if any are needed, and comments help others decide whether the recipe is worth making.
Other ways to share include pinning, and/or sharing on your favorite social media platform.
Thank you so much for taking the time!

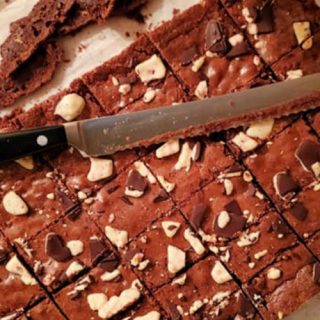
Ghirardelli Peppermint Bark Brownies
Would you like to save this post?
Equipment
Ingredients
- 2 sticks 8 oz unsalted butter
- 8 oz by weight bittersweet chocolate or chocolate chips
- 4 large eggs
- ½ teaspoon fine sea salt
- 1 cup granulated sugar
- 1 cup packed dark brown sugar
- 2 teaspoons vanilla extract
- 6 drops LorAnn peppermint oil
- 12 squares Ghirardelli Dark Chocolate Peppermint Bark chopped
- 1 cup all purpose flour measured by whisking, spooning, and sweeping
- ¼ teaspoon flaky finishing salt optional but lovely
- 6 squares Ghirardelli Dark Chocolate Peppermint Bark chopped
Instructions
- Preheat your oven to 350F with a rack in the center.
- Spray a 9 x 13" pan with pan spray and line with parchment paper. Set aside.
- Melt the chocolate and butter together either in the microwave. Microwave on high for 1 minute. Stir, then microwave on medium power in 30 second bursts, stirring in between, until all the chocolate and butter is melted. Set aside.
- Whisk together the eggs, salt, granulated sugar, dark brown sugar, vanilla, and peppermint oil.
- Whisk the egg/sugar mixture into the chocolate/butter mixture until smooth.
- Chop the first amount of peppermint bark into small pieces.
- Add the flour and the chopped bark to the batter and fold until combined.
- Scrape the batter into the prepared pan and spread evenly with an offset spatula.
- (Optional) Sprinkle the finishing salt evenly over the brownie batter.
- While the brownies are in the oven, chop the second amount of peppermint bark.
- Bake for about 35 minutes if you like your brownies a bit gooey or 40 if you like them a bit firmer.
- Sprinkle the chopped bark over the hot brownies and return to the oven for 5 minutes.
- Remove and let cool on a rack. Once at room temperature, chill in the freezer for about 20 minutes to make them easier to slice.
- Use the parchment to lift out the brownies onto a cutting board. Trim the edges (or not) and slice into the desired number of pieces.
- Store, well-wrapped, at room temperature or in the fridge for up to 5 days or freeze for up to 3 months.
Did You Make Any Changes?
Notes
Nutrition

Hi, y’all! I hope you’ve enjoyed this post and hopefully also learned a thing or two.
If you like my style, I invite you to sign up for my occasional newsletter, The Inbox Pastry Chef.
Expect updates on new and tasty recipes as well as a bit of behind-the-scenes action. I hope to see you there!
Thank you for spending some time with me today. Enjoy the brownies, take care, and have a lovely day.


Join in Today!
