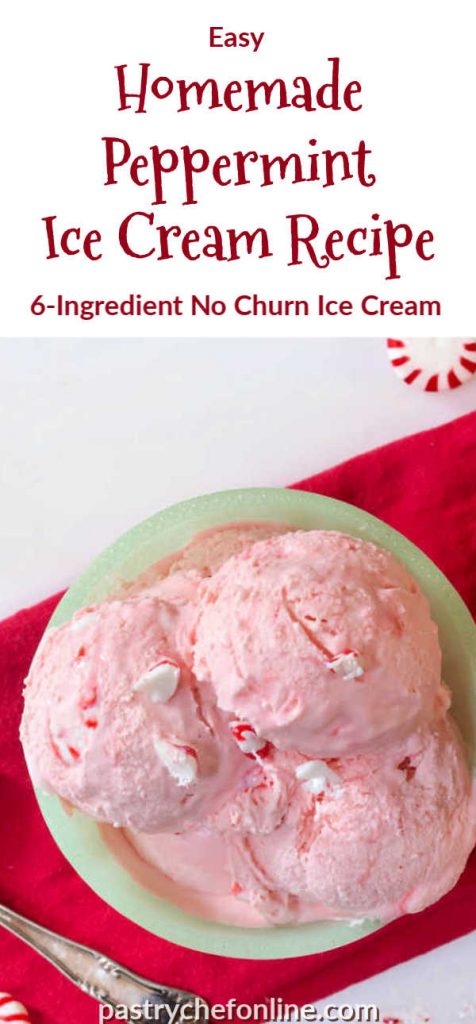
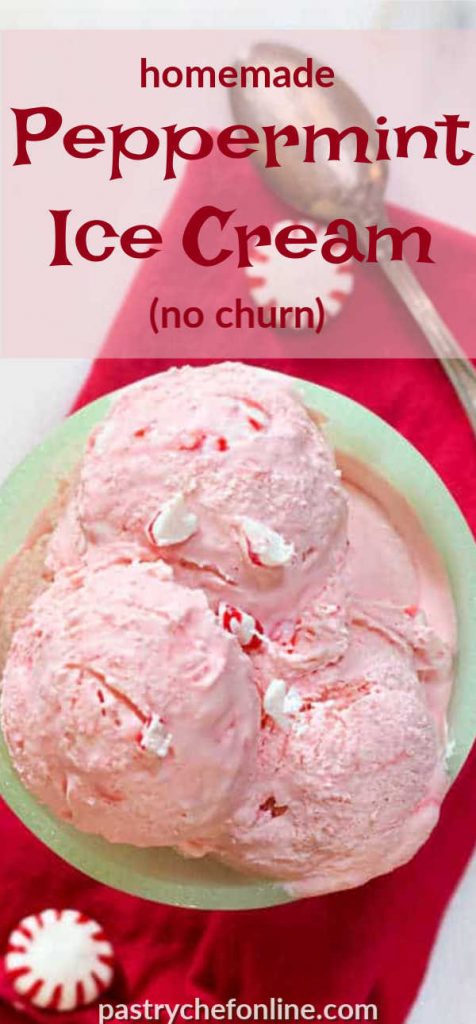
I am so happy to be able to bring you guys this peppermint ice cream recipe, friends. I love it, especially during the holidays, and since I couldn’t find any at the store this year, I decided to make my own homemade peppermint ice cream.
As a bonus, it’s also a no-churn recipe for those of you who don’t have an ice cream maker. You may also enjoy my Andes mint chip ice cream or my Junior Mint ice cream. Both of them are also no churn.
For ease of browsing, here are all my ice cream recipes in one place.
Pastry Chef Online Participates in Affiliate Programs. If you make a purchase through one of my links, I may earn a small commission. For more information click to read my disclosure policy
Peppermint Ice Cream, At a Glance
✔️Skill Level: Beginner
✔️Skills: Crushing candies, whipping cream, freezing
✔️Type: Ice Cream
✔️Number of Ingredients: 6
✔️Prep Time: 10 minutes
✔️Freezer Time: 6 hours
✔️Yield: 8 servings
Jump Straight to the Recipe
Why Is It So Hard to Find Peppermint Ice Cream in Stores?
Man, I wish I knew. I know it’s generally only a holiday treat, but even right around Christmas, I couldn’t find any this year. At all.
The good news is that homemade peppermint ice cream is very easy to make. And it really does taste exactly like the store-bought kind. Plus you know exactly what you’re putting in it, or not putting in it.
When you do make this recipe, it will help me and other readers if you:
✅Rate the recipes using the stars in the recipe card
✅Leave a review when prompted in the recipe card (If it’s a positive review, and I hope it is, I’ll use it in the post as social proof)
✅Leave a comment on the post
Thank you so much!
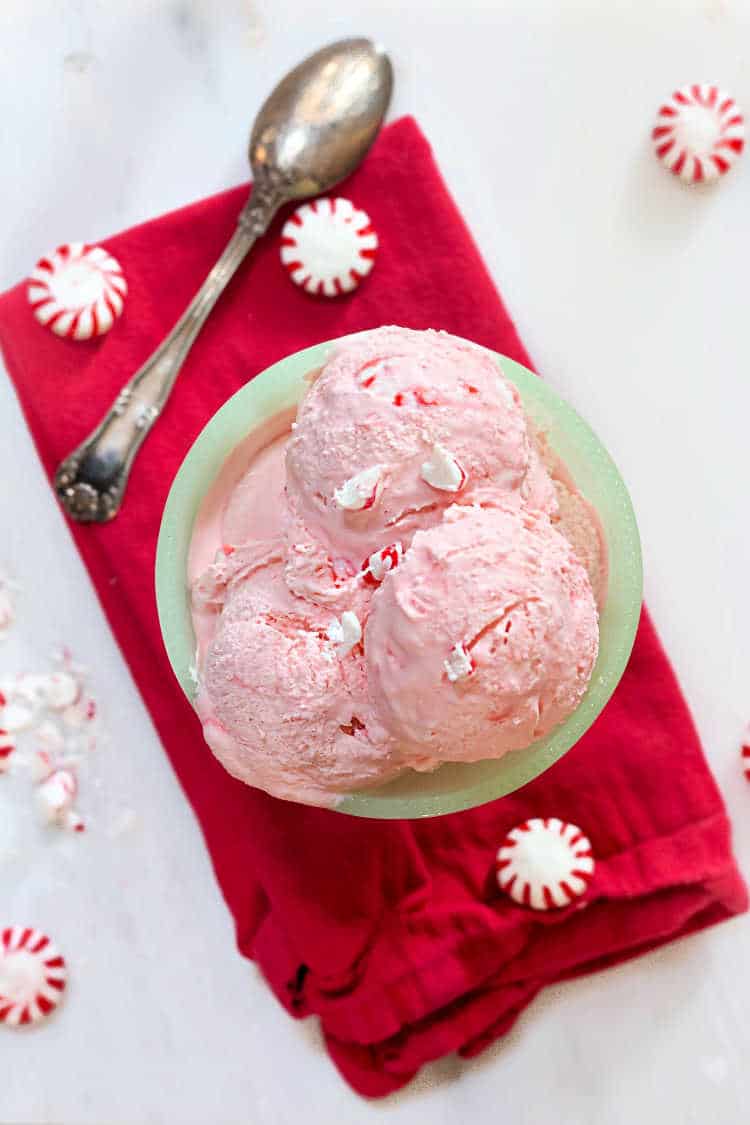
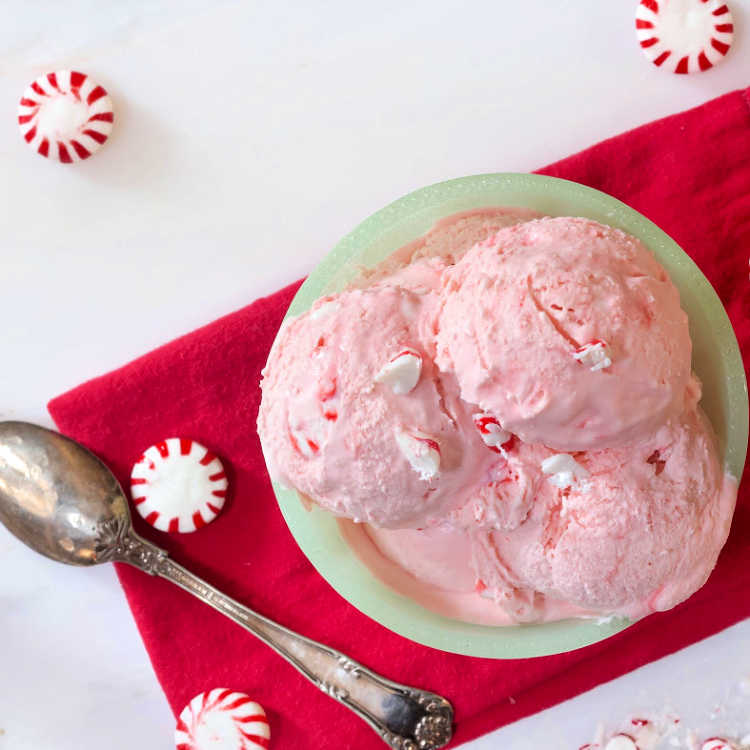
For example, you don’t have to use red food coloring if you don’t want. I love the almost bubblegum pink color, and it reminds me of the kind I used to be able to find in the stores.
It’s your call whether you want to add it or not–it will still taste the same. Or you could opt for a natural red coloring instead.
If you know you want to make this recipe, you can go ahead and jump straight to it. Otherwise, I’ll go over the ingredients and procedure for those who are unfamiliar with making no-churn ice cream.
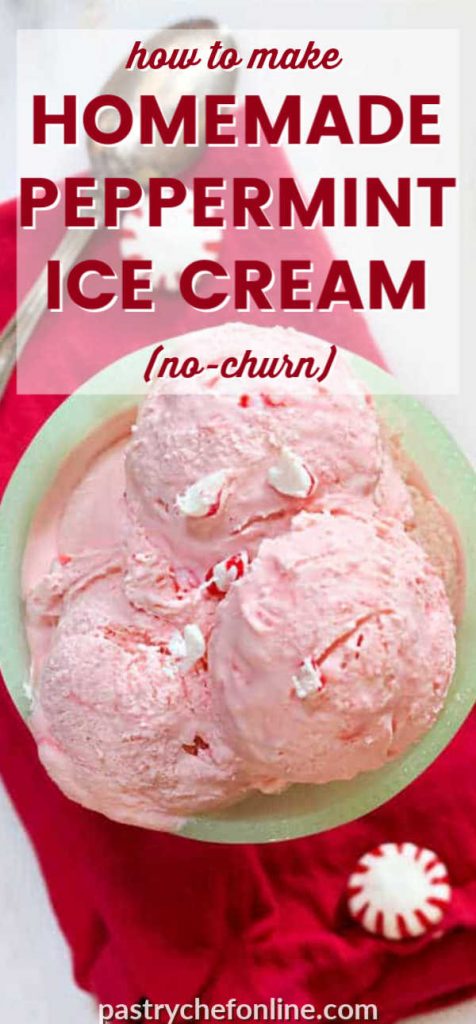
How to Make No Churn Peppermint Ice Cream
As I’ve said before, it is really easy to make no-churn ice cream, and this minty pink version is no exception.
What You’ll Need
Here’s the very short list of ingredients:
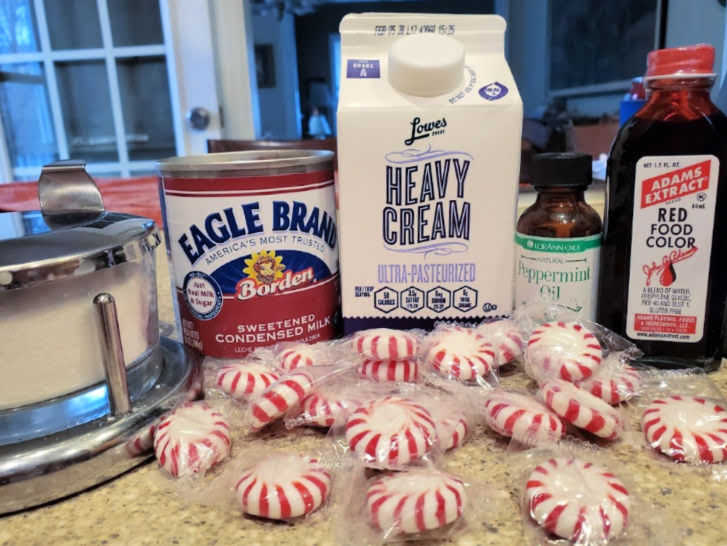
- heavy cream: for volume and air-trapping butterfat. Do not substitute with half and half, although you can sub regular whipping cream for the heavy cream
- sweetened condensed milk: provides the right amount of sweetness without adding too much extra liquid so your ice cream is creamy and not icy
- peppermint oil (or peppermint extract): flavor, baby! You’ll only need a few drops of oil, but you may need up to 1/2 teaspoon of peppermint extract
- red food coloring: completely optional. Use it sparingly so you end up with a light pink color
- salt: balances the sweetness and brings out the flavor in the cream.
- crushed peppermints such as Starlight mints or candy canes
Procedure
Most no-churn ice cream recipes start off the same way:
Whip together 2 cups (1 pint) heavy cream and 1 14oz can sweetened condensed milk to medium stiff peaks.
The more I work with no-churn ice cream, the more I have refined my approach.
I now do two things differently than the standard:
Would you like to save this post?
- Chill the can of sweetened condensed milk overnight so it’s the same temperature as the cream. The foam you whip up will be more stable if all your ingredients are cold.
- Whip the mixture only until it thickens to the consistency of melted ice cream. If you whip it to medium-stiff peaks, when it warms up, it won’t melt like regular ice cream. It will pretty much just turn into whipped cream. By “under-whipping,” you get a denser foam and it will melt more like standard churned ice cream without sacrificing any mouthfeel. And I promise your mixins won’t sink to the bottom.
So, my new “universal no churn ice cream procedure” now looks like this:
Whip together cold sweetened condensed milk and heavy cream until it’s the consistency of thick melted ice cream.
Here are all the steps to make your ice cream:
- Crush 20 hard peppermint candies. Set aside.
- Put cold cream, cold sweetened condensed milk, salt, red food coloring, and 4 drops peppermint oil in the bowl of your
stand mixer or in a glass bowl (if you’re using a hand mixer). - Whip until the mixture is the consistency of thick melted ice cream. You’ll know you’re there when the whip starts leaving tracks in the cream.
- Add a touch more food coloring if you want it pinker. NOTE: color will intensify for a few hours, so be conservative unless you want bright pink ice cream.
- Add the crushed candies and whip for just a few seconds to distribute them evenly.
- Taste. Add another drop or 2 of mint oil if you want more mint flavor.
- Scrape the mixture into a prepared container.
- Press plastic wrap onto the top of the ice cream and freeze until solid, about 4-6 hours.
Here’s the short version, in photos:
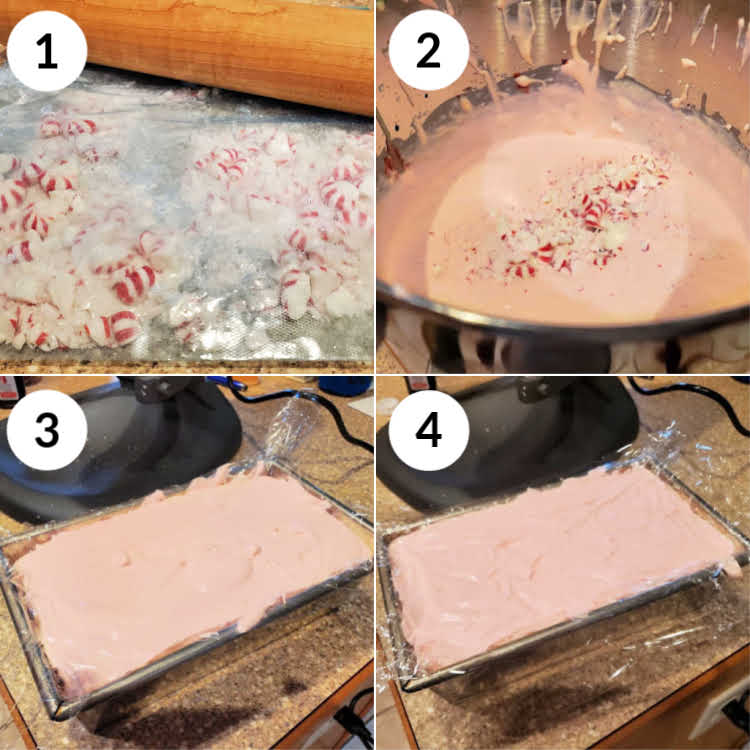
- Crush the mints. I put them in a heavy-duty zip-top bag and whacked them with my rolling pin.
- Whip up all the ingredients and add the crushed mints.
- Pour/scrape into a container. I lined a loaf pan with plastic wrap.
- Press plastic onto the top of the ice cream mixture and freeze solid.
Mint Ice Cream Variations
If you’re a fan of minty ice cream but don’t want to use/don’t have hard peppermint candy, here are a few ways to vary the recipe so you can still get your minty fix:
- cut up peppermint brownies into small pieces and fold them in before pouring them into your container
- cut up squares of peppermint bark or my peppermint brownie brittle and use that instead of hard candy
- Make a pink version of my Andes mint chip ice cream by folding in Andes baking chips
Time to get to it. I usually tell you guys to buy a scale, but with no-churn ice cream, the two main ingredients come helpfully pre-measured right out of the gate. (Still, if you don’t have a kitchen scale, please consider getting one.)
More Minty Desserts
Want mint in cake form? Try my chocolate sheet cake with mint Italian buttercream. It’s pretty dreamy!
If you’re feeling nostalgic, these homemade thin mint cookies will definitely fit the bill.
And if you like to drink your minty goodness, consider this peppermint shake.
Note you can turn your ice cream into a shake by adding a bit of milk and blending it up, too!
Questions?
If you have any questions about this post or recipe, I am happy to help.
Simply leave a comment here and I will get back to you soon. I also invite you to ask questions in my Facebook group, Fearless Kitchen Fun.
If your question is more pressing, please feel free to email me. I should be back in touch ASAP, as long as I’m not asleep.
It helps me and other readers so much if you take a moment to rate and review this recipe.
Your star rating and comments help others decide whether the recipe is worth making, and your feedback helps me continue improving recipes here at Pastry Chef Online.
Other lovely ways to share include pinning or posting on your favorite social media platform.
Thank you so much for taking the time!

Peppermint Ice Cream Recipe
Don't forget to chill your can of sweetened condensed milk before using!
Video
Equipment
Ingredients
- 14 oz can sweetened condensed milk 1 grocery-sized can in the US, or 397 grams
- 20 Starlight mints coarsely crushed
- 1 pint heavy whipping cream 454 grams, 16 oz, or 2 cups
- ⅛ teaspoon fine salt
- 4-8 drops peppermint oil to taste
- 4-5 drops red food coloring optional
Instructions
- The Day Before
- Put the can of sweetened condensed milk in the refrigerator. You want it cold for when you whip it with the cream.
- To Make the Ice Cream
- Put the mints in a heavy duty zip top bag and crush them with a rolling pin or a meat pounder. Some will be in pieces, and you’ll also end up with a lot of super fine peppermint "sand." Set it all aside.
- In a large glass bowl or in the bowl of your stand mixer fitted with the whip attachment, pour the cold sweetened condensed milk, heavy cream, the salt, 4 drops peppermint oil, and 2-3 drops of red food coloring.
- Whip everything until the whip leaves tracks in the cream and it’s about the consistency of thick melted ice cream (see Video).
- Add 2-3 additional drops of red food coloring if you think it needs it. Quickly blend it in.
- Pour in all the crushed candies and "peppermint sand" and whip for about 5 seconds to distribute evenly.
- Taste the mixture and add an additional 1-3 drops of peppermint oil for a stronger mint flavor. Do this to taste, 1 drop at a time.
- Scrape your ice cream into a container (I use a plastic wrap-lined loaf pan).
- Press plastic wrap directly onto the surface of the ice cream and freeze until firm all the way through, 4 to 6 hours.
- Serve and enjoy.
Did You Make Any Changes?
Notes
Nutrition
Would you like to save this post?

Hi, y’all! I hope you’ve enjoyed this post and hopefully also learned a thing or two.
If you like my style, I invite you to sign up for my occasional newsletter, The Inbox Pastry Chef.
Expect updates on new and tasty recipes as well as a bit of behind-the-scenes action. I hope to see you there!

Thanks so much for spending some time with me today. Enjoy the ice cream.
Take care, y’all.


Join in Today!