Hi, friends! Today I have made you some chocolate peppermint crinkle cookies! They’re gluten-free, rich and fudgy, just pepperminty enough, and filled with tiny pieces of Ghirardelli Dark Chocolate Peppermint Bark. Let’s talk a bit about how I made them and then get on with the recipe.
If you are all about chocolate and peppermint, you may enjoy my chocolate peppermint brownie brittle or peppermint bark brownie recipes. And if you dig chocolate but want to skip the mint, you may love this chocolate chocolate chip shortbread.
For ease of browsing, here are all of my cookie and bar recipes. Thanks for stopping by! Now let’s get into these cookies, shall we?
Pastry Chef Online Participates in Affiliate Programs. If you make a purchase through one of my links, I may earn a small commission. For more information click to read my disclosure policy
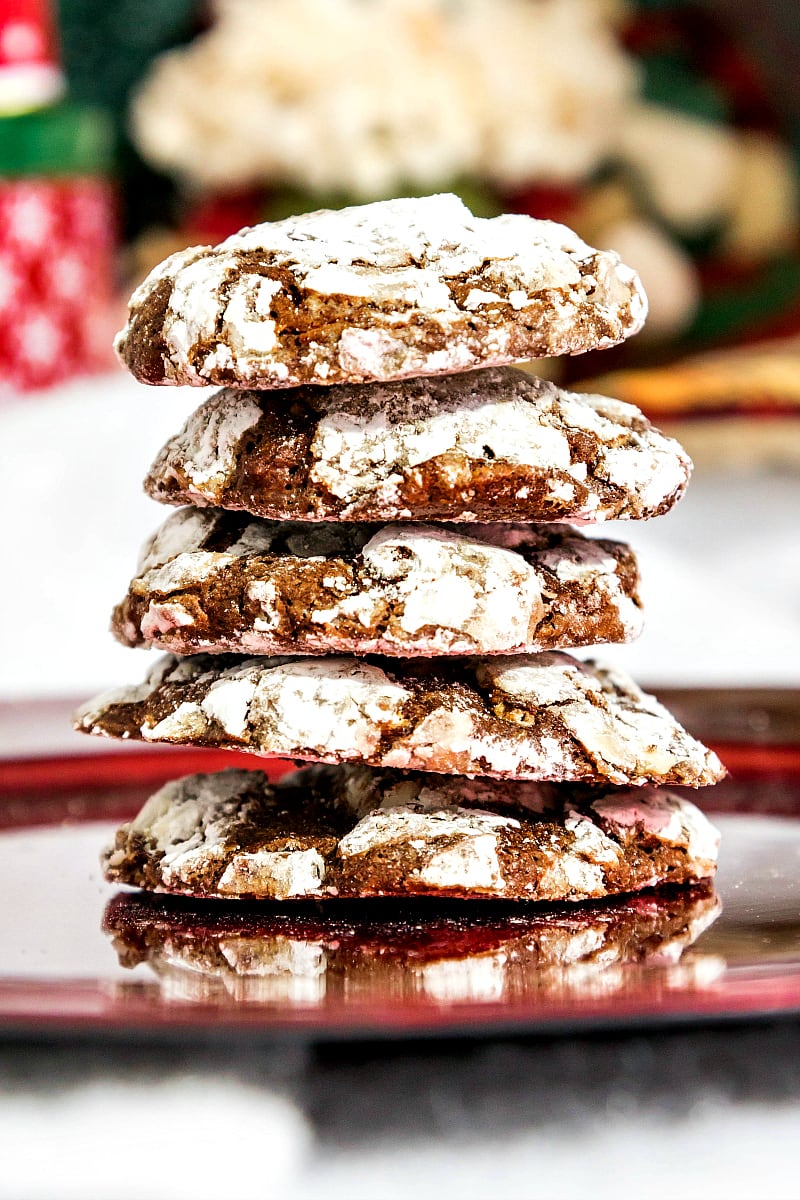
Chocolate Mint Crinkle Cookies, At a Glance
✅Skill Level: Beginner/Intermediate
✅Skills: Melting Chocolate, Whipping Eggs, The Egg-Foam Method
✅Type: Shaped Cookies
✅Number of Ingredients: 10
✅Prep Time: 30 minutes
✅Chill Time: 45 minutes
✅Cook Time: 13 minutes
✅Yield: 24 cookies
Jump Straight to the Recipe
I now make these several times over the holidays. People ask me for them. They are that good. They are not just for holiday baking but anytime you need/want a fudgy peppermint treat.
Reader Melinda
What Makes These The Best?
I researched a lot of crinkle cookie recipes while developing this one.
I wasn’t concerned about the peppermint portion since all I needed for that was peppermint oil and my inspiration in the first place: the bars of Ghirardelli Dark Chocolate Peppermint Bark I bought at the store the other day.
I think I’ve hit on the perfect formula, too. Here’s what’s so great about these:
- They contain zero wheat flour which not only keeps them gluten free, but also ensures deep, fudgy flavor
- They have a combination of melted bittersweet chocolate and cocoa powder for intense chocolate flavor that is not too sweet
- They are nice and moist with no hint of dryness. So good
- Almond flour yields a gluten-free cookie that has zero chalkiness or grittiness
- Peppermint oil yields plenty of peppermint flavor without overpowering the chocolate
- biting into little pockets of peppermint bark takes these cookies over the top, especially when served slightly warm
- double-rolled in powdered sugar to ensure lovely contrast between the deep, chocolatey cracks and the white coating
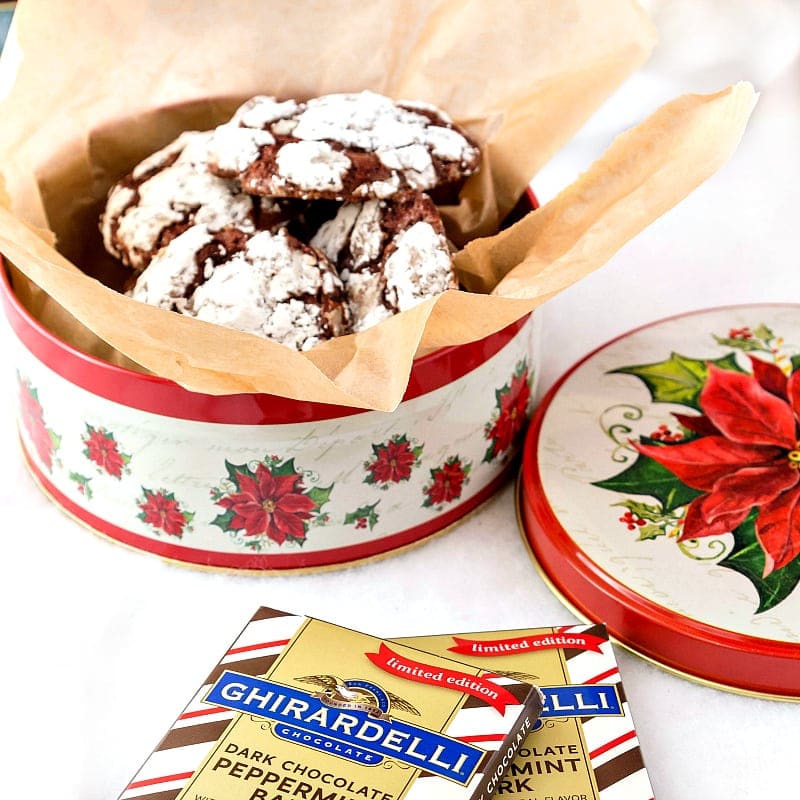
How to Make These Guys
These cookies truly are easy to make. There is a process of course, but it’s all very straightforward.
Ingredients
Here’s a quick rundown on the ingredients you’ll need:
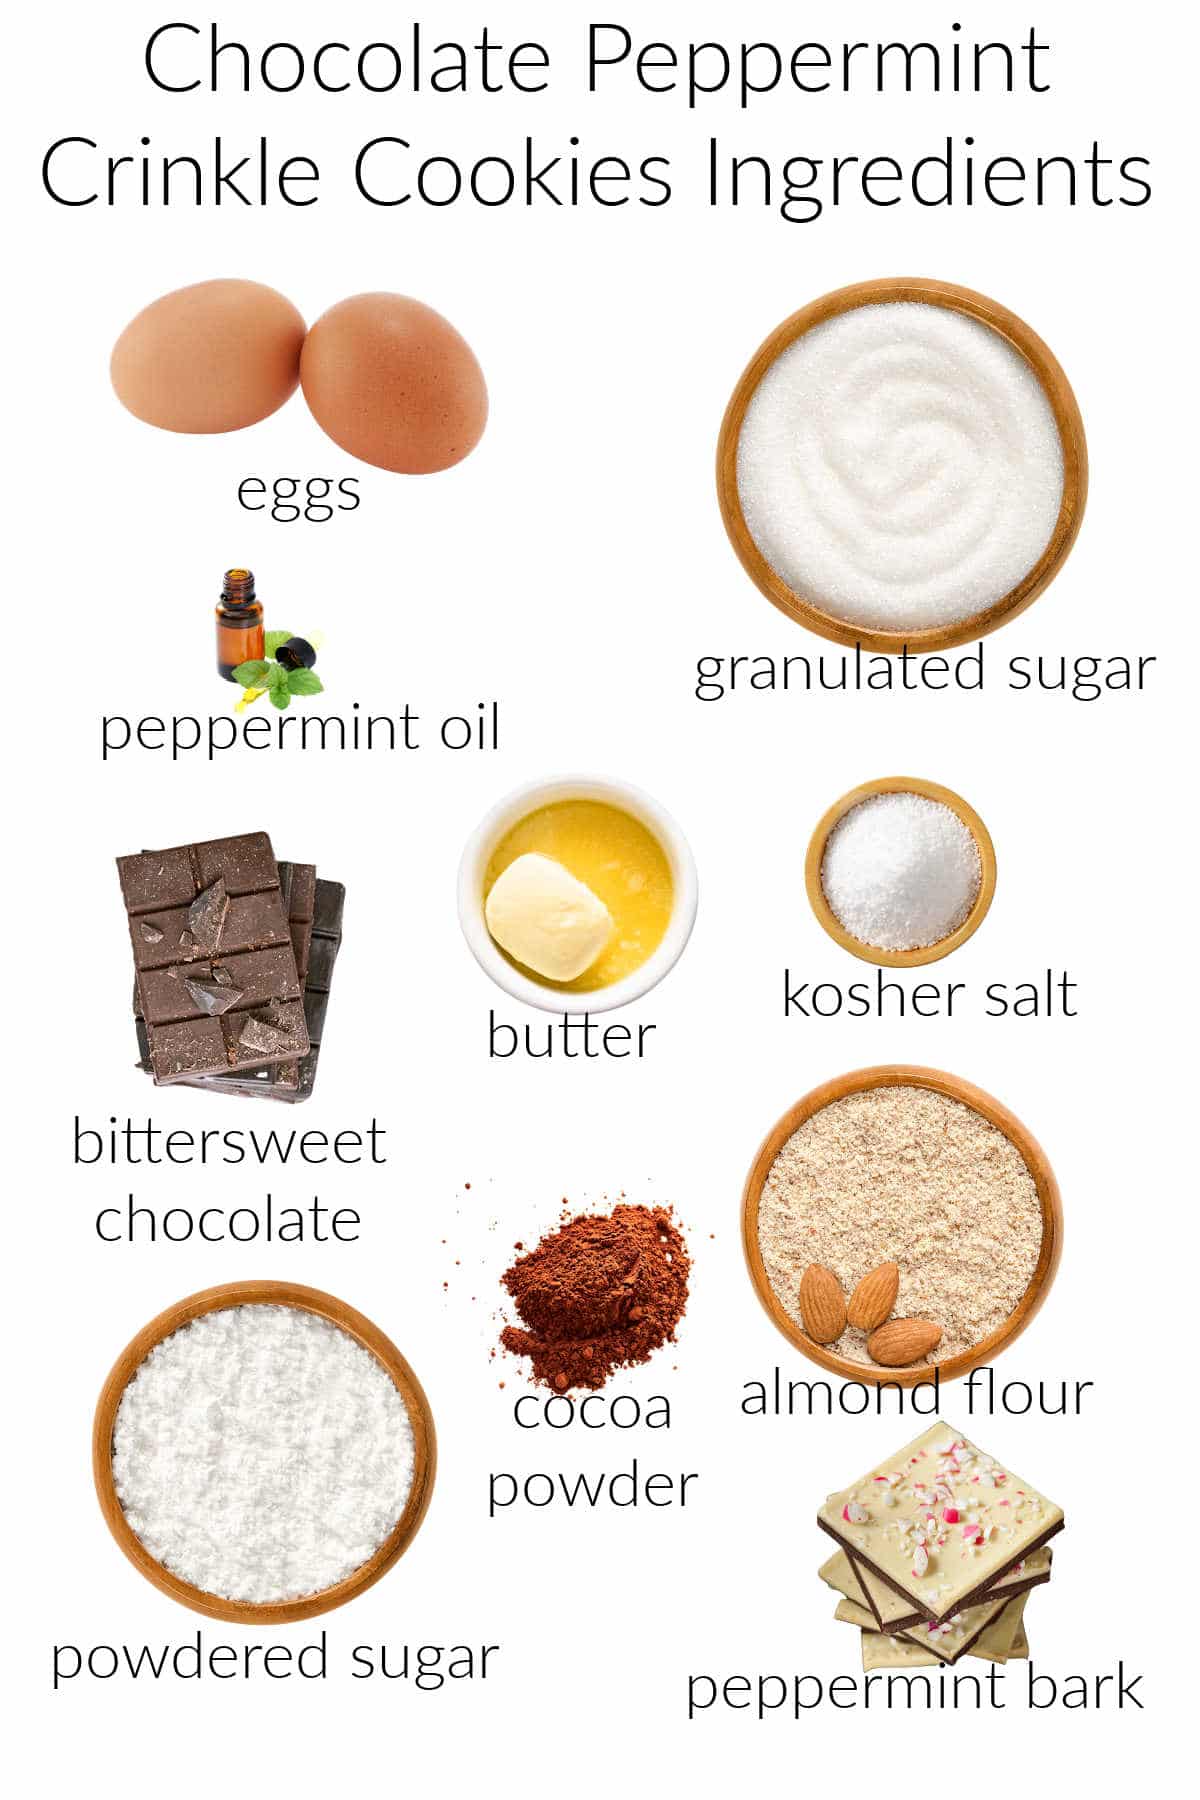
- eggs: provides structure while the fat in the yolks adds to the gooey factor
- granulated sugar
- peppermint oil: you don’t need much–measure it in drops, not teaspoons. You can use peppermint extract instead, but you will need more–maybe 1/2 teaspoon or so
- kosher salt: counteracts any bitterness from the chocolate and cocoa powder and brings all the flavors into focus
- bittersweet chocolate: adds flavor and fudginess
- butter: carries flavor and is also a member of Team Fudgy. To make these dairy free, you can substitute vegetable oil
- almond flour: provides bulk without gluten. Allows for a moist crumb and adds some richness
- cocoa powder: intensifies and adds to the chocolate flavor
- chopped peppermint bark: optional, but why leave it out? Biting into little pockets of chocolate peppermint goodness is a real treat! If you want, you could also substitute mini chocolate chips
- powdered sugar: a double roll in powdered sugar gives the characteristic crinkle finish
Procedure
And here’s an outline of the steps:
- Melt chocolate and butter and allow to cool
- Whisk together almond flour and cocoa powder
- Stir those two mixtures together evenly
- Whip eggs, sugar, peppermint oil and salt until billowy–you will want at least a hand mixer for this step if not a full-on
stand mixer . - Fold egg mixture into the chocolate mixture
- Chill dough: don’t skip this step. Chilling the dough makes it much easier to work with since the butter and melted chocolate have a chance to firm up
- Scoop, roll in powdered sugar, and bake
Tips and Tricks
As I said, these are pretty easy to make. Here are a couple of tips to make sure your cookies turn out as perfect as possible.
- When melting the chocolate, slow is the name of the game. If using the microwave, melt on medium power in 30 second bursts. If melting on the stove top, do so in a double boiler.
- Don’t skip the chilling time. It will make the dough easier to work with. The good news is that you only need to chill the dough for about 45 minutes.
- Use a cookie scoop to keep all your cookies a uniform size so they’ll bake at the same rate.
- When rolling the dough balls in powdered sugar, really pack it on to get the most contrast between the “crinkles” and the white surface of the cookies
Q & A
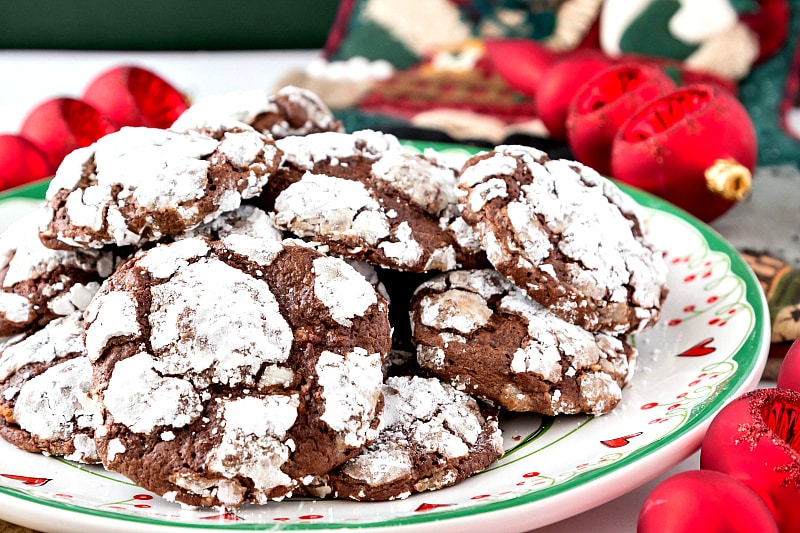
Probably because the dough was not firm enough when you baked it and they spread. Don’t skip the chilling time so your cookies hold their shape.
Store them in an airtight container for up to 5 days. Freeze for longer storage.
Yes. You can freeze them in freezer bags, making sure to press out all the air possible before sealing. You can also wrap in plastic wrap and foil. Your cookies will be fine for a couple of months.
More Christmas Recipes
For a truly gorgeous Christmas cake, consider my vegan chocolate Christmas cake.
And a Yule Log is a traditional and stunning dessert. My version is gluten free with a cranberry-raspberry filling.
I highly recommend Angel Slices, which are my favorite Christmas cookie in all the land. Note that these little bites of pecan-coconut goodness are not gluten free.
You may also enjoy these gluten-free Linzer cookies from my friend Sandi at Fearless Dining. Delicious, and also perfect for gifting!
Questions?
If you have any questions about this post or recipe, I am happy to help.
Simply leave a comment here and I will get back to you soon. I also invite you to ask question in my Facebook group, Fearless Kitchen Fun.
If your question is more pressing, please feel free to email me. I should be back in touch ASAP, as long as I’m not asleep.
A Note About Measurements
My recipes are almost all written by weight, including liquids, unless otherwise specified.
For accuracy and consistency of results, I encourage you to buy–and use–a kitchen scale.
I promise that baking and cleanup will be so much quicker and easier.
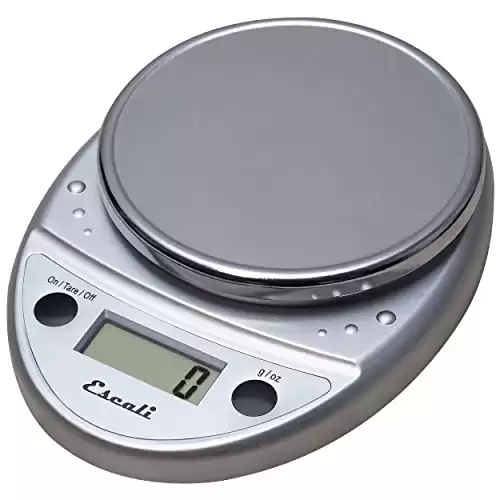
This is the scale that I recommend for home use. I have owned and used one for years.
Don't let its small price and small size fool you. The Escali Primo is an accurate and easy-to-use food scale that I have used for years. It's easy to store, easy to use, has a tare function, and easily switches between grams and ounces/pounds for accurate measurements.
Love These Crinkle Cookies? Please Rate and Review!
It will help me and other readers so much if you take a moment to rate and leave a review for this recipe.
You can use the stars to rate 1-5 (5 is best), and leave a review in the comments. It helps me make adjustments if any are needed, and comments help others decide whether the recipe is worth making.
Other ways to share include pinning, and/or sharing on your favorite social media platform.
Thank you so much for taking the time!

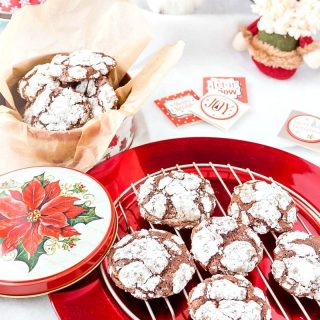
Chocolate Peppermint Crinkle Cookies (Gluten-Free)
Equipment
Ingredients
- 8 ounces bittersweet chocolate (Use any good quality dark chocolate)
- 3 tablespoons butter
- 2.6 ounces Bob’s Red Mill (or similar) super fine almond flour
- 2 teaspoons non-dutch processed cocoa powder
- 2 bars (6 oz) chocolate peppermint candy, finely chopped (I used Ghirardelli Dark Chocolate Peppermint Bark)
- 2 large eggs (at room temperature)
- 2.4 ounces 1/4 cup plus one tablespoon sugar
- 5 drops peppermint oil or 1/4-1/2 teaspoon peppermint extract
- ½ teaspoon kosher salt
- 1 ½ cups sifted powdered sugar for coating
Instructions
- Using a double boiler or the microwave on medium power in 30 second bursts, melt the chocolate and butter together. Stir until smooth and set aside to cool slightly.
- Whisk together the almond flour and cocoa powder.
- Stir the flour mixture into the chocolate mixture until evenly combined.
- Stir in the finely chopped chocolate.
- In the bowl of your stand mixer fitted with the whisk attachment, whip together the eggs, sugar, peppermint oil and salt until very light and fluffy and tripled in volume.
- Whisk about 1/4 of the egg mixture together with the almond flour mixture.
- Then gently but thoroughly fold in the rest of the eggs.
- Cover and chill for 45 minutes.
- While the dough is chilling, set a rack in the top and bottom thirds of your oven and preheat to 350F.
- Line 2 cookie sheets with parchment paper.
- Sift the powdered sugar into a bowl.
To Shape the Cookies
- Using a 1 1/2 Tablespoon cookie scoop, scoop a level portion of dough and drop it into the powdered sugar.
- Toss it lightly in the powdered sugar and then roll the dough into a ball, and then place on the cookie sheet.
- Continue shaping and placing dough. You should end up with 24 cookies, 12 on each sheet.
- Coat each cookie a second time in the powdered sugar and place back on the sheets. (See Notes)
- Bake for 7 minutes, then rotate the sheets and switch them from top to bottom rack for even baking.
- Bake an additional 6-7 minutes. Cookies will spread to about 2 inches or so and be all crackly on top. The dough will look moist but not wet.
- Remove to cool on the sheets for 2-3 minutes. Then place the cookies on racks to cool completely.
Did You Make Any Changes?
Notes
Nutrition

Hi, y’all! I hope you’ve enjoyed this post and hopefully also learned a thing or two.
If you like my style, I invite you to sign up for my occasional newsletter, The Inbox Pastry Chef.
Expect updates on new and tasty recipes as well as a bit of behind-the-scenes action. I hope to see you there!
And there you have it.
Perfectly moist, fudgy chocolate peppermint crinkle cookies that also happen to be gluten free. Magic!


Join in Today!
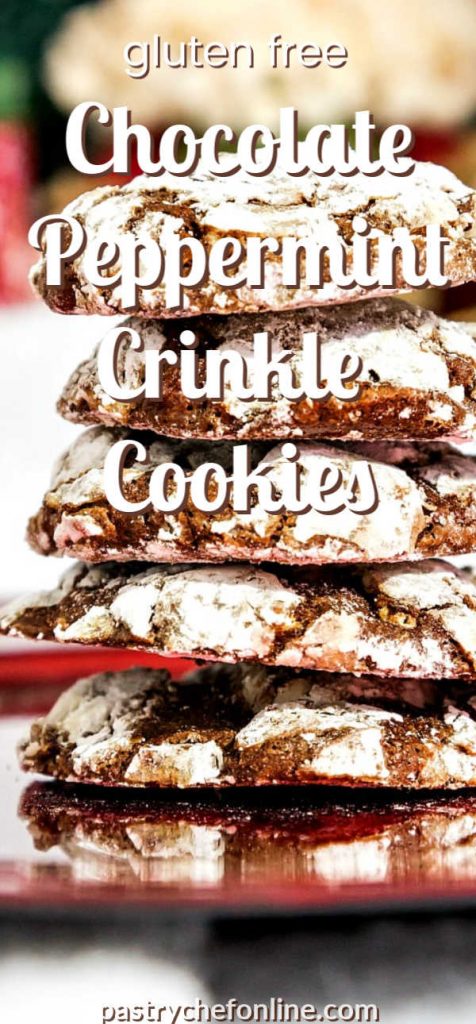

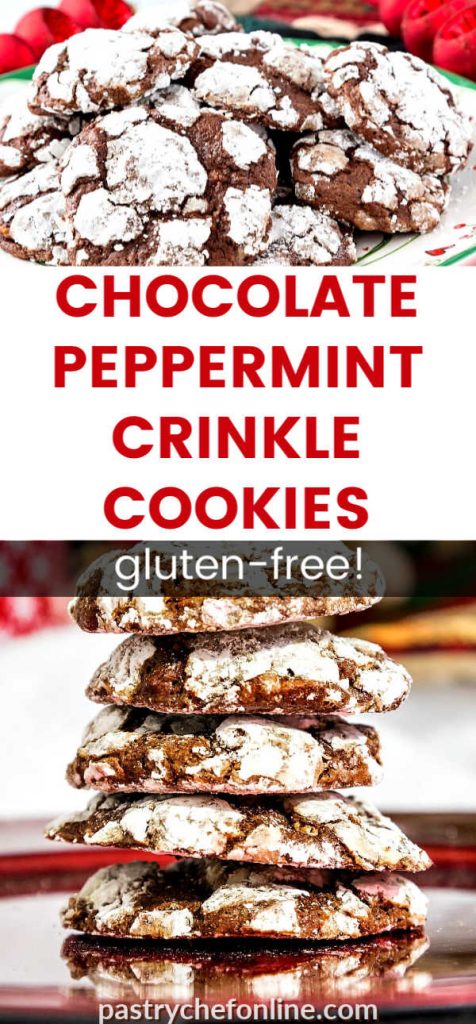
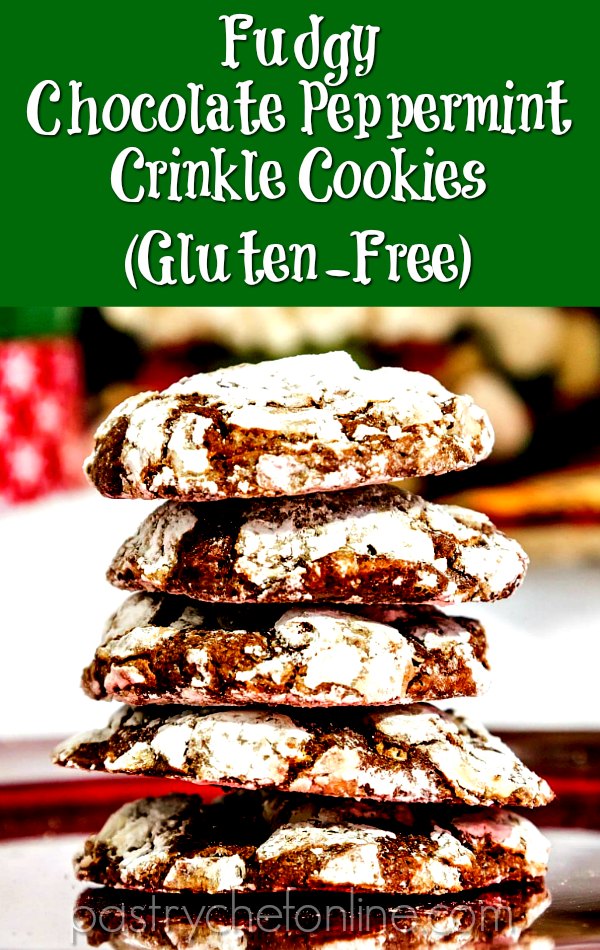
I now make these several times over the holidays. People ask me for them. They are that good. They are not just for holiday baking but anytime you need/want a fudgy peppermint treat. Who knows, I may try folding them into my vanilla ice cream!