
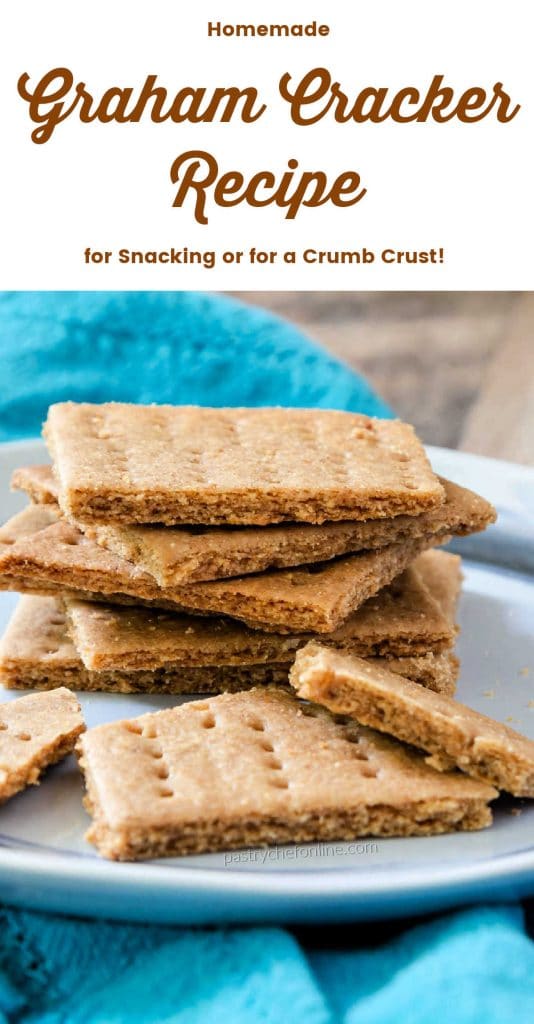
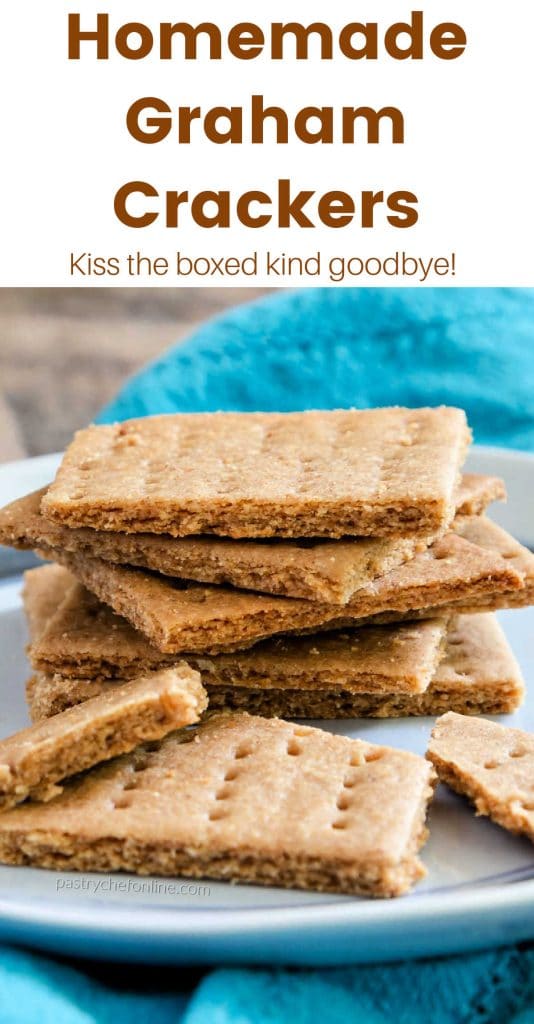
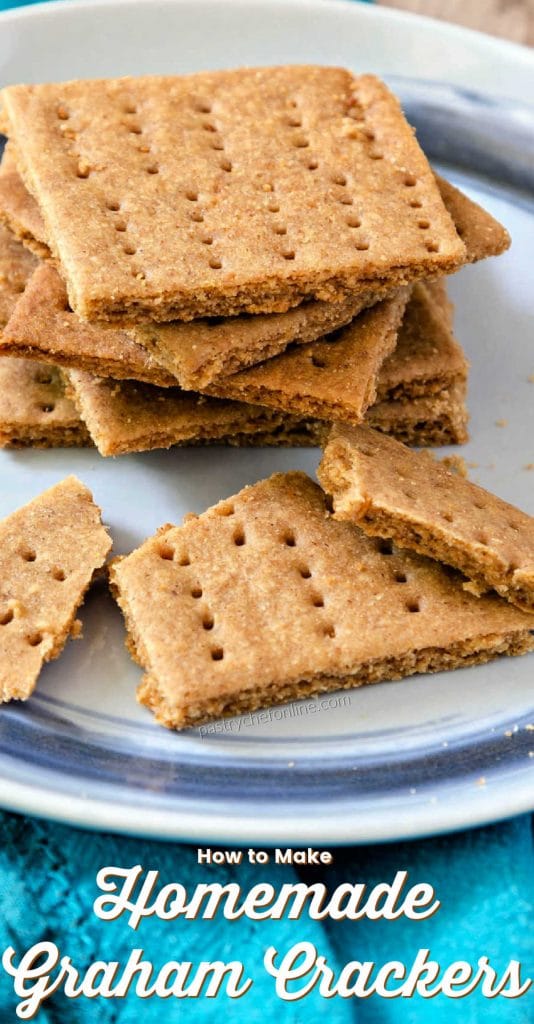
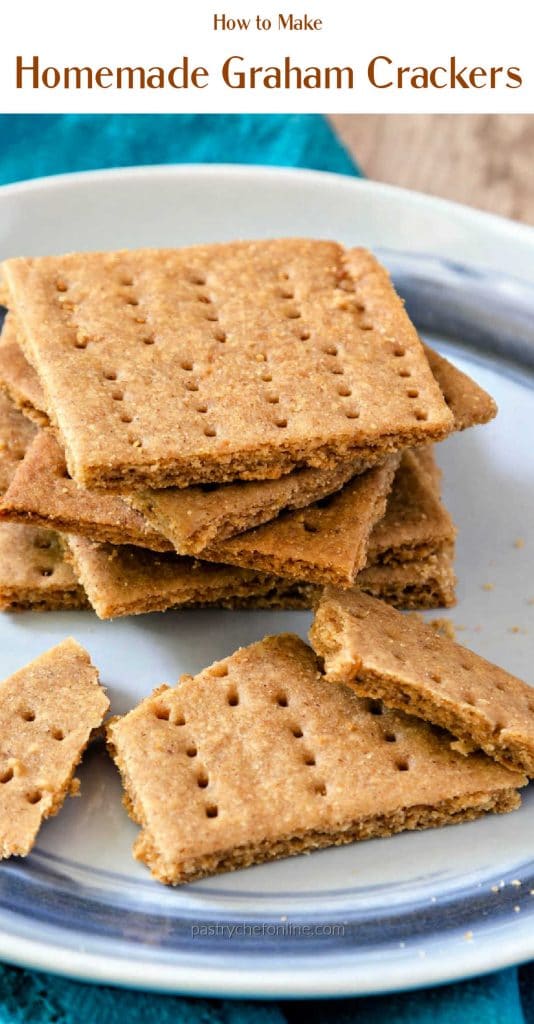
If you’ve only ever made graham cracker crusts with store-bought Graham crackers (or bought a premade crust in a foil pan), you’re in for a treat. Homemade Graham crackers make a richer, more buttery, more flavorful crust, and they’re much easier to make than you might think.
If you’re The Person making them specifically for pie crusts (welcome, kindred spirit!), there’s no need to mess around with cutting neat little rectangles (even though they are objectively adorable). Roll the dough out, bake it in one big sheet, break it into pieces, and pulse it into crumbs. Pie doesn’t care what shape your Graham crackers are.
Here’s the thing: with crumb crusts especially, the crust isn’t merely structural. It’s an integral flavor and textural component of the dessert. You’ve taken care to make the perfect pie filling. Honor it with the perfect crust.
Pastry Chef Online Participates in Affiliate Programs. If you make a purchase through one of my links, I may earn a small commission. For more information click to read my disclosure policy
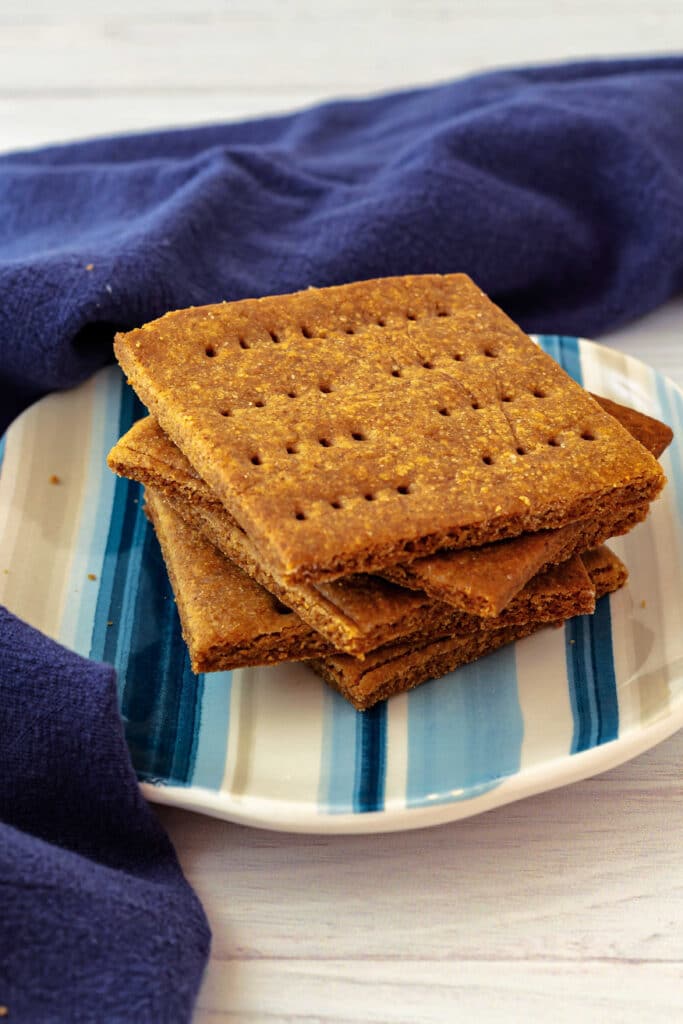
Homemade Graham Crackers, At a Glance
✅Skill Level: Beginner
✅Skills: The Creaming Method
✅Type: Crunchy Cookies
✅Number of Ingredients: 8
✅Prep Time: 15 minutes
✅Cook Time: 25 minutes
✅Yield: About 60 graham cracker squares or 6 cups of graham cracker crumbs
Jump Straight to the Recipe
Why Make Homemade Graham Crackers?
There are several reasons why you may decide to make homemade Graham crackers:
- Store bought grahams cost about $4.00/box these days. I’ll just make my own, thanks.
- Graham crackers seem like a nostalgic, not-too-hard-to-make treat. I shall make some.
- I own whole wheat flour. Making Graham crackers will help me use some of that in a tasty way.
All excellent reasons. But here’s mine: homemade Graham crackers don’t just taste better than store-bought Graham crackers. They behave differently.
Store-bought Graham crackers are made with oil and much less fat overall. They’re happy playing a supporting role: between layers of pudding, as the base for s’mores, or as a perfectly serviceable way to get pie filling into your mouth.
Homemade Graham crackers, on the other hand, contain butter. And lots of it. Homemade Graham crackers announce themselves. They’re bold, toasty, just sweet enough, and contribute a ton of flavor, whether you’re eating them as a snack or using them for a crumb crust.
That butter doesn’t just make homemade Graham crackers more delicious to snack on. It also means they make extraordinary graham cracker crusts. They’re richer, more flavorful, and require less melted butter to bind them into a crust because they’re already carrying a serious amount of butter.
If you know how to do the creaming method, you’re good to go and can skip straight to the recipe.
Let’s Talk About Homemade Graham Cracker Crumb Crusts
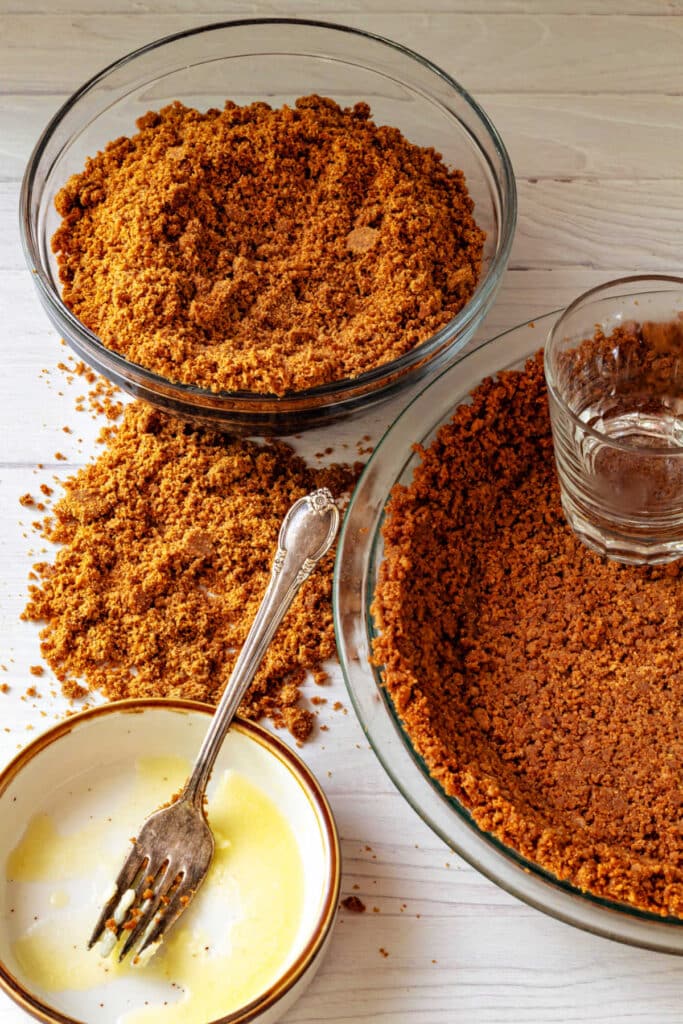
First, let’s talk yield.
One batch of homemade Graham crackers makes about 6 cups of crumbs (about 720 grams), which is enough for FOUR pie or cheesecake crusts.
Four.
If you’re a holiday baker or someone who likes to keep graham cracker crumbs in the freezer for cheesecake emergencies (always be prepared), that’s a pretty compelling argument all by itself.
Take a look at the difference between store-bought and homemade Graham crackers:
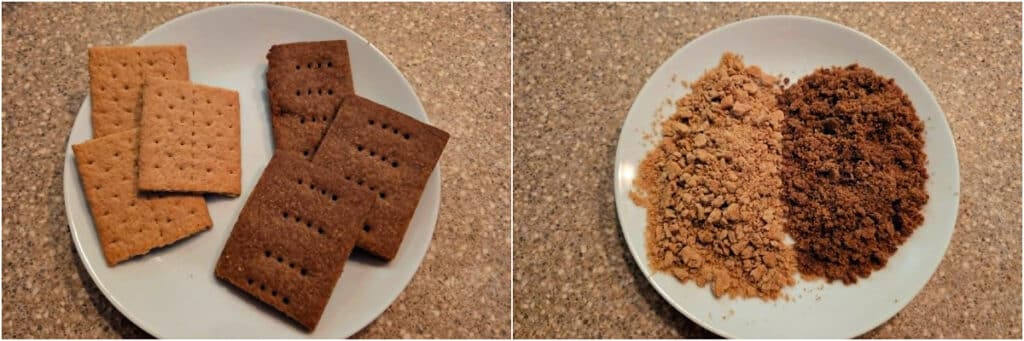
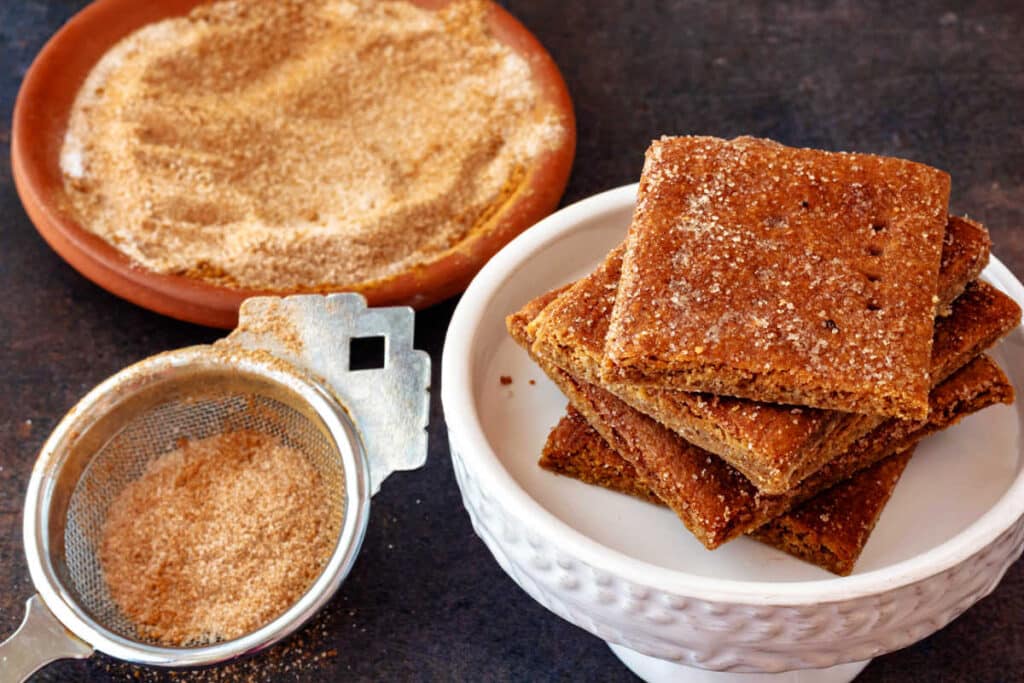
Notice that homemade Graham crackers are larger and much darker in color. That’s because they’re loaded with flavor from whole wheat flour, brown sugar, cinnamon, and, of course, butter. And you can make them whatever size you want.
The best part? You get to decide exactly what goes into yours. Want to lean into fall baking? Add pumpkin spice. Love ginger? Throw some in. Craving extra cinnamon? I’ll not be stopping you.
Homemade Graham crackers aren’t just a copycat version of the boxed kind. They’re an opportunity to make Graham crackers that are exactly what you want them to be.
Now take a look at the crumbs. The store-bought crumbs are much drier—almost dusty—while the homemade crumbs are richer and more substantial. That extra richness means homemade graham cracker crumbs make deeply flavorful crusts and require less melted butter to bind them together because they’re already rich with butter.
If you have the time and want to stock your freezer for holiday baking (or future cheesecake emergencies), homemade Graham crackers are well worth the time spent making them.
How to Make a Crust from Your Homemade Graham Crackers
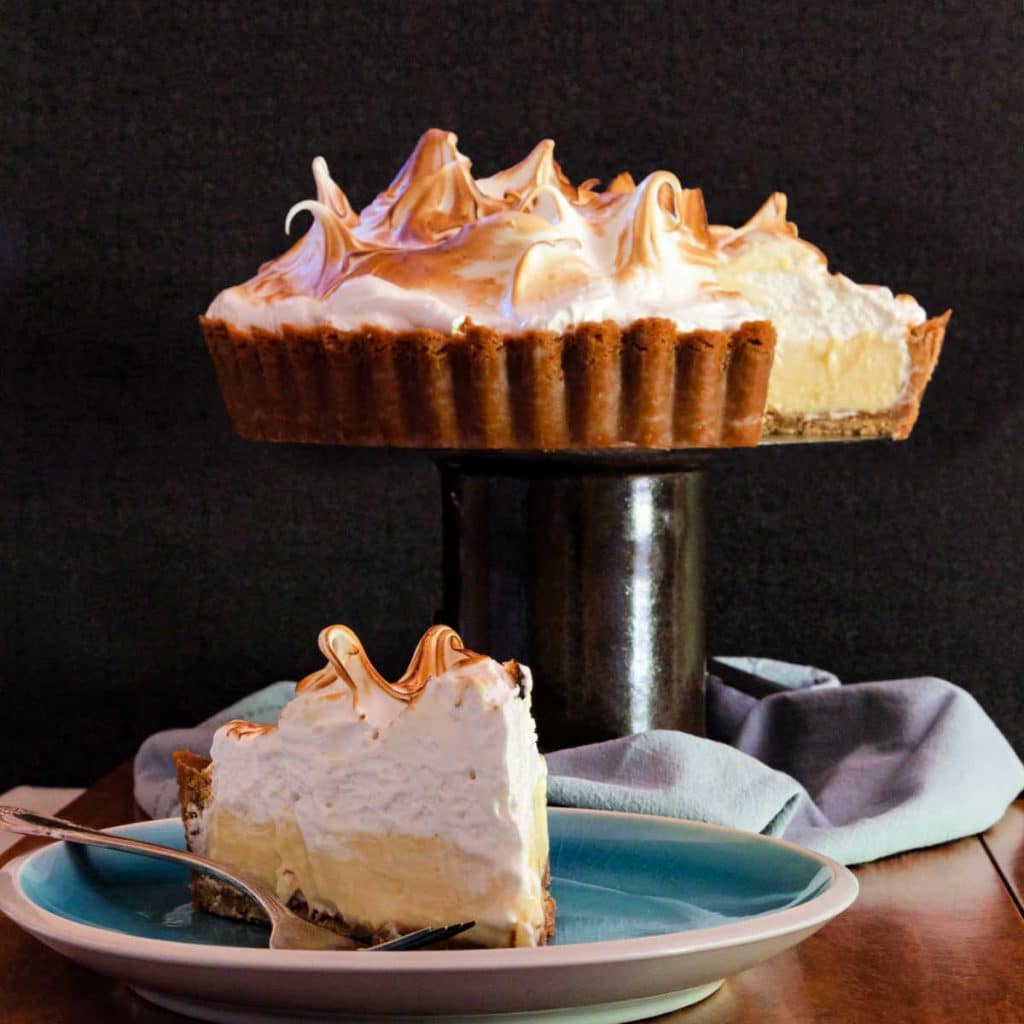
Making your crackers into a Graham cracker crust is really easy. And also highly recommended.
- Measure out 1 1/2 cups Graham cracker crumbs.
- In a food processor, pulse with 3-4 Tablespoons of butter and a pinch of salt. NOTE: This is much less butter than usually called for in a Graham cracker crust, but since these crackers already contain a lot of butter, you don’t need a lot extra to turn them into a viable crumb crust.
- Press into the bottom and up the sides (or not) of your pie pan or springform pan.
- Bake for 8-10 minutes at 350F to set the crust.
Jenni Says If you don’t want to drag the food processor out, make graham cracker crumbs by putting them in a heavy duty plastic bag and then bashing them with a rolling pin. Then just add the melted butter to the bag and “smoosh” around until all the crumbs are moist with butter.
And now, let’s get on with the show, shall we?
Ingredients
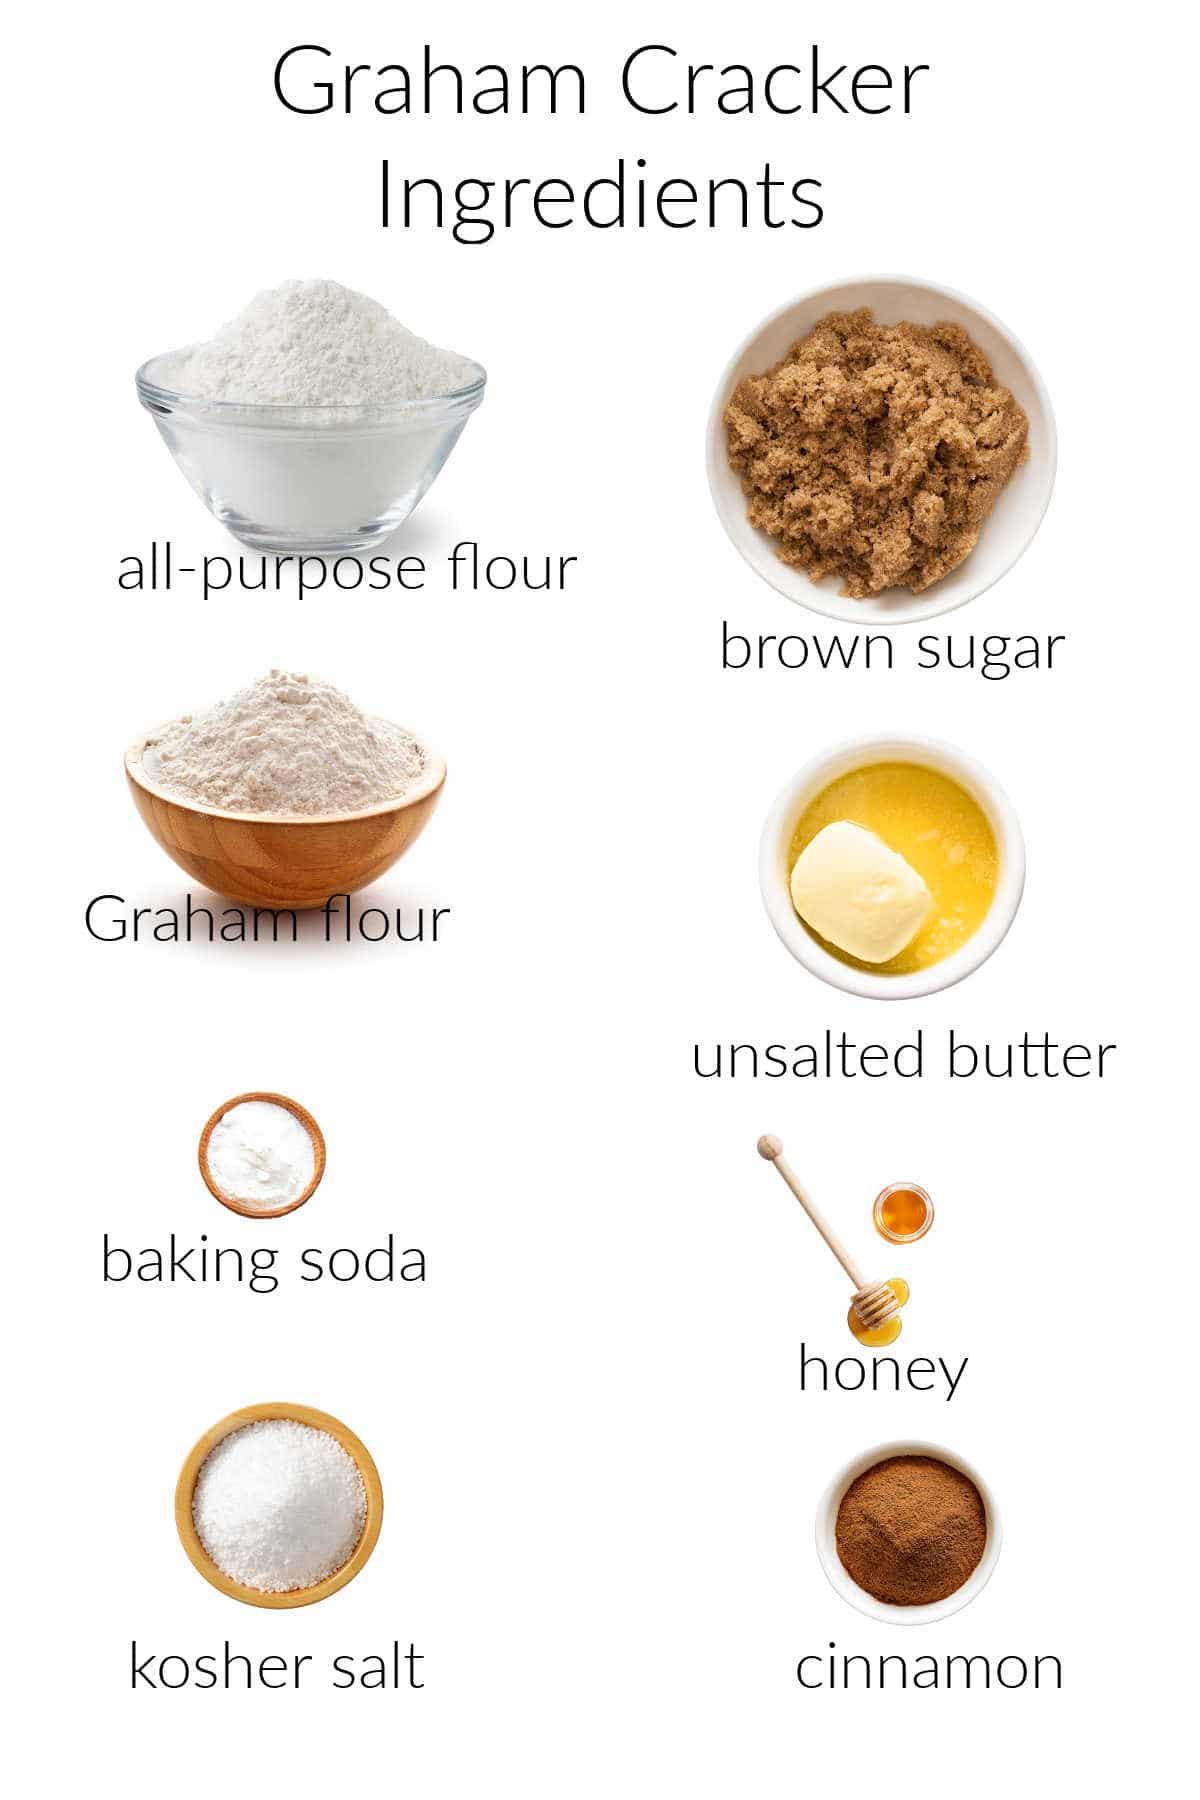
Here’s what you’ll need to make Graham crackers:
Would you like to save this post?
- all-purpose flour: You can most likely make these with all whole wheat flour. Using half all-purpose makes them a bit more refined in texture
- whole wheat flour: or Graham flour. The two are similar and are interchangeable for the purposes of making these little guys.
- baking soda: reacts with the molasses in the brown sugar to provide just a little lift so they aren’t too crunchy or hard when baked
- cinnamon: for flavor. Switch things up and use pumpkin spice or apple pie spice if you’d like
- salt: brings out the flavor of the molasses, butter, and honey
- butter: provides the fat, so it assists in browning and in helping the cookies hold together. It also carries flavor.
- brown sugar: for sweetness, browning, and the acid to provide some lift. Use dark or light–it’s your preference.
- honey: provides a bit of extra sweetness and keeps the crackers from drying out. Most honey is on the acidic side, so it too will react with the baking soda to provide some lift.
Procedure
It really is a pretty straightforward process. Here are a couple of process shots to help you out.
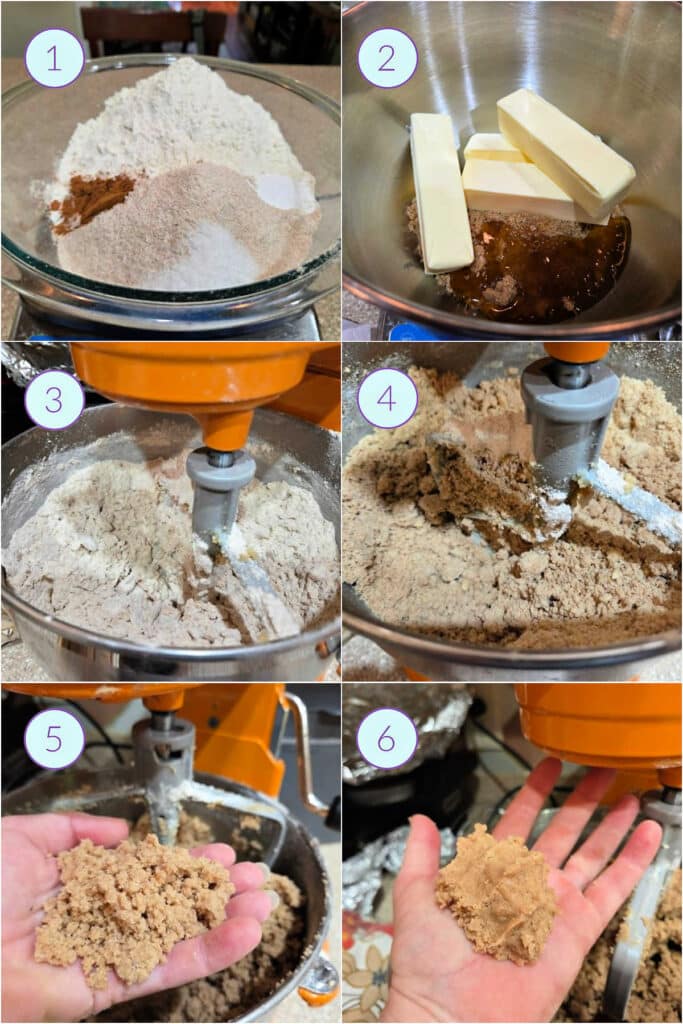
- Whisk together your dry ingredients in a bowl.
- Add butter, brown sugar, honey, and salt to the bowl of your stand mixer. Cream until the mixture is uniformly creamy. It doesn’t need to be fluffy, just smooth.
- Add the dry ingredients and mix on low/medium-low speed. It may look very dry to begin with. Carry on.
- As you mix, the dough will darken as the flour hydrates. It’s ready when you can….
- …take a handful of the moist crumbs and….
- …squeeze them so they hold together.
Jenni Says: If for any reason your dough refuses to come together when you squeeze it, add another tablespoon of very soft butter and mix it in thoroughly. Don’t add milk or water, because that amount of liquid could make your Graham crackers a little bit tough. We don’t want that.
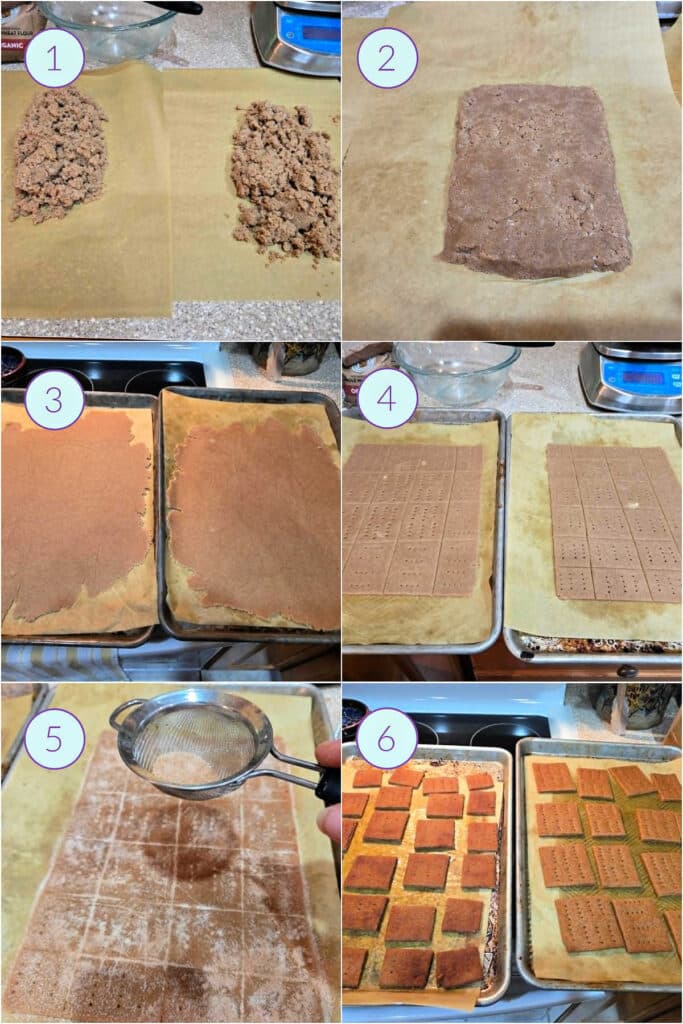
- Scrape the dough out onto two half-sheets of parchment paper.
- Use your hand and the parchment to square up and compact each pile of dough.
- Place another piece of parchment on top of your dough packet, and roll out to a 1/8″ (3mm) thickness. NOTE: You’ll probably (definitely) need to peel back the top sheet of parchment and smooth it out several times as you roll. It’s all part of the fun. Worry not.
- You can either leave your giant slabs of cookies alone, or you can trim the edges and cut them into traditional Graham crackers.
- If you want cinnamon grahams, sift a light layer of cinnamon sugar over the tops, press it in gently with a rolling pin, and then brush off the excess.
- Bake, turning the pans and switching racks halfway through. The crackers will be soft straight from the oven, making it easy to re-cut them (or for the first time if you changed you mind about the large slabs). The crackers will crisp up as they cool. If they’re still soft at room temperature, bake for an additional 5 minutes or so. The time is dependent on how thin you roll them.
Other Ways to Use Your Graham Crackers
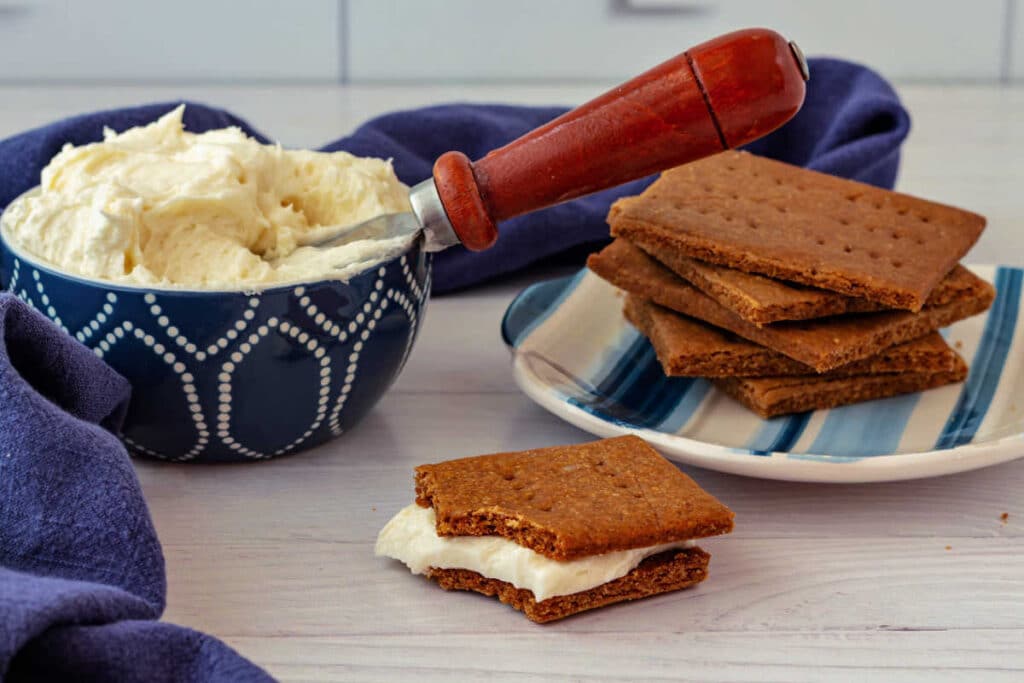
Of course, cheesecake comes to mind first. You can make a classic New York cheesecake or consider making a butterscotch cheesecake or maybe a chocolate cheesecake.
Just because a recipe doesn’t call for a graham cracker crust doesn’t mean it wouldn’t be better with one.
Graham cracker crust is ridiculously tasty and there’s no reason you can’t use one to go with your favorite cheesecake or no-bake recipe.
It would really work well as the crust for this peanut butter mousse pie. The original recipe calls for a chocolate sable or crumb crust, but using homemade Graham crackers would really lean into the nostalgic peanut butter Graham cracker flavor combination. In that case, decorate that pie with Nutter Butters, stat!
If you have a lot of crumbs, you can use them to add crunch to ice cream like in my strawberry cheesecake ice cream or top any Sundae.
You could even make a “S’mores Sundae” with hot fudge sauce, marshmallow fluff, and Graham cracker crumbs!
Or use homemade Graham cracker crumbs in my S’mores Bars and then plop some ice cream on top of one of those.
If you are a sourdough baker, try these sourdough Graham crackers. A tasty way to use some sourdough discard!
Homemade Graham Cracker Q & A
In whole wheat flour, the entire wheat berry is ground together to make flour. In Graham flour, the three parts: germ, endosperm, and bran, are ground separately. The endosperm is ground finely just like white flour while the bran and germ are more coarsely ground. Then it’s all mixed back together. And yes, you can absolutely use regular whole wheat flour in place of Graham flour in these crackers.
The phenomenon of the hard as a rock Graham cracker crust has to do with the amount of sugar you add to your crumbs (and the amount of sugar that’s in the cookies you use to make the crumbs).
If you add a lot of sugar to your crust, especially if you prebake it, all that sugar will melt and then harden into a sheet of candy that you just can’t cut with the side of a fork.
I have a food processor, but I don’t always use it to make crumbs, so do what I do. Put your Grahams in a heavy-duty zip-top bag and bash them into crumbs with a rolling pin. You probably won’t get it all crushed to dust, but it’ll do the job, and you’ll also be able to take out some of your frustrations on the cookies!
Yes, you can. Since they are already buttery, you can cut back on the amount of butter called for in the recipe. I find that 1 1/2 – 2 oz (3-4 Tablespoons) is plenty of butter to bind a homemade Graham cracker crust.
Surprisingly, yes. One batch costs about the same as a single box of store-bought graham crackers but yields about 6 cups of crumbs—enough for four pie or cheesecake crusts. Store-bought graham crackers generally yield enough crumbs for only about 2½ crusts, and homemade crumbs require less melted butter to bind them into a crust because they’re already rich with butter.
So if you’re planning ahead for holiday baking or are a frequent cheesecake maker, homemade graham crackers are both more economical and more delicious.
Questions?
If you have any questions about this post or recipe, I am happy to help.
Simply leave a comment here and I will get back to you soon. I also invite you to ask questions in my Facebook group, Fearless Kitchen Fun.
If your question is more pressing, please feel free to email me. I should be back in touch ASAP, as long as I’m not asleep.
A Note About Measurements
My recipes are almost all written by weight, including liquids, unless otherwise specified.
For accuracy and consistency of results, I encourage you to buy–and use–a kitchen scale.
I promise that baking and cleanup will be so much quicker and easier.
This is the scale that I recommend for home use. I have owned and used one for years.
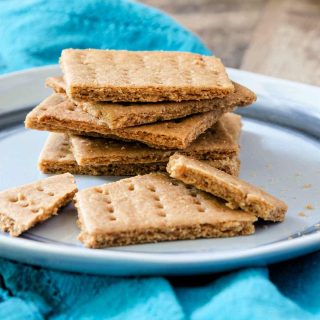
Homemade Graham Crackers
Equipment
Ingredients
- 181 grams all purpose flour 6.4 oz or 1 1/2 cups
- 170 grams whole wheat flour 6 oz or 1 1/2 cups
- 1 teaspoon baking soda
- 1 teaspoon cinnamon
- ½ teaspoon kosher salt or to taste
- 8 oz butter 2 sticks, softened
- 5 oz dark brown sugar (you can use light, if that’s what you have)
- 2 Tablespoon honey
Option for Cinnamon Graham Crackers
- 2 Tablespoons granulated sugar
- 1 ½ teaspoons cinnamon
Instructions
- Place two oven racks in the top and bottom thirds of your oven. Heat to 350°F / 177°C.
- In a medium bowl, thoroughly whisk together dry ingredients.
- Cream softened butter, brown sugar, and honey until smooth. It doesn't need to be light and fluffy. Just smooth.
- Add the dry ingredients and mix on low until the dough just comes together. It may look dry and crumbly. Squeeze some of the dough together. It should compact and hold together much like pie crust.
- Remove from mixer and divide the mixture between 2 half-sheets of parchment paper.
- Use the parchment and your hands to square up and compact the dough into a rough rectangle.
- If the dough seems very sticky while you are shaping it, refrigerate it on a sheet tray for about an hour before rolling.
- Place another piece of parchment over one half of the dough and roll out to a thickness of about 1/8" (3mm). You'll have to keep peeling off the top piece of parchment as it will wrinkle as you roll. It's fine. Just smooth it out, replace it, and keep rolling. Repeat with the other half of the dough.
- Optional: Whisk together 2 Tablespoons sugar and 1 1/2 teaspoons cinnamon. Use a small sifter to give your crackers a light dusting. Press the sugar in by rolling your rolling pin lightly over the dough. Brush off excess cinnamon sugar.
- Either leave as large sheets for crumbling or score into crackers with a pizza wheel and prick with the tines of a fork to approximate the look of store bought Graham crackers.
- Bake for 20-24 minutes, rotating the pans 180 degrees and switching racks halfway through baking. The cookies will be a bit soft straight from the oven, so it's easy to go over your score marks again (if you made them) with a pizza wheel. They should crisp up upon cooling. If they are still a bit soft, bake an additional 5 minutes or so.
- Allow to cool completely, then break the cookies apart or just crumble them or whir them in a food processor to make crumbs.
Did You Make Any Changes?
Notes
Storing
Your Grahams will last in a sealed container at room temperature for about a week. If they do start to soften, you can refresh them in a 350F for 2-3 minutes. Cookies will re-crisp as they cool.Freezing
If you’d like, you can freeze the sheeted dough and save to bake some other time. Well wrapped, it will be fine for a month or even two.To Make a Graham Cracker Crust
To make your Graham crust, take some graham crumbs (usually 1 1/2-2 cups is sufficient for a 9″ crust) and mix them with 2-3 Tablespoons of butter and the optional ground nuts until it just holds together. Then, press it into the pie pan and bake at 350 degrees, F, for about 8-10 minutes to set the crust.Variations
Try experimenting with adding different spices. They’re your cookies, and wouldn’t ginger Grahams be delicious? Or pumpkin spice? You can also make a more neutral Graham cracker by leaving out the spices altogether. In that case, add 1/2 teaspoon vanilla when creaming the butter, brown sugar, and honey.Nutrition
Would you like to save this post?
Love This? Please Take a Moment to Rate and Review
It helps me and other readers so much if you take a moment to rate and review this recipe.
Your star rating and comments help others decide whether the recipe is worth making, and your feedback helps me continue improving recipes here at Pastry Chef Online.
Other lovely ways to share include pinning or posting on your favorite social media platform.
Thank you so much for taking the time!


Hi, y’all! I hope you’ve enjoyed this post and hopefully also learned a thing or two.
If you like my style, I invite you to sign up for my occasional newsletter, The Inbox Pastry Chef.
Expect updates on new and tasty recipes as well as a bit of behind-the-scenes action. I hope to see you there!

Thanks for spending some time with me today. Enjoy the Grahams, and take care, y’all.


Join in Today!
This looks yummy! Any chance I can sub something for whole wheat flour? Like maybe sorghum, or just AP flour?
Hey, Becky! What makes Graham crackers *Graham crackers” is the whole wheat flour. So just know that they won’t have the same flavor or texture as Graham crackers without the whole wheat flour. Having said that, you can just use all AP flour. If you want to experiment with using other flours, like sorghum, I would conservatively substitute it for no more than 25% of the total amount of flour (AP + whole wheat) called for. If you do experiment, I’d love to hear how they turn out for you!
These homemade graham crackers are a game-changer for pie crusts—the built-in butter and honey flavor make such a rich, delicious base. I love that a single batch yields enough crumbs for multiple crusts to freeze ahead for future cheesecakes!
Well, Football Bros, this feels like an AI-generated comment, but I’ll let you have it, I guess. They really are excellent both as “cookies” and as a crumb crust. 🙂
Delicious! Tasty and addicting!
I am so happy you are enjoying the Graham crackers, Jane! It’s a whole different experience than boxed ones, right?!
Just wish there was some guidance in baking time. I pre-cut it and did 6 minutes, then another 6 minutes, then 4 and now that it’s cool, it’s too soft in the middle
I am not more exact because all ovens are different. It is 100% fine to put the too-soft Graham back in the oven for another 3-4 minutes to crisp them up. I’ve done that before when necessary. It’s also a good way to recrisp cookies that end up softening over time. Add all your times together, and then you’ll have the perfect baking time for *your* oven. Enjoy the!
I am assuming t means tsp and T means Tablespoon.
You assume correctly! I’ll write them out so nobody has to make assumptions. Enjoy!
In the description preceding the recipe, you mentioned that salt brings out the flavor of molasses, but in the recipe I didn’t see molasses. Did I miss something?
Thank you!
Hey, Laurie. I was referring to the molasses in the brown sugar. Sorry for the confusion. Enjoy the Graham crackers!
Very easy to make with very good flavor. I used ground wheat berries instead of the wheat flour….gave it a more nutty flavour and a little crunch. Also added 1T white sugar and dash of vanilla..Your trick of rolling out in an edged pan was genius…I use silpat liners so just used baking paper on top to roll it the pan. Will be making again…family really enjoyed. Maybe will try almond flavouring
Thank you
So pleased that you are enjoying them, Jeanne! And using wheat berries is a fantastic touch, especially in a Graham cracker.
In relation to the conversation about oil and butter, I am obsessed with brown butter and might like to try it when I make this. Should I add some water back in once I’ve browned the butter do you think?
That is such a good question, Bee, and the answer is yes! Since butter is about 80%, in a recipe that was developed using whole butter, use 80% of the fat called for and add in roughly 20% additional liquid. There are also some milk solids to account for, but in a smaller-batch recipe, it shouldn’t be too much of an issue. Please let me know how they turn out–they sound like a stellar plan!
Made the recipe per the instructions. Bake took quite a while to get done. This will be trial and error process. I can’t hold anything against it as so much of it has to do with taste. I am running a home bakery and confectionery. One of the things people like are the S’mores I make with homemade marshmallows and all scratch ingredients. The graham crackers are the last piece to the puzzle for me. I wanted a thicker cracker that would hold a good sized treat so this will take a bit of fooling around to get there.
Thank you so much for sharing.
I’m glad it’s a good starting point for you–sometimes that’s all you need to go on and perfect your own. I can imagine that folks love made-from-scratch s’mores. Nice!
These are awesome!! I actually followed your recipe exactly… ok, well. ALMOST… I did use all whole wheat because I really love the flavour and texture. They are very buttery and delicious. I’m going to use the jagged edges for crust crumbs and some of the rest will be used for s’mores when we go on our Christmas tree hunt with the grands tomorrow. Thanks for a great recipe and Merry Christmas!!!
Oh, wow, can I come? Have so much fun on the Christmas tree hunt, and enjoy those S’mores!
Oh… and one used oil instead of butter, which is what is in the ingredient list of the store and name brands. Please remind me how that will change the texture, not just the flavour… thanks again. 🙂
I think I covered the oil question in my other response. I think you’re good to go!
So… I have 8 Graham wafer recipes before me and so different!!! I think I am figuring out the ingredients (they are similar enough), but the mixing processes are of three types and I’m wondering how each method will affect the final product. You are the one who helped me to understand how that can change everything!!
So… some treat the ingredients like a pastry dough and even just put it in a food processor.
Some cream the butter like making cookies
Some even go so far as to alternate adding the flour and liquid, the ones that add extra liquid…
And you specifically say the butter doesn’t have to be “light and fluffy” which if I remember right usually makes for a better cookie
Sooooo… can you explain why the differences or at least if the final product will be greatly affected based on the method I choose? Company’s Coming just says to put everything in a bowl and mix well…lol
FYI these will MOSTLY be eaten as biscuits, not crushed for crusts.
THANK YOU!! You have taught me so much already. I love the science of baking and understanding how I can change a recipe without destroying it… lol
Oh, wow, this is so great! I love that you’re analyzing and comparing recipes and methods! A+++!
When you’re looking at the methods for these Grahams, look at the proportion of flour to sugar to fat.
Sugar brings moisture, tenderness and sweetness. Fat carries flavor, assists with leavening (in creaming) and tenderizes/inhibits gluten, and flour provides bulk and structure.
The more fat to flour, the more render, and the sooner you introduce the fat to the flour, the more tender it’ll be. If you add a water-type liquid before you add fat, you’re toughening by developing gluten without any fat to inhibit it.
Oil is 100% fat while butter is roughly 82% fat woth liquid and milk solids. All things being equal, oil will buy you a more tender dough since there’s no water to help develop gluten.
There are a lot of moving parts, as you can tell! If you’re looking for crisp, whole crackers, choose a recipe that allows for moderate gluten development so your crackers won’t be too crumbly. I’d definitely go with butter over oil for that reason. The more sugar, the softer/more tender the cookie, so I’d choose a recipe that is lower in sugar.
I hope that helps. Please report back!
Awesome!! This is exactly what I needed to know!! Thank you so much.
One other quick question. I have been totally convinced to switch to baking by weight — so much simpler!!! BUT, there is no weight for the flour in this recipe.
I haven’t converted all the recipes yet, but for your reference, I weigh all-purpose flour at 4.5 oz/cup, cake flour at 4.25 oz per cup, and bread flour at 4.7 oz per cup. If you study my recipes, you’ll find some variation, but they all work as-written. With home-sized recipes rather than restaurant or bakery-sized, 1/10 oz of flour won’t make much difference. Hope that helps, Laurel!
is this ‘dough’ supposed to be crumbly? doesn’t seem to stay together well for rolling . I tried a little water and it was better but hopefully I didn’t ruin it
Yes, it’s a bit of a stiff dough. I think you’ll be fine with the additional water you added since whole wheat flour doesn’t develop gluten like more refined flours do. I hope you enjoy the Graham crackers!
had to improvise and make my own brown sugar, that extra bit of molasses gave it a more complex flavor.
Seems like a lot of butter. Is that amount right?
Yes, it’s the correct amount. This makes a fairly large batch of crackers though, so butter per cracker is really probably no more than about a teaspoon or so. You could absolutely give reducing the butter to 1 1/2 sticks a shot, and maybe adding just a touch more liquid. Take care.
I’m a total newbie to baking and this is the second Graham Cracker recipe I’ve tried. Rolling the dough between parchment paper was the hot tip that changed my baking life.
Hooray! I hope you enjoy the crackers!
THANK YOU.. an actual home made crust from scratch.. agh.. every other one is made from graham crackers – I don’t think that is homemade.
Haha! You’re welcome! If you love homemade all-the-things, you need to pick up a copy of Stella Parks’s Brave Tart cookbook. Packed with homemade everything, including graham crackers, sweetened condensed milk, Nutter Butter cookies and tons and tons more. Highly recommend!
I’ll have to try this out. So far I haven’t been very impressed with most pie crust recipies I’ve found online that recommend simple store bought crackers ground up and pressed with butter. I kept looking for a more authentic bakery style crust for my pies. So here’s looking forward to trying out this recipe sometime soon!
I think you’ll be very pleased! The crackers alone are really flavorful and wonderful, so the crust just can’t help but be good! Enjoy, Andrew!
Does the pan need to have sides or can I use a flat cookie sheet? Not sure how big the pan needs to be. Please clarify. Thank you!
I look forward to making these!
Hey, Wendy. You can use a half sheet pan, which is what we used in the restaurant, or you can use a cookie sheet. Either will work. This dough doesn’t spread, so you’ll be fine either way. The dough can also sit, so if you have smaller pans, you will just need to bake in more batches. I generally try to use the largest pan that will fit comfortably in my oven, which is a half-sheet (approximately 18″ x 13″). Enjoy!
I’m a new bakery owner, and I’m thankful for this post! I’ll be testing it out tomorrow for my pumpkin cheesecake crust! Thanks! xoxo – Taste of Love Bakery, LLC
I think it would be perfect for pumpkin cheesecake! Enjoy! 🙂
That’s great! (I just saw this comment–sorry it has taken me so long to get back to you) :/ So, what did you think, @d54c20300a345a2ed2c253025ffdce5b:disqus ? I hope it worked out for you! 🙂
I am ashamed of myself. Truly. Now, grab a glass of water and start baking:)
Jenni
I am really starting to hate you, Jim. (she says as she prints off the recipe and checks her parchment paper supply…)
There is NOTHING in this world more satisfying than graham crackers and peanut butter with a glass of ice cold milk.
I am going to definitely have to consume more liquids to make up for all this ridiculous drooling!