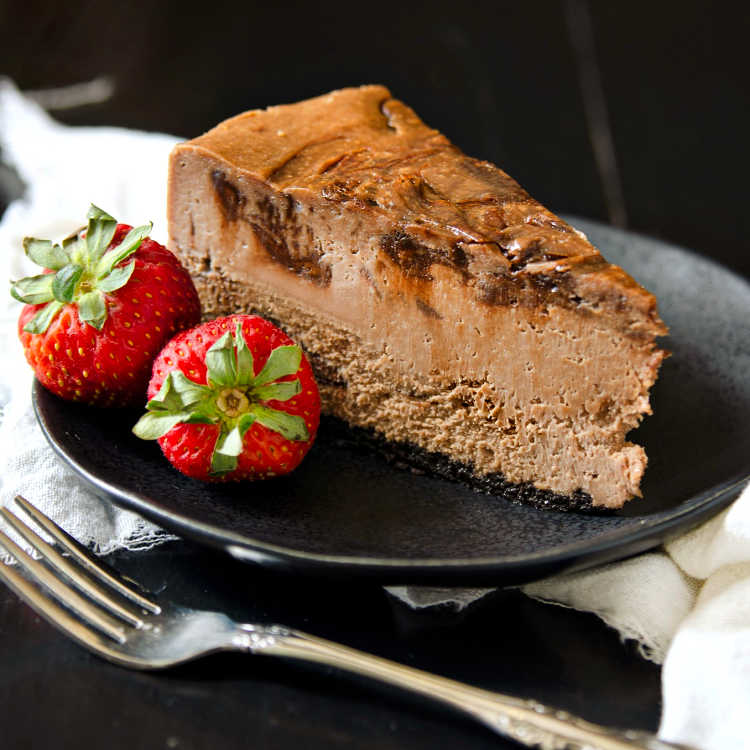
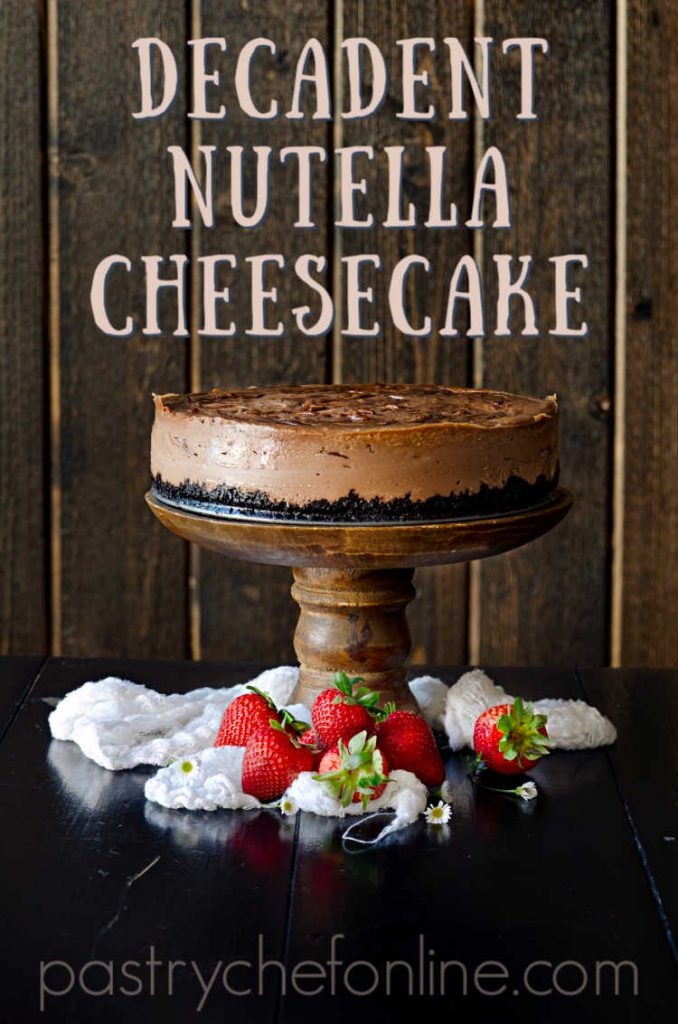
Y’all, this Nutella Cheesecake Recipe has an Oreo crust and extra Nutella swirled in for good measure, making this a super decadent dessert you won’t want to miss! Rich and tempting, you don’t need a large piece to enjoy all the Nutella goodness.
Follow my instructions and you will always be able to enjoy a super creamy, smooth cheesecake. Another fabulous cheesecake to try is my double chocolate cheesecake.
For ease of browsing, here are all of my Cheesecake Recipes. Thanks for visiting!
Pastry Chef Online Participates in Affiliate Programs. If you make a purchase through one of my links, I may earn a small commission. For more information click to read my disclosure policy
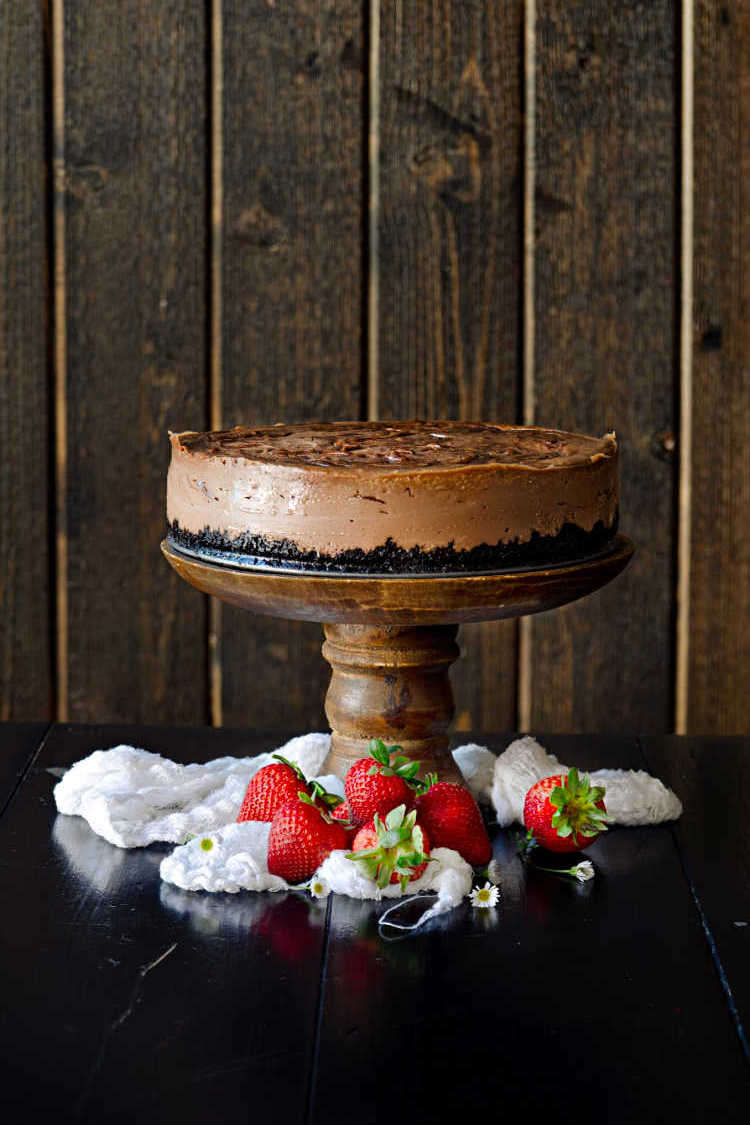
…this was one of the most decadent desserts I have ever made, completely worth the effort and cooking it in the water bath makes all the difference!
Pinner Lindsay
What You’ll Learn If You Read the Whole Post
In this post, I’m going to tell you about how cheesecake is a custard, and how to make one that turns out smooth and dreamy with no cracks on top.
I’ll also tell you why lower heat is better than high heat when it comes to baking cheesecake, and why a water bath is so helpful.
Cheesecake Is a Custard
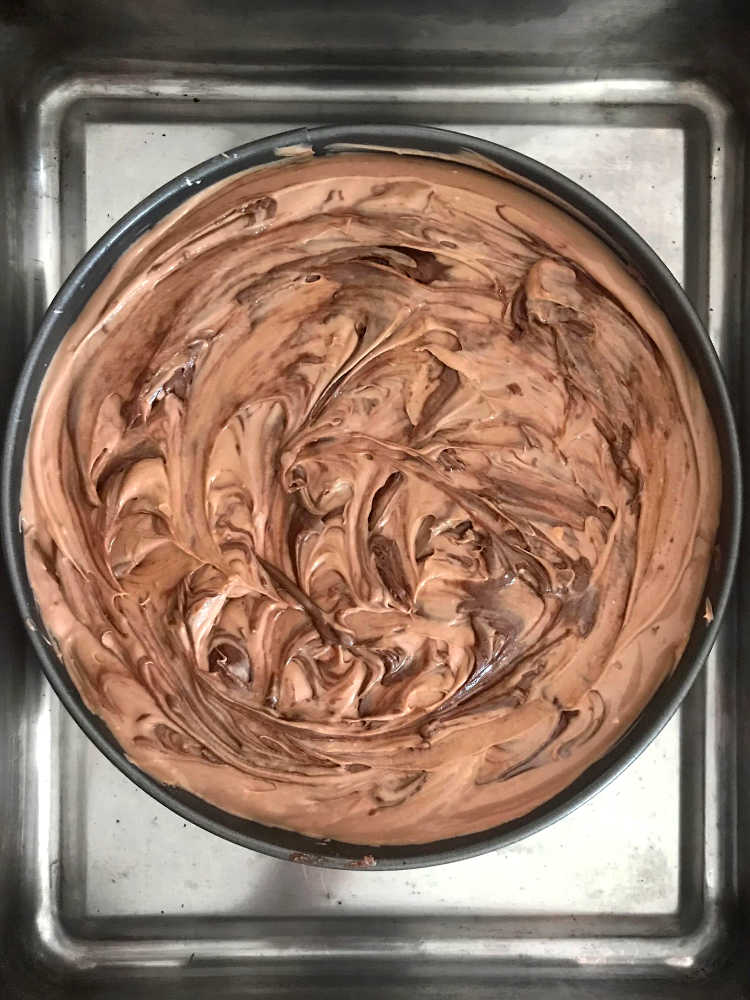
All baked custards rely on egg for thickening, and Nutella cheesecake is no different. Because it relies on eggs for thickening, you do need to bake in a water bath so the eggs heat gradually.
This allows you to avoid curdling and possible cracking.
So while it takes some extra time, it is 100% worth it to bake your cheesecake in a water bath.
Jenni Says: If you prefer NOT to bake in a water bath, make sure your cheesecake has a crumb crust that comes all the way up the sides of your pan. The crust will act as an insulator much as a water bath would.
How To Make a Nutella Cheesecake
Ingredients and Substitutions
Here’s what you’ll need. Where possible, I’ll also suggest substitutions for you.
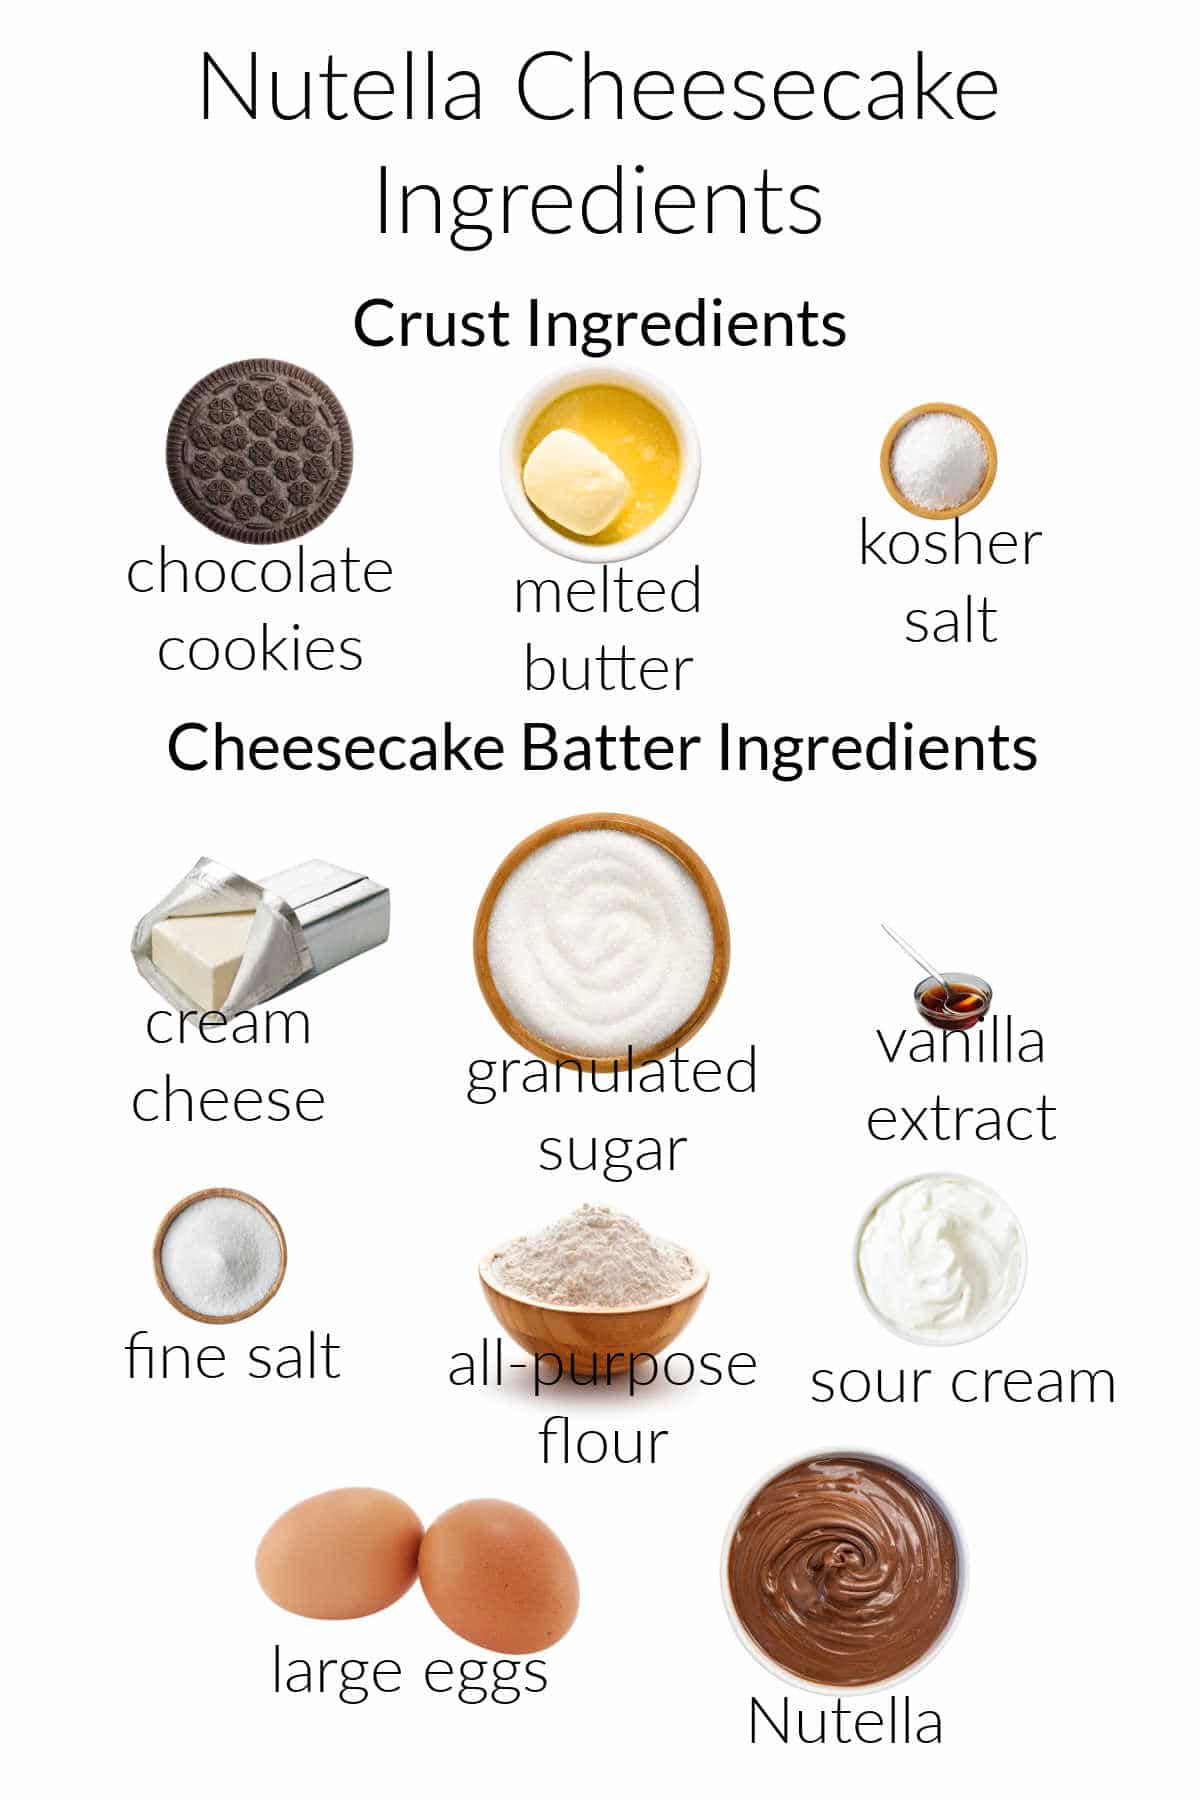
- chocolate sandwich cookies: You can use your favorite here. I used Oreos. You can also use chocolate wafer cookies or chocolate sable. If you don’t want to use chocolate cookies, feel free to substitute graham crackers or vanilla wafers. If using sandwich cookies, no need to scrape out the filling. I used 24 Oreos, so you will most likely need about 36 wafer cookies. If you have a scale (I hope you do), shoot for 9 1/2-10 oz of cookies.
- melted butter: This will allow you to pack the cookie crumbs into a solid crust layer. If you prefer, you may substitute coconut oil or a plant-based butter.
- salt: I call for salt twice in the recipe, a pinch in the crust and some in the batter. I specify kosher salt for the crust and fine salt for the batter, but you may use whatever you have in either place.
- cream cheese: You’ll need a full 2 1/2 pounds or, if you’re in the US, 5 blocks. If you are not in the US, you will need a total of 1134 grams of cream cheese. You may substitute neufchatel cheese if you like
- granulated sugar: For a deeper flavor, substitute light brown sugar
- vanilla extract: Rounds out the flavor nicely. You may use extract or paste
- all-purpose flour: The flour binds up a bit of liquid so your cheesecake won’t weep after a day or two in the fridge. Cornstarch is a good substitute here.
- sour cream: Adds a bit of tang and lightens up the texture of the cake a bit. Substitute plain Greek yogurt for a boost in protein
- large eggs:
- Nutella: I call for 1 large jar, the kind you get at warehouse stores. 26.5 oz of Nutella, friends. I am not playing around with this cheesecake!
Procedure
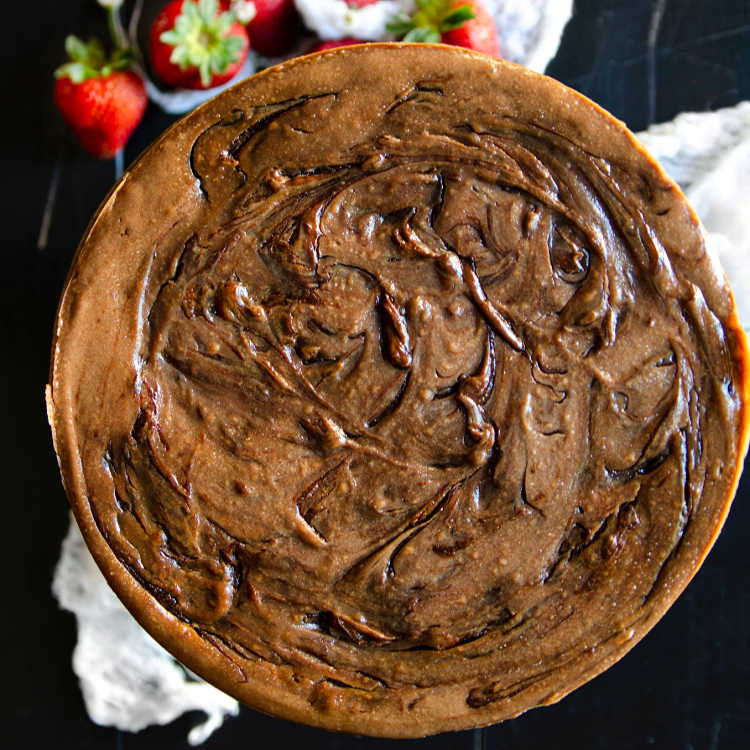
Mixing the batter for this Nutella cheesecake is pretty straightforward.
The most important part to get right is to make sure that all your ingredients that live in the fridge are at room temperature.
That generally means getting out the following ingredients at least 1 if not 2 hours before beginning:
- cream cheese–VERY IMPORTANT THAT IT BE SOFT
- heavy cream, sour cream, etc
- eggs
The second most important thing is to always mix the batter on low speed.
The slower you mix your batter, the less air you will beat into it, and the less air you beat into it, the less chance you have of having the cheesecake rise in the oven and then crack/crater as it cools.
Here’s the rundown for making the Nutella cheesecake batter:
- Beat the cream cheese on low speed until completely smooth.
- Add sugar, vanilla, salt, and flour and mix until smooth.
- Mix in the sour cream.
- Mix eggs in one at a time.
- Mix in half the Nutella.
- Add 3/4 of the batter to the prepared pan. Mix the remainder of the Nutella into the last of the batter.
- Swirl into the rest of the batter in the pan.
- Bake in a water bath until done, about 1 1/2-1 3/4 hours.
Tips for Success with This Recipe
Don’t skip the water bath, friends. You will be rewarded with a very creamy and decadent cheesecake.
And I’ve said it before, but it bears repeating, make sure your cream cheese is very soft. If it’s still cold when you’re ready to bake, it’s okay to warm it up for a few seconds in the microwave.
It needs to be as soft as possible without being melted so that your cheesecake won’t have any lumps.
Also, to ensure lump-free Nutella Cheesecake, you do need to follow the instructions closely, especially as far as the order you add ingredients.
Would you like to save this post?
Add one ingredient at a time, in the order specified, and mix ON LOW SPEED thoroughly, scraping the bowl as necessary, before adding the next ingredient.
Nutella Swirl Cheesecake FAQ
In a word, eggs. The more slowly you cook eggs, the more creamy they will be when set.
I generally bake my cheesecakes at a fairly low temperature, sometimes as low as 225F or 250F. The upside of this method is you end up with a super smooth and creamy cheesecake that also stays perfectly flat and free of cracks.
The downside is it takes a super long time to bake, possibly as long as 3, 4, or even 5 hours depending on how much batter you have. And that is just kind of crazy, unless you have nothing better to do.
My goal is to bake at a low enough temperature to keep it nice and creamy but not at such a low temperature that it takes forever to bake.
The short answer is insulation.
The temperature of water will never rise above its boiling point, so baking a custard in a water bath ensures that the sides of the pan stay at no more than 212F or 100C.
Baking in a water bath will automatically increase the bake time since the sides of the cake will take longer to set up.
When baking a regular cake, the sides set up first and form a golden brown crust all around.
This is absolutely not what we want in a cheesecake. We want a smooth creamy texture from top to bottom and from edge to edge.
Fair enough. Not everyone wants their baking to take extra time.
Baking your cheesecake in a full crust–one that goes at least to the top of the filling–can also provide some insulation for your batter as it bakes. I’d still keep the heat relatively low, to no more than 325F and watch it like a hawk.
Yes. It freezes really well. Wrap it up really well in plastic wrap and foil in the springform pan I baked it in. It will keep well in the freezer for at least a month or so. Thaw it slowly over about 24 hours in the fridge.
Cold deadens flavors. That’s why ice cream base always tastes sweeter before churning and freezing it. For best flavor and texture, cut slices while chilled and then allow them to come to sit out at room temperature for 45 minutes to an hour.
How to Tell When Your Cheesecake Is Done
As much as everyone says to look for a jiggle in the center, I’m pretty paranoid about accidentally over-baking, so I always use my Instant Read Thermometer to check the temp in the center. I shoot for 160F.
If you’re going to be doing a lot of baking and cooking, having an instant-read thermometer is a lifesaver.
I use mine for everything from checking the doneness of pound cake to cooking sugar to the right temperature for candies and marshmallows.
Serving Suggestions
Let’s face it. Nutella cheesecake doesn’t need a lot of garnishing!
But, serving it with some hand-whipped cream is never a bad plan.
Maybe dust a little cocoa powder over the top, too.
If you’re feeling super decadent, place a slice of the cheesecake on a pool of the best hot fudge sauce in the world. Flavor it with a bit of Frangelico, and that’s a match made in heaven!
And if you’d like a bit of crunch, try making some of this hazelnut praline and serving some of it crushed on top of your cheesecake.
Questions?
If you have any questions about this post or recipe, I am happy to help.
Simply leave a comment here and I will get back to you soon. I also invite you to ask question in my Facebook group, Fearless Kitchen Fun.
If your question is more pressing, please feel free to email me. I should be back in touch ASAP, as long as I’m not asleep.
A Note About Measurements
My recipes are almost all written by weight, including liquids, unless otherwise specified.
For accuracy and consistency of results, I encourage you to buy–and use–a kitchen scale.
I promise that baking and cleanup will be so much quicker and easier.
This is the scale that I recommend for home use. I have owned and used one for years.
Don't let its small price and small size fool you. The Escali Primo is an accurate and easy-to-use food scale that I have used for years. It's easy to store, easy to use, has a tare function, and easily switches between grams and ounces/pounds for accurate measurements.
Love This Nutella Cheesecake? Please Rate and Review!
It will help me and other readers so much if you take a moment to rate and leave a review for this recipe.
You can use the stars to rate 1-5 (5 is best), and leave a review in the comments. It helps me make adjustments if any are needed, and comments help others decide whether the recipe is worth making.
Other ways to share include pinning, and/or sharing on your favorite social media platform.
Thank you so much for taking the time!

The Best Nutella Cheesecake Recipe
Would you like to save this post?
Equipment
Ingredients
For the Crust
- 24 regular Oreos not double stuff
- 4 Tablespoons melted butter
- pinch of salt
For the Cheesecake
- 40 oz cream cheese or 2 1/2 pounds or 5 blocks, softened
- ¾ cup of sugar or up to 1 cup if you like things sweeter but the Nutella is already pretty sweet
- two teaspoons vanilla
- 1 teaspoon fine sea salt
- 3 tablespoons all purpose flour Optional: See Notes
- ½ cup of sour cream at room temperature
- 4 whole large eggs at room temperature
- one large jar Nutella 26.5 ounces, divided
Instructions
For the Crust
- Preheat oven to 300F.
- Wrap a 9" or 10" springform pan with 2 layers of heavy duty aluminum foil. Set aside.
- Put the Oreos in a heavy-duty freezer bag and roll over them with a rolling pin until they turn into fine crumbs.
- Pour the melted butter and a pinch of salt into the bag with the crumbs and smoosh it all around until the crumbs are pretty uniformly coated with the butter.
- Press the crumbs in an even layer over the bottom and a bit up the sides of a 9″ or 10″ spring form pan. (Your cake will be taller if you use a 9" pan and may also take a bit longer to bake, but either is fine.)
- Put the crust in the freezer while you prepare the batter.
For the Batter
- Put the softened cream cheese in the bowl of your stand mixer (or in a large bowl if you're using a hand mixer.) Mix on low speed until the cream cheese is completely smooth.
- Once your cream cheese is Lump Free, add the sugar, vanilla, salt, and flour. Continue to mix on low speed. You will be Tempted to turn up the mixer, but you’ll just be whipping air into your batter. Then it will rise up in the oven and Crack. Don’t let that happen to you. Just keep it on low and be patient.
- Beat in the sour cream on low speed, scraping the bowl as necessary.
- Add the eggs, one at a time, until they’re all incorporated, scraping the bowl well between additions. Again, keep it on low speed.
- Scoop about half of the jar of Nutella into your batter and mix it in thoroughly on low speed, scraping the bowl as necessary.
- Taste for salt and sweetness, and add a bit more of each if it needs it.
- Pour roughly 3/4 of the batter into your prepared pan.
- Mix in the rest of the Nutella to the remaining batter.
- Plop blobs of this batter all over the top of the batter already in the pan, and then use a knife to swirl the two batters together.
- Bring 1 to 1 1/2 quarts of water to a boil. Place the foil-wrapped cheesecake in a larger pan (a roasting pan works well), and put it in the oven.
- Carefully pour the hot water into the roasting pan and close the oven.
- Bake until the center is still wobbly but the sides are set. This will take about 1 1/2-1 3/4 hours, depending on your oven.
- If you have an instant read thermometer, you are looking for 160F in the center of the cheesecake.
- When the cheesecake is done, turn off the oven and open the door a little. Let the cake sit in there for another hour.
- Remove to a cooling rack and let cool for an additional hour or so. Leave the roasting pan with the water in the oven. You can deal with it once it is completely cool.
- Chill the cheesecake the fridge for a minimum of 6 hours or overnight.
- Serve very small pieces, because it is super rich. Enjoy!
Did You Make Any Changes?
Notes
A NOTE ABOUT THE FLOUR
I add a bit of flour to cheesecake recipes as insurance against curdling (if I were to accidentally bake it at too high a temperature) and also to keep the cheesecake from “weeping” liquid out of it if it’s in the fridge for more than a couple of days. It is an optional ingredient. If you leave it out, you will definitely want to bake in a water bath to insulate the sides of your pan.WHY DO I HAVE TO BAKE CHEESECAKE AT SUCH A LOW TEMPERATURE?
In a word, eggs.The more slowly you cook eggs, the more creamy they will be when set. I generally bake my cheesecakes at a fairly low temperature, sometimes as low as 225F or 250F. The upside of this method is you end up with a super smooth and creamy cheesecake that also stays perfectly flat and crack free. The downside is it takes a super long time to bake, possibly as long as 3, 4, or even 5 hours depending on how much batter you have. And that is just kind of crazy, unless you have nothing better to do. My goal is to bake a cheesecake at a low enough temperature to keep it nice and creamy but not at such a low temperature that it takes forever to bake.WHY BAKE A NUTELLA CHEESECAKE (OR ANY CHEESECAKE) IN A WATER BATH?
The short answer is insulation. The temperature of water will never rise above its boiling point, so baking a cheesecake or other custard in a water bath ensures that the sides of the pan stay at no more than 212F or 100C. Baking in a water bath will automatically increase the bake time since the sides of the cake will take longer to set up. When baking a regular cake, the sides set up first and form a golden brown crust all around. This is absolutely not what we want in a cheesecake. We want a smooth creamy texture from top to bottom and from edge to edge.WHAT IF I DON’T WANT TO BAKE IN A WATER BATH?
Fair enough. Not everyone wants their baking to take extra time. Baking your cheesecake in a crumb crust–one that goes at least to the top of the filling–can also provide some insulation for your batter as it bakes. I’d still keep the heat relatively low, to no more than 325F and watch it like a hawk. As much as everyone says to look for a jiggle in the center of your cheesecake, I’m pretty paranoid about accidentally over-baking, so I always use my Instant Read Thermometer to check the temp in the center. I shoot for 160F.Nutrition

Hi, y’all! I hope you’ve enjoyed this post and hopefully also learned a thing or two.
If you like my style, I invite you to sign up for my occasional newsletter, The Inbox Pastry Chef.
Expect updates on new and tasty recipes as well as a bit of behind-the-scenes action. I hope to see you there!
And there you have it. Enjoy this decadent Nutella cheesecake responsibly!
Thanks for spending some time with me today.
Take care, y’all.


Join in Today!


Oh my. This is decadence to the nth power. Yum. I must replace my cheesecake pans the ex ended up with. M.u.s.t.
Yes, it is imperative! 🙂
Well I am very disappointed in Cheesecake Factory. I wonder if the recipe is the same in their restaurants. Will have to investigate that. Now, nutella cheesecake? OMG
Doubtful. When restaurant food goes commercial, they usually just license their name to a company that loosely follows their recipes. Then the recipe gets worked around for shipping and storage and whatnot. That’s why most of it only vaguely resembles what you get in the actual restaurants. Marie Callendar’s case in point. Their frozen food doesn’t come close to the food in their restaurants.
Deb, you should really probably make this:) And I agree w/what Deanna said below. But it also confuses me. If I were The Cheesecake Factory, I’d want my desserts faithfully duplicated. Consistency in flavor/texture is what chain restaurants live and die by, so I find it odd that they’d just license their name. Then again, money talks. And now I’m sad. 🙁
I’m starting to believe they put HFCS in their cheescakes also in the restaurant. That’s how I found your website,I was trying to research it after I got suspicious. My skin always break out really bad after HFCS so I read label on everything before I put it in my mouth. I didn’t ask in the restaurant because I assumed they wouldn’t use it. But my skin got real bad the next day after eating it there. First time I thought it was a coincidence but it happened again so I’m rather not going to eat there anymore,no need to risk it. Your recipe sounds amazing I’ll much rather try that one! Thank you for your useful advices as well 🙂
Restaurants really need to be more transparent in letting folks know what goes into their food. Sorry you’re having those issues, Kat. Glad you found me though; enjoy the cheesecake!
Are YOU trying to kill ME? I should have logged off hours ago—To-Do list as long as my arm today, but just as I was about to click out of here I spotted this……So many blogs are blah. I can’t believe I found a food blog, of all things, with, sorry to say it, an uninspiring name, that has a writer/super chef/social commenter/crazy off-the cuff comedian behind it all. Not to mention drool-inducing recipes, the the tellling of which does not put me into a coma…..I feel an urge to write a blog post about my discovery of you, if you wouldn’t object to that? And now I really must click away out of here!
If you must, you must:) Glad you’re having fun; now go get to work, Missy!
The blog title is kind of dry. Consider it a bait and switch! 😉
Mmmm! That looks really good.
hi i’m kinda new to all this and umm i was wondering…where does the sour cream and flour fix into all this? oh and how high am i suppose to make the crust? help would be much appreciated to a beginer lol thanks
Hi, Anthony–sorry if I wasn’t more clear. I probably left out putting in the sour cream and flour part. 😳 I’ll go back and check/change it for others. Add the sour cream and flour after you have blended the cream cheese and sugar together really well. Once the cream cheese is smooth, it’s pretty much just dump everything in and mix slowly until it’s all smooth and lovely. As to the crust, make it as high as you’d like. You can just put crumbs in the bottom of the pan. I press mine up the sides about 3/4″, or you could go all the way up. It’s really up to you.
Hope that helps. And please make this. You will be Very Happy that you did! 🙂
I just did it without the sour cream and ap lol, but we’ll see how it comes lol
It will just be a bit more dense w/o the sour cream, and the flour is there to keep the liquid suspended. So, it might “weep” a bit if you don’t eat it all in just a couple of days. On the other hand, it probably won’t last that long! Hope it turns out great!
I like your ‘no rule’ rules on this blog- like saying things such as Vegetabletarian…you remind me of, well, myself and my sister combined!
Oh, did I tell you I posted the orange cake I made? Also now I guess I have to make this for hubby, easy as pie, or I mean cheese cake…
Is there anything nutella DOESN’T make better?
I’d really, really like to leave a (somewhat intelligent) comment but I don’t know what to say. This whopper needs to be made and eaten. Twice a month. Weekly. Daily…until I kick the most glorious bucket imaginable. Yeppers.
I’m still puzzling over the measurement for your butter in the crust: 2-21/2 ounces. My groovy (or not so) brain tells me that that is 2 ounces plus 21 half ounces for a total of 12 and one half ounces…..
Sorry, Groovy:( I meant to say it was somewhere between 2 ounces and 2 1/2 ounces. 😳
Ahhhhhhhh. Thank you! (Now to sneak out to the store for some nutella!)
Well all I can do is give thanks to the 9 squared inches of ingredients that resulted in you bringing us this nutella cheesecake, even if it had to be done by the light o’ the moon!
so no water bath, right? No magic-strips either? Just pan in the oven and full steam ahead?
Yup–that’s it. Just shove ‘er right in there. Just keep the heat low–below 300F–and you should be fine. One caveat: If you choose to NOT make a crust, go ahead and use a water bath.
Can one bake “full steam ahead” without a water bath?
Hee! 😆