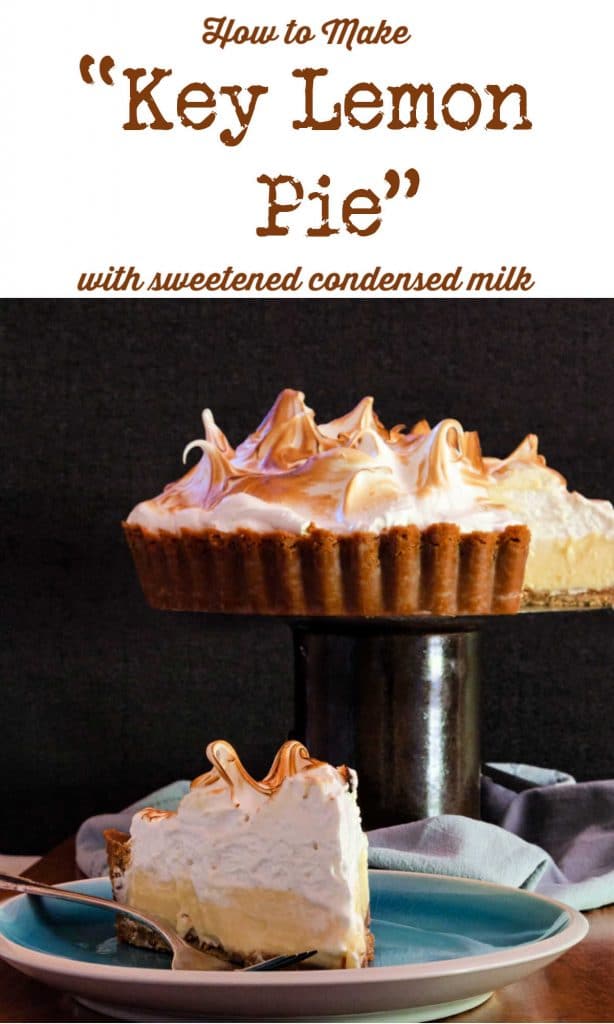
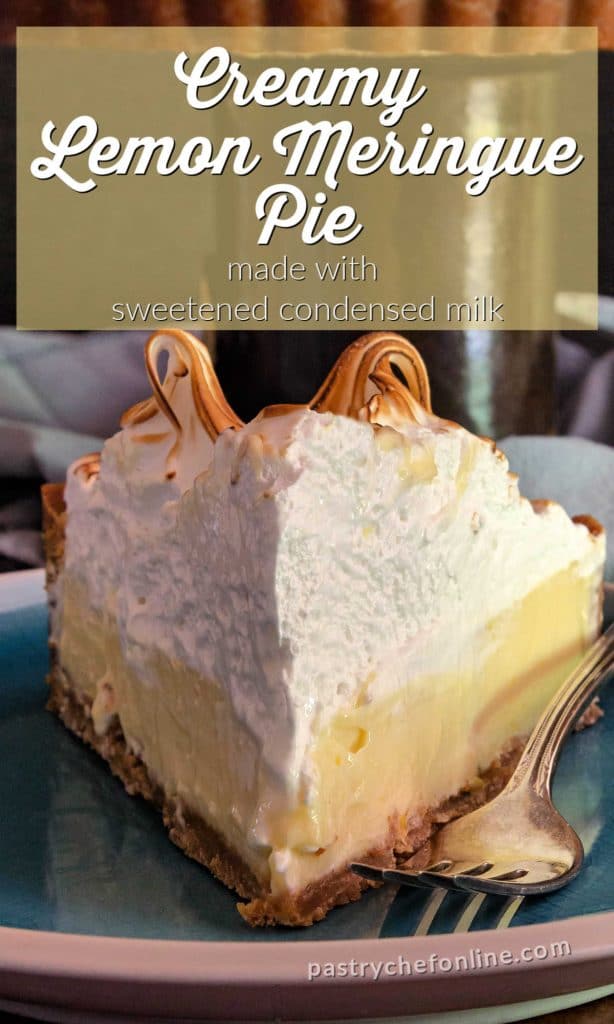
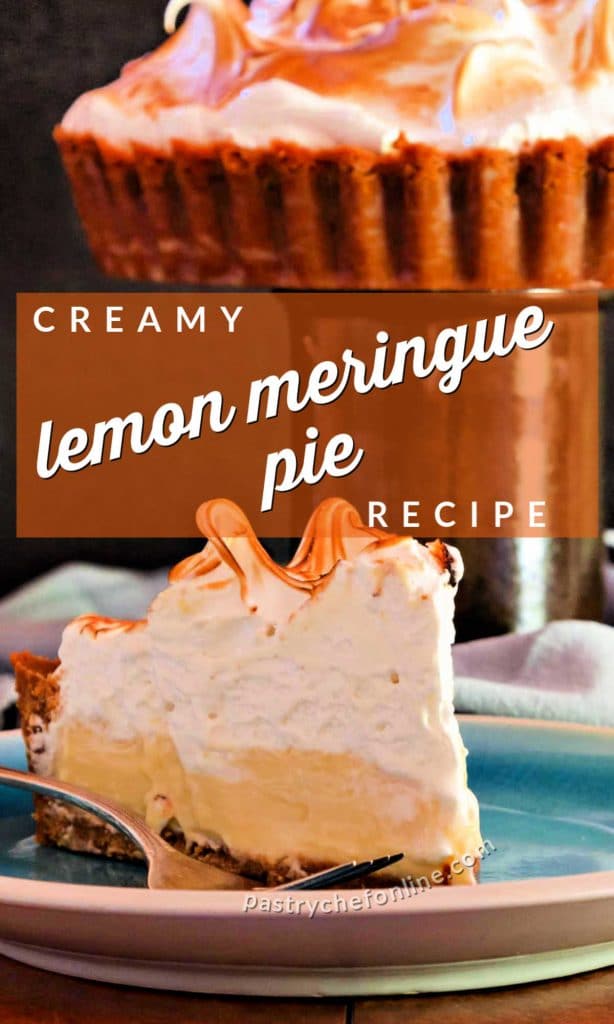
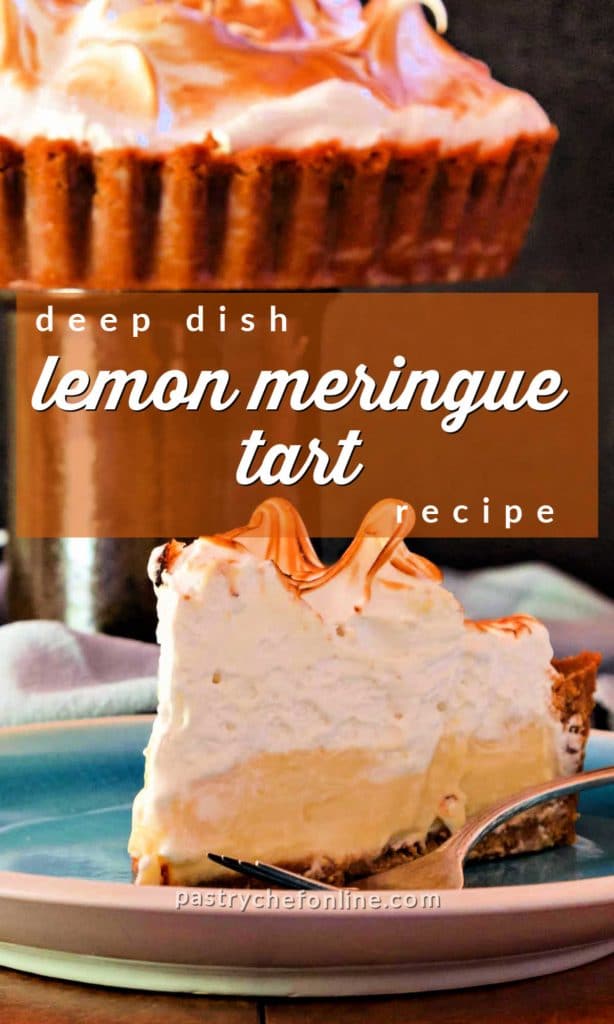
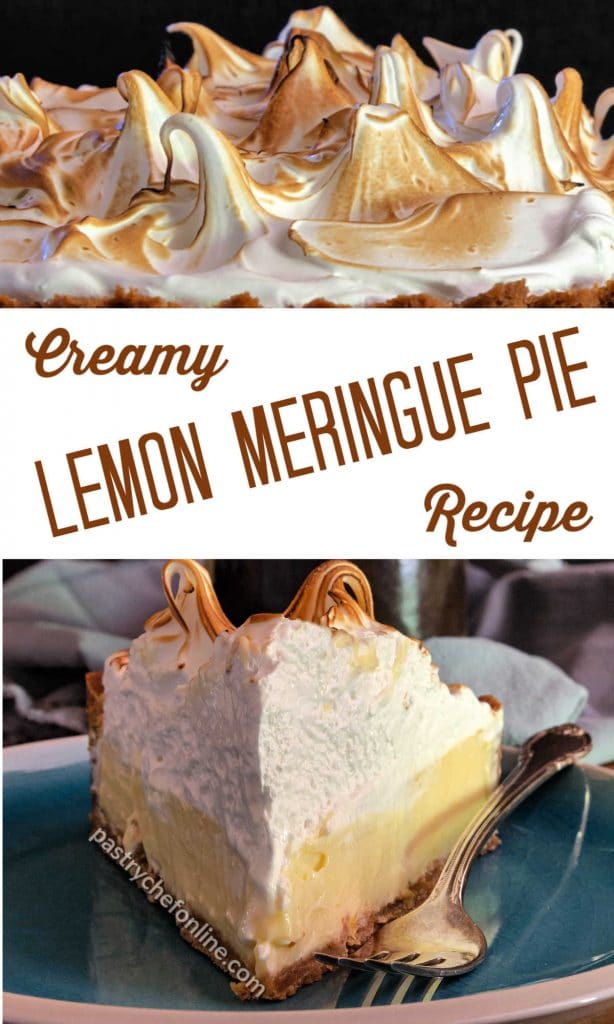
Today we’re making an incredibly rich and creamy deep dish lemon meringue tart. I have never been a huge fan of traditional lemon meringue pie with it’s odd gel-like filling made with water and cornstarch. I much prefer a dense, creamy filling similar to key lime pie filling.
Add that rich goodness to a homemade graham cracker crust formed in a deep dish tart pan, and top with dazzling swoops of toasted Swiss meringue. What you end up with is a dessert that is both visually stunning (if I do say so myself) and sweet-tart-creamy-delicious!
For ease of browsing, check out all of my pie and tart recipes here. Let’s make some, shall we? Oh, and please note that the real-time video that goes with this post is about 1 hour and 10 minutes long, going through the whole process of making and baking the crust, making the filling, and making and toasting the meringue.
This recipe is perfection!!!
Pinner Christine
Deep Dish Lemon Meringue Tart, At a Glance
✔️Skill Level: Intermediate
✔️Skills: Making Swiss Meringue (linked), using a torch (linked) to brown meringue
✔️Type: Deep Dish Tart
✔️Number of Ingredients: Crust: 3, Filling: 6, Meringue: 4
✔️Prep Time: 45 minutes
✔️Cook Time: 15 minutes
✔️Yield: 1 8-9: tart, about 8 servings
Jump Straight to the Recipe
Pastry Chef Online Participates in Affiliate Programs. If you make a purchase through one of my links, I may earn a small commission. For more information click to read my disclosure policy
Credit Where Credit is Due
I did not pull the idea for this pie out of thin air. Rarely are desserts so completely original that someone isn’t inspired by an already existing dessert.
The same is true in my case.
I was inspired by Peabody Johanson’s Double Key Lime Pie on her wonderful site, Sweet ReciPEAs.
Peabody is always kicking up some utterly ingenious goodness, and her key lime number is no exception.
From her base recipe, I decided to reduce the number of egg yolks, leave out the cream, and replace the key lime juice with a lot of lemon zest and freshly squeezed lemon juice.
So that’s what I did.
Real Time Video
Here is the step-by-step video that goes with this lemon meringue tart recipe.
Note that I was actually developing the recipe as I went, so the final recipe looks a bit different from what I did in the video, but all the steps are there so you can see what to do.
As I said in the intro, the video is over an hour long, but you can skip around to see what you’re most interested in. It goes in this order: Graham cracker crust–>filling–>Swiss meringue–>torching the meringue.
For the Crust
As I mentioned in the introduction, I used my own homemade graham crackers and turned them into a crust in my deep dish tart pan.
Since homemade guys contain butter and mass-produced ones do not, you will most likely need less butter for your crust than you are used to using.
I used 3 oz of butter, and I think it was a bit much.
If you are using store-bought Grahams, you will probably need all 3 ounces, but if you decide to make your own Grahams, reduce the amount of butter by 1/3.
For the Filling
The filling is very straightforward to make.
Just whisk everything together evenly.
A Couple of Notes
I do recommend whisking the very soft cream cheese together with the egg yolks first before adding any other ingredients.
You want to make sure there are no little specks of unblended cream cheese in your filling mixture, and the best way to accomplish that is to whisk it with a small amount of the other ingredients first.
You could achieve the same result by starting with maybe 1/4 cup of the sweetened condensed milk, too.
Once you add the lemon juice, which I did last, the filling will begin to thicken up as the acid in the lemon juice reacts with the proteins in the yolks and in the sweetened condensed milk.
This is part of the reason why the baking time is so short. The filling pretty much sets on its own, much like a posset.
I baked mine for 15 minutes, and it turned out beautifully.
I made this for Thanksgiving with my family, and I will no longer be allowed to make anything EXCEPT this tart for future gatherings!
Reader Melanie
I’m a first-timer for Swiss meringue, but it turned out perfectly, and I’m sold on this as my new go-to for meringue! Even my family members who have always found meringue pretty tasteless and pointless were in love.
And the creamy density of the lemon tart was literally the best any of us have ever had. I cannot say enough good things about the ease of this dessert, or the gorgeous end result. I looked like I could’ve been a contender on the Great British Baking Show, LOL!!
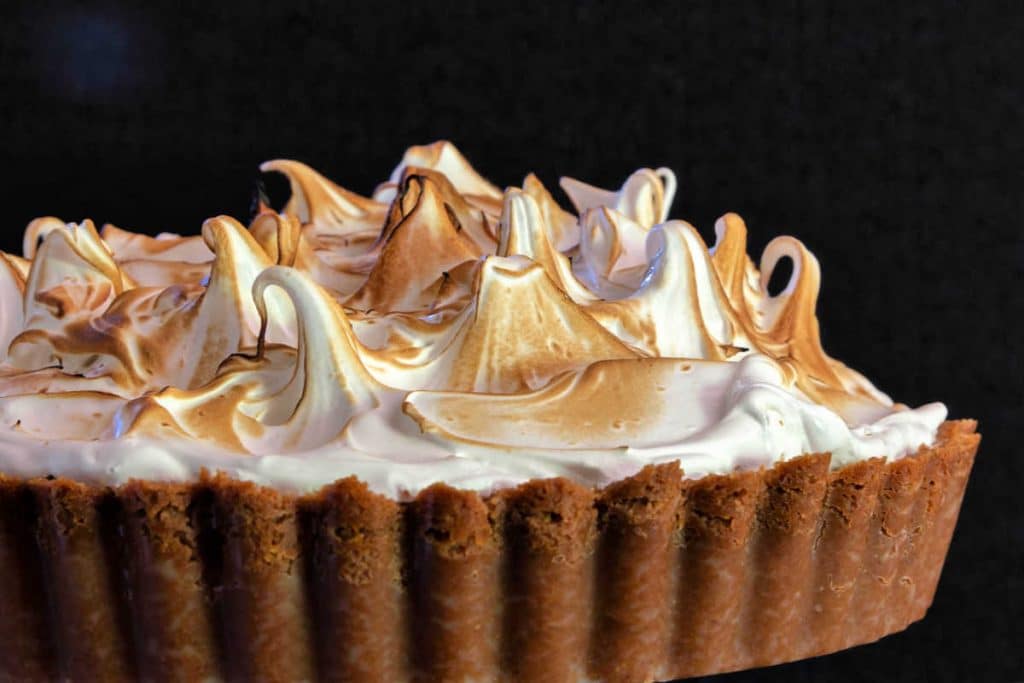
Why Swiss Meringue?
I chose to make Swiss meringue to top my creamy lemon pie, partly for safety reasons.
If you just make a straight French meringue (no cooking–just whipping together the whites and sugar), whether you torch it with a blowtorch or pop it under the broiler to brown it, the inside of the meringue will not get hot enough to cook those egg whites.
So if you have any concern at all over egg safety, go with a cooked meringue–either a Swiss or an Italian.
Swiss Meringue is a bit easier to make than Italian meringue, because it doesn’t require a thermometer to check the temperature of a sugar syrup.
In the video, you will still see me checking the temperature to get it up to 165F for food safety, but the temperature is not as crucial to the final texture of the meringue as it is in an Italian meringue.
The most important variable for the final texture of your meringue is the amount of sugar you use.
For an extremely stable and glossy meringue that is also very thick like thick marshmallow cream, I weigh my sugar at twice the weight of my whites.
For this pie, because I wanted a meringue a bit more delicate but still stable and beautiful, I weighed my sugar at 1 1/2 times the weight of my whites.
Visually, you cannot really tell a difference, but, as you’ll see in the video, the meringue, while still thick and luscious, is less dense.
This makes it easier to spread on the hot pie without it smooshing the filling down.
Jenni Says: For a very dense and marshmallowy meringue, use 2:1 sugar to egg whites. or a lighter yet just as glossy meringue that is easier to spread, multiply the weight of the whites by 1.5 to get the amount of sugar.
Examples: Dense, marshmallowy meringue: 4 oz sugar and 2 oz egg white (weight of whites x 2)
Lighter, more spreadable meringue: 3 oz sugar and 2 oz egg white (weight of whites x 1.5)
What If I Don’t Have Enough Lemon Juice?
You can make up the difference with lime juice or a combination of lime and orange juice.
Instead of a deep dish lemon tart, you’ll have a deep dish mixed citrus tart, which is just as good, if not even better.
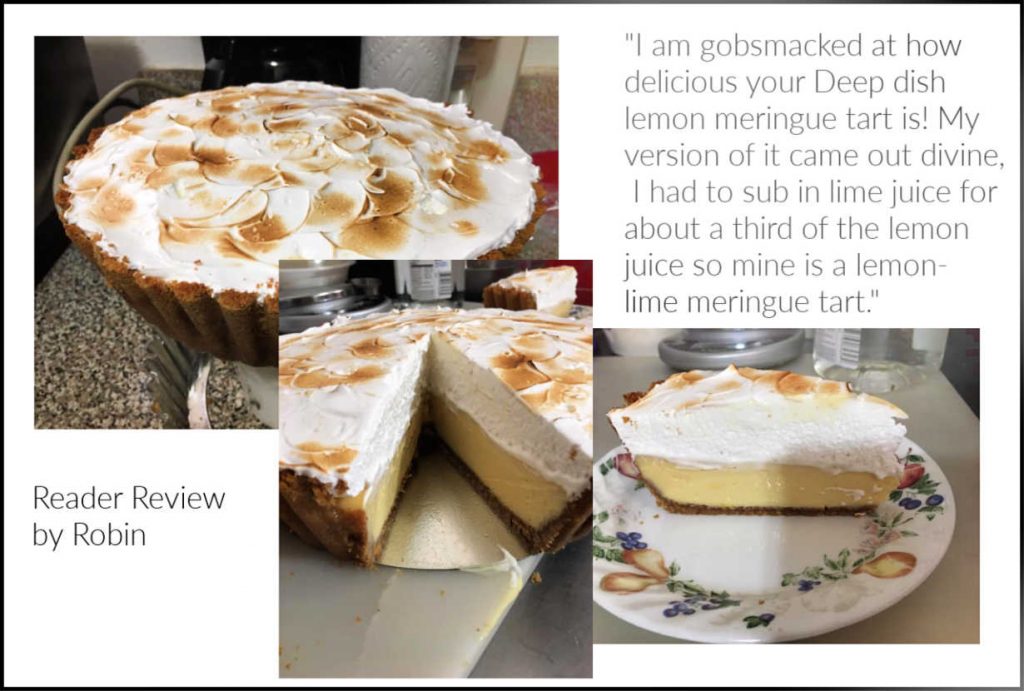
Look what reader Robin made:
Reader Rave
Would you like to save this post?
Reader (and friend) Robin posted these photos and review to Facebook just a couple of days after I posted the pie.
Here’s her review:
I am gobsmacked at how delicious your Deep dish lemon meringue tart is! My version of it came out divine, I had to sub in lime juice for about a third of the lemon juice so mine is a lemon- lime meringue tart.
Reader Robin, shared with her permission
Making Ahead
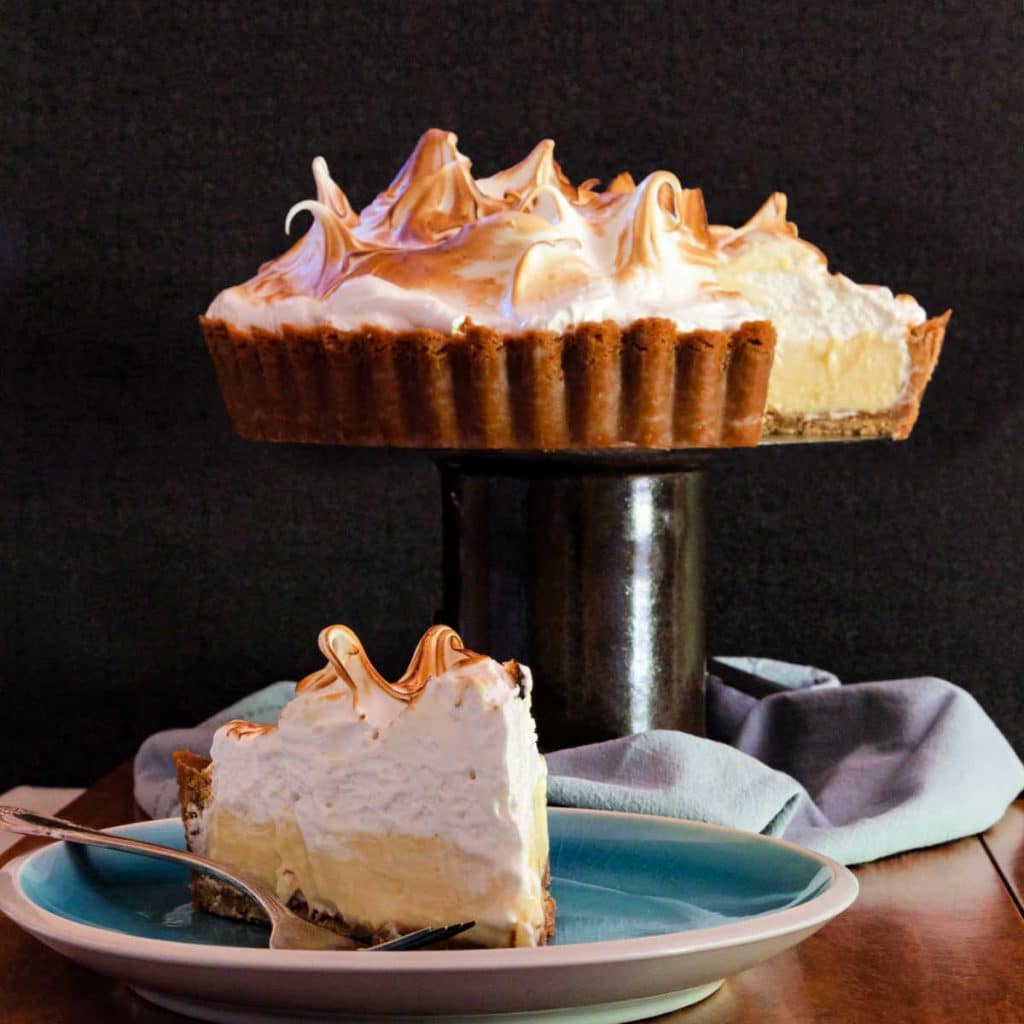
You can and should make your lemon meringue pie ahead, by a day or even two.
Making it ahead and chilling it will give the pie plenty of time to firm up, and when you use a Swiss meringue, there will be minimal–if any–weeping as is often the case with a traditional lemon pie topped with an uncooked meringue.
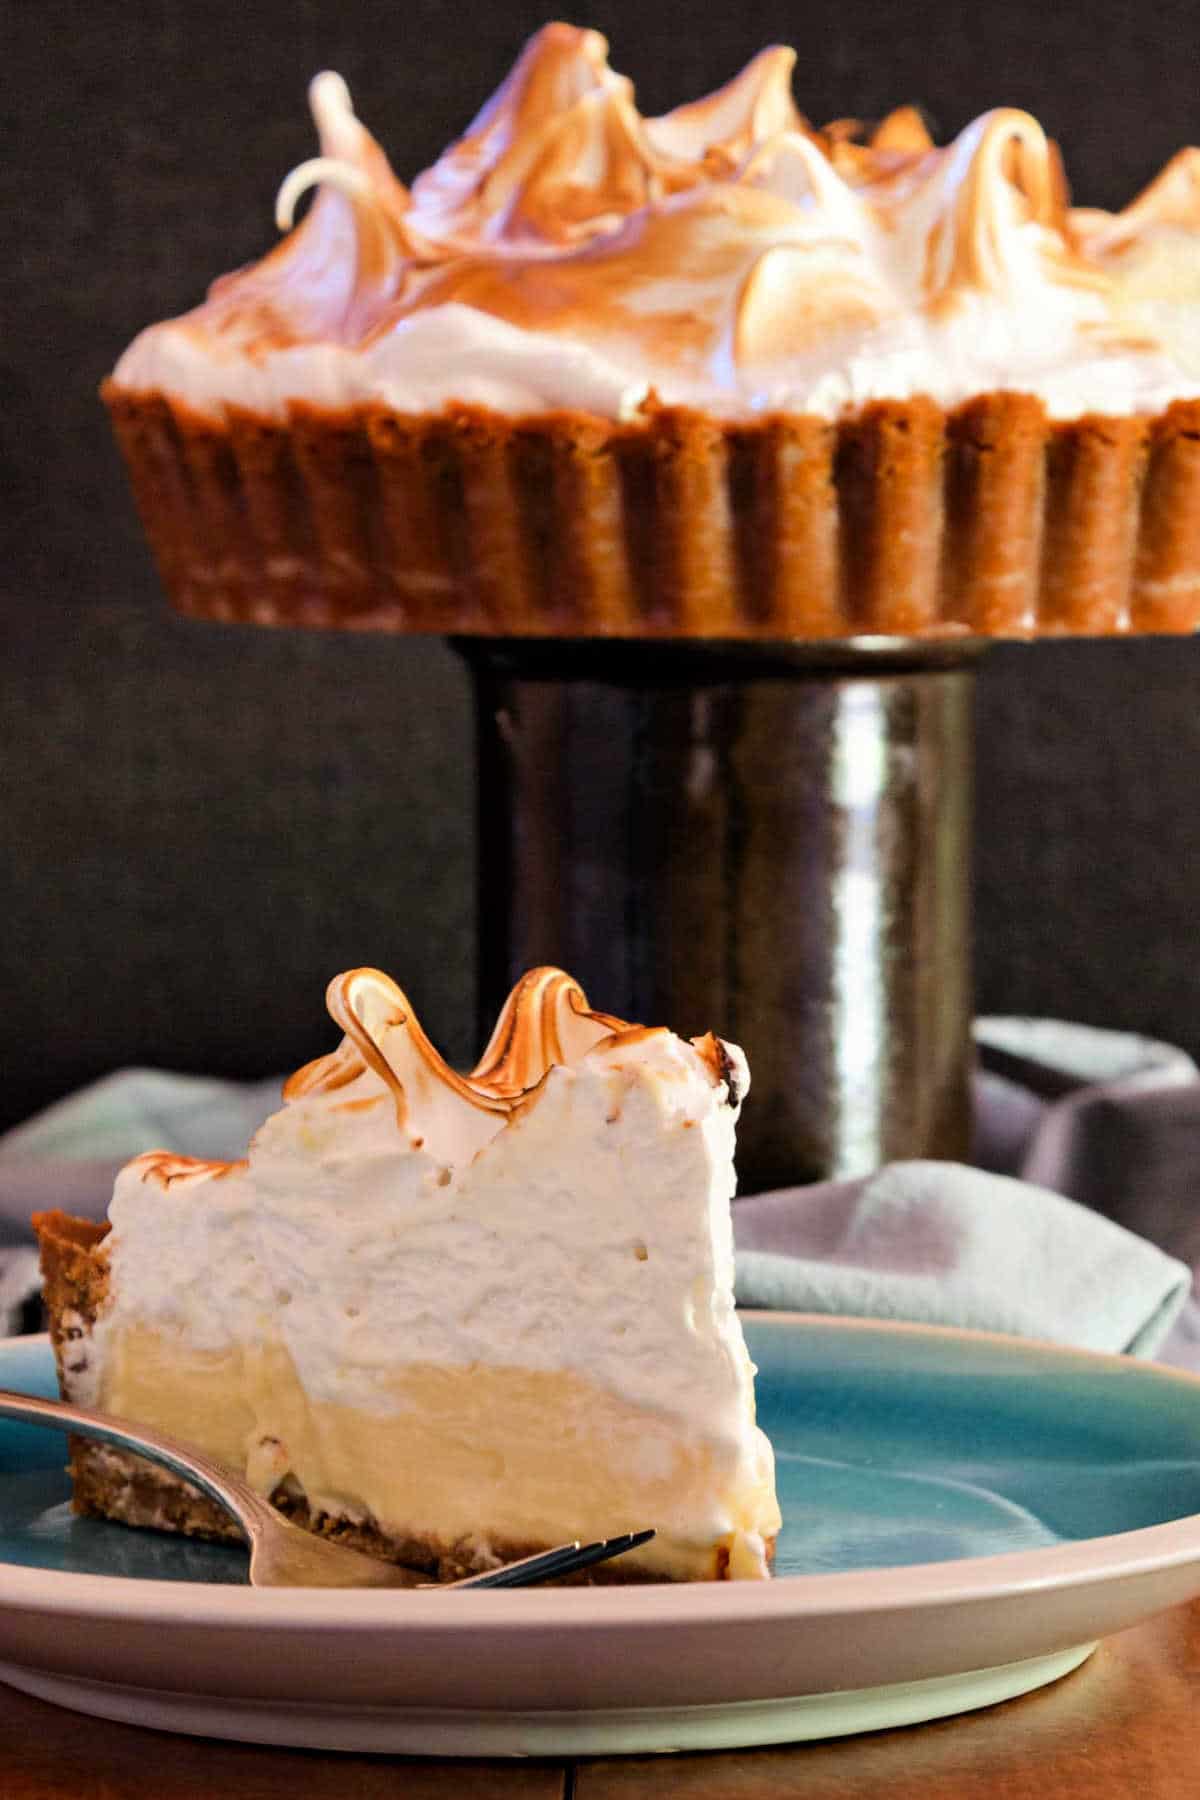
How to Get Clean Slices
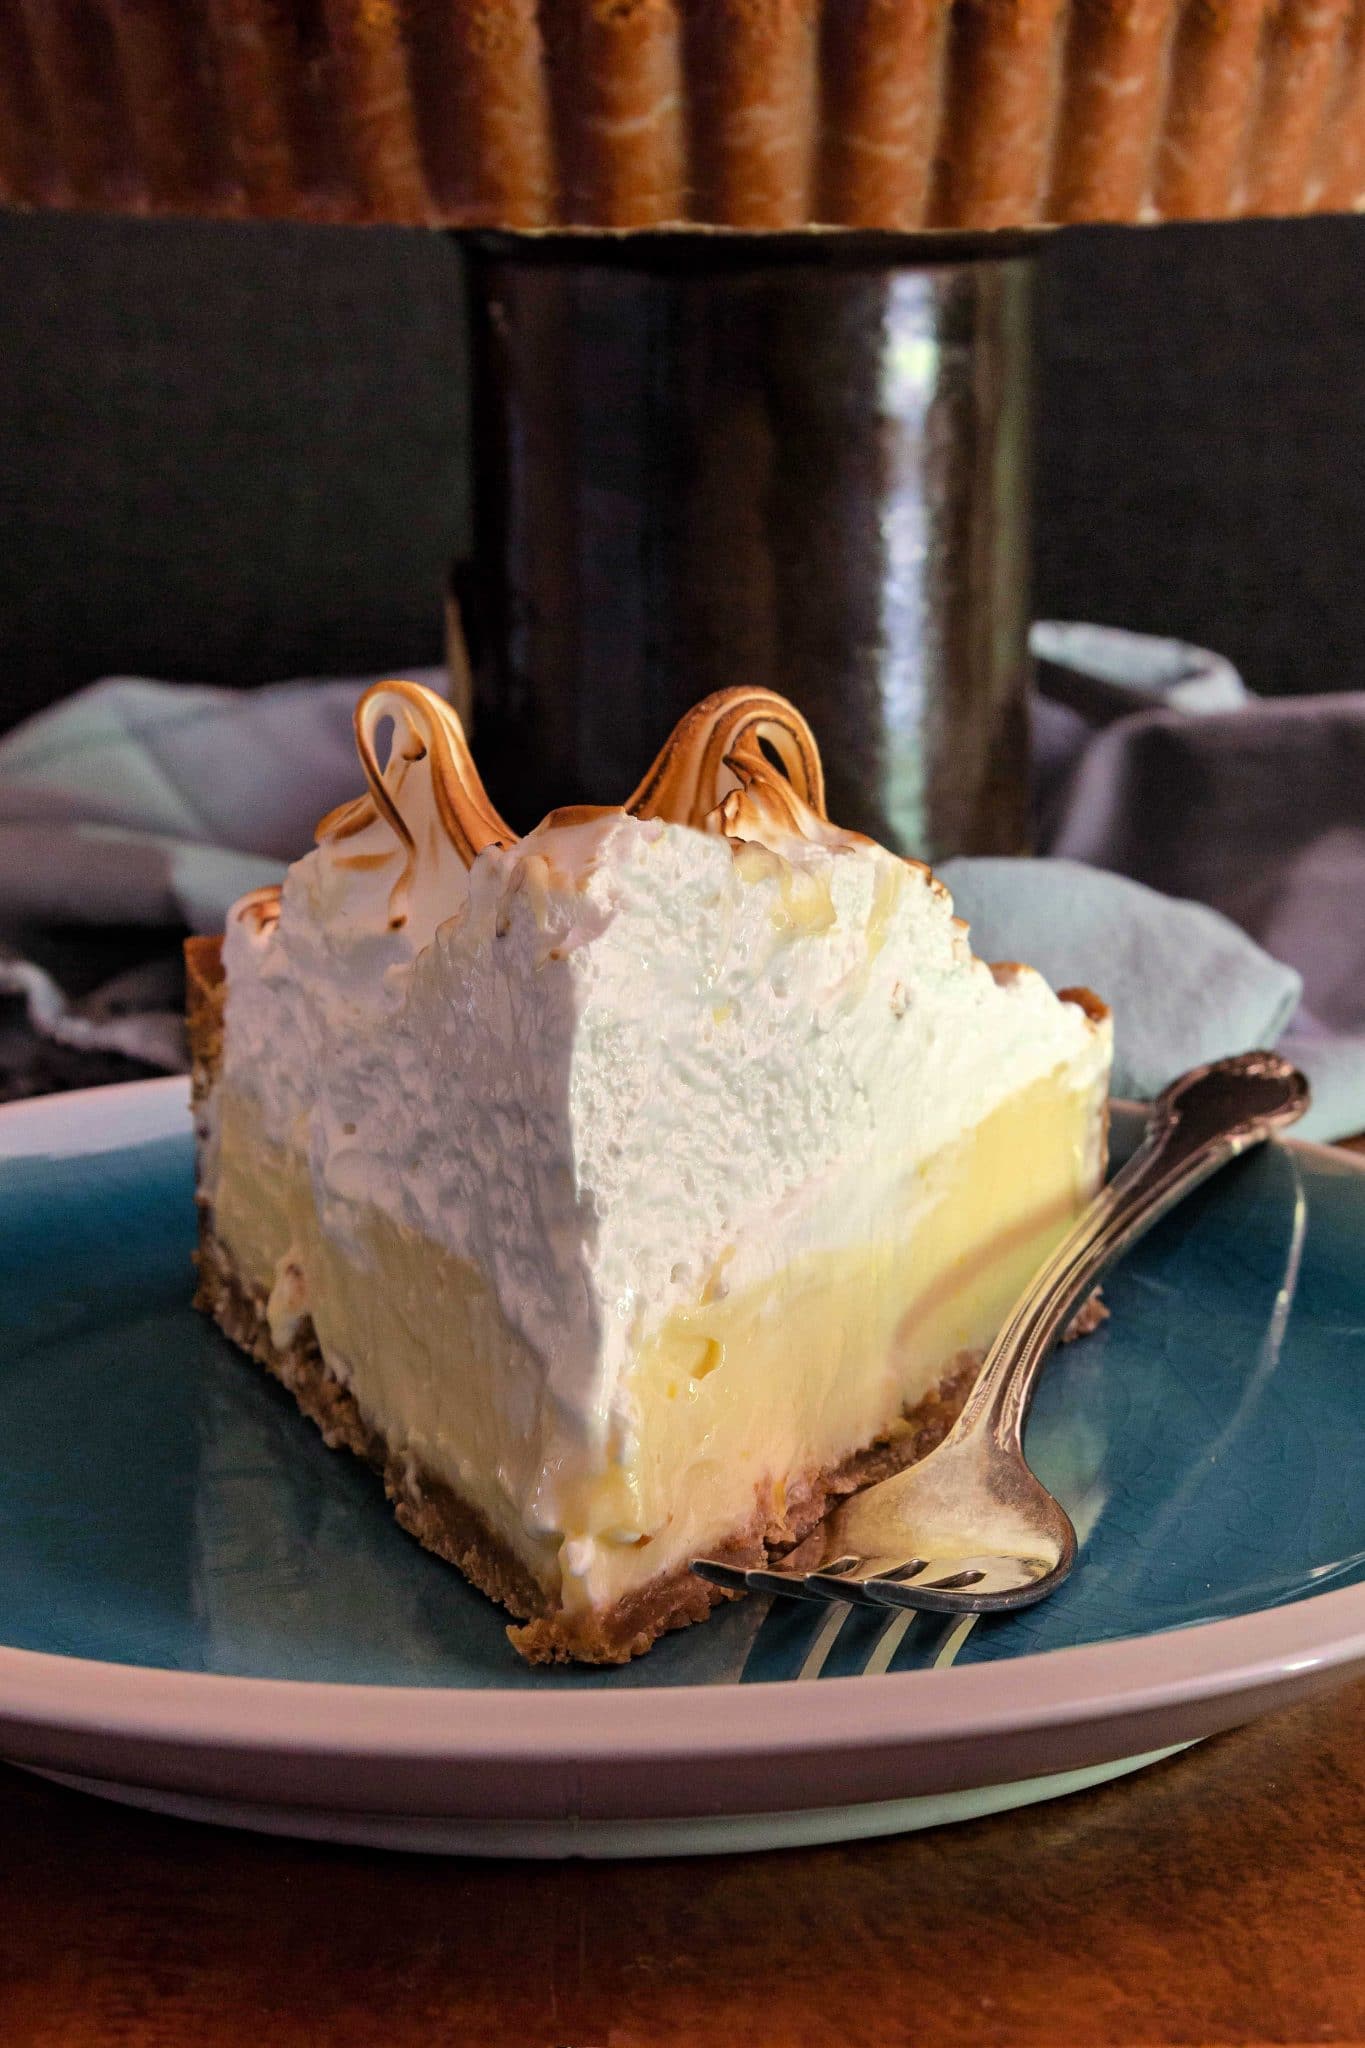
As you can tell from the photos, the meringue on this pie is pretty tall. The best way to slice it is with a sharp, thin knife.
To get the cleanest cuts, run the knife blade under hot water and then dry it off right before slicing. Do this between each slice you make.
Also, try to make the cut in one motion, pressing down harder towards the bottom crust to get a clean cut.
If you lift your knife up and down during cutting, you’ll end up with filling smeared onto the meringue and vice versa.
Of course that doesn’t affect the flavor at all. Your pie will still be fantastic. It just won’t be quite as pretty for pictures if you plan to take some.
Storing
Store your pie, post-slicing, in the fridge loosely covered with plastic wrap. The pie will be just fine for a day or two after making it and before slicing it.
Once you slice it, you could get a little bit of weeping over time.
Eat leftovers, or share them with friends, within 3 days of slicing.
Store your leftovers in the fridge.
Best practice is to cut the slices you’ll be serving and immediately return the remainder of the pie to the fridge.
You can let the slices of pie sit at room temperature for about 15 minutes just to take the chill off so you will get a more intense flavor.
Freezing
This “key lemon tart” freezes quite nicely.
Freeze the pie before adding the meringue. Freeze it whole on a sheet pan for several hours, and then wrap it well in plastic wrap followed by foil.
The pie will keep beautifully for a good 3 months in the freezer.
To thaw, allow to temper in the fridge for 24 hours, still wrapped. Remove to the counter, unwrap, and let sit for an hour.
If there is any condensation on the top of the pie, blot it dry with a paper towel or lint-free kitchen towel.
Then make the meringue, top your pie and brown the meringue, and serve.
You can also freeze by the slice in the same manner outlined above.
Just wrap each piece separately. In that case, it is probably easier to serve individual slices with a large dollop of whipped cream.
Do You Have to Use a Graham Cracker Crust?
Absolutely not.
Feel free to sub the crumb crust of your choice. One made with vanilla wafers or even gingersnaps would be lovely.
You can also eschew the crumb crust all together and go with a sable dough, pate sucree, or a traditional American pie crust.
Just be sure to blind bake the crust until mostly done since this pie doesn’t need much time in the oven.
More Homemade Pies and Tarts
I do love a good homemade pie, whether it’s an old fashioned pie or something a little more “new fangled.”
For desperation pies, those pies ingenious cooks came up with when there wasn’t any fruit around, it’s hard to do better than a vinegar pie, coconut custard pie, or a shoofly pie.
And for a very cool tart I made in this same tart pan, you might be interested in my apple chai cheesecake tart. It’s really beautiful, very tasty, and easy to make.
And if it’s rhubarb season, celebrate the short season with this lovely paleo rhubarb tart from At the Immigrant’s Table.
And if you are a fan of all things lemon, try my lemon cooler cookie recipe. It’s an (almost) dead ringer for the originals.
Questions?
If you have any questions about this post or recipe, I am happy to help.
Simply leave a comment here and I will get back to you soon. I also invite you to ask questions in my Facebook group, Fearless Kitchen Fun.
If your question is more pressing, please feel free to email me. I should be back in touch ASAP, as long as I’m not asleep.
A Note About Measurements
My recipes are almost all written by weight, including liquids, unless otherwise specified.
For accuracy and consistency of results, I encourage you to buy–and use–a kitchen scale.
I promise that baking and cleanup will be so much quicker and easier.
This is the scale that I recommend for home use. I have owned and used one for years.
Please Take a Moment to Rate and Review
It helps me and other readers so much if you take a moment to rate and review this recipe.
Your star rating and comments help others decide whether the recipe is worth making, and your feedback helps me continue improving recipes here at Pastry Chef Online.
Other lovely ways to share include pinning or posting on your favorite social media platform.
Thank you so much for taking the time!

Deep Dish Lemon Meringue Tart
Video
Equipment
Ingredients
For the Crust
- 12 oz Graham crackers about 18 squares or 9 “sheets” of store-bought
- 2-3 oz cool butter 2 oz if using homemade Graham crackers, 3 oz if using store bought
- pinch of salt
For the Filling
- 4 oz 1/2 block cream cheese, softened
- 4 large egg yolks
- heavy pinch of salt
- zest of 3 medium or 2 large lemons
- 2 cans sweetened condensed milk
- 1 cup freshly squeezed lemon juice strained of pulp and seeds (measure after straining, not before)
For the Swiss Meringue
- 4 egg whites about 5 oz
- 7.5 oz granulated sugar or 1 1/2 times the weight of your egg whites
- heavy pinch of salt
- 1 Tablespoons freshly squeeze lemon juice
Instructions
For the Crust
- Preheat oven to 350F.
- Add the Graham crackers and salt to the bowl of your food processor.
- Pulse until finely and evenly ground
- Add 2 oz of butter and pulse until evenly combined. The "dough" should hold together reasonably well when you squeeze a bit together.
- Press into the bottom and up the sides of a 2" deep tart pan or a deep dish pie pan. NOTE: Unlike in the video, press the crumbs all the way up the sides so there will be enough room for all the filling.
- Place your pan on a baking sheet, and bake for 10 minutes. If the crust slumps a bit, press it back into place with the flat bottom of a glass or measuring cup.
- Set aside, still on the baking sheet.
For the Lemon Filling
- Whisk the cream cheese and the yolks together until completely smooth.
- Add the salt, zest, and condensed milk and whisk until well combined.
- Slowly whisk in the lemon juice until smooth. Mixture will start to thicken.
- Scrape all the filling into the prepared crust and bake for 20 minutes or until the pie is set and doesn’t shimmy when you shake the pan.
- While the pie is in the oven, make the meringue.
For the Swiss Meringue
- Choose a pot that the bowl from your mixer will fit in without touching the bottom.
- Add an inch or so of water to the pot and bring to a boil.
- Place the whites, sugar, and salt into the mixer bowl and place atop the pan of boiling water.
- Regulate the heat so the water stays at a high simmer/low boil, and whisk the whites mixture constantly until the sugar has dissolved and the mixture is very hot. You want to get to at least 140F, but I like to take mine to 165F to ensure the whites are cooked.
- Once you’re reached the magic temperature, remove the bowl from the pot of water, dry off the bottom, and scrape the sides of the bowl.
- Place the bowl on the mixer fitted with the whisk attachment and whip until cool and very thick and glossy.
- Add the lemon juice and whisk until completely incorporated.
To Finish and Torch
- Once the meringue is done, pile it on top of your still hot tart and spread it out to touch the crust all around.
- Swirl and swoop with a small spatula until you like the way it looks.
- Brown the meringue with a kitchen torch or place it under the broiler for 2-3 minutes to brown.
- Refrigerate the pie, uncovered, until cold. Loosely tent with plastic wrap until ready to serve.
Did You Make Any Changes?
Notes
To Bake In a 2" x 9" Cake Pan
If all you have is a 9" x 2" cake pan, you can bake this tart in that pan. Before pressing in the crumb crust, cut two long strips of heavy duty aluminum foil about 4" wide and long enough to run across the bottom and up the sides of the pan with an overhang of about 4 inches on either side. Fold each strip in half, lengthwise, and lay one across the other in the pan. Smooth them out and then press in the crust. Once the pie is baked and topped with meringue, let cool to just warm, and then use the overhanging aluminum foil strips to carefully lift the tart up and out of the pan. Place on a cake plate or something similar and then chill until time to serve.Make Ahead
You can make the crust up to 2 days in advance. Store it, well-wrapped, at room temperature until ready to fill with lemony goodness and bake. Make the entire pie up to 2 days in advance and store it, covered loosely with plastic wrap, in the fridge until ready to serve.Nutrition
Would you like to save this post?

Hi, y’all! I hope you’ve enjoyed this post and hopefully also learned a thing or two.
If you like my style, I invite you to sign up for my occasional newsletter, The Inbox Pastry Chef.
Expect updates on new and tasty recipes as well as a bit of behind-the-scenes action. I hope to see you there!

Thanks so much for spending some time with me today, friends.
Take care and enjoy the lemon meringue tart.
Take care, y’all.


Join in Today!
An Absolutely delicious way to use fresh home grown lemons! Do you have an Instagram? I was going to tag you.
Oh, hooray, BJ! So glad you are loving it, and how cool you have your own lemon tree! Yes, I’m on Instagram. You can tag me at @onlinepastrychef Can’t wait to see!
I made your lemon meringue tart tonight snd it was amazing!!!!
Oh, I’m so happy you like it, Amber! Thanks so very much for letting me know. Hope you have a safe and happy 2022!
I made this for Thanksgiving with my family, and I will no longer be allowed to make anything EXCEPT this tart for future gatherings! I’m a first-timer for Swiss meringue, but it turned out perfectly, and I’m sold on this as my new go-to for meringue! Even my family members who have always found meringue pretty tasteless and pointless were in love. And the creamy density of the lemon tart was literally the best any of us have ever had. I cannot say enough good things about the ease of this dessert, or the gorgeous end result. I looked like I could’ve been a contender on the Great British Baking Show, LOL!! (FWIW, 12oz. of my purchased graham crackers was far too much and therefore needed more butter to ‘stick together’ properly, so that’s the only minor piece I’ll need to sort out for next time).
Thank you for this wonderful recipe!! I just finished making it and it turned out perfect! Can’t wait for my husband to enjoy it tomorrow for his birthday.
Oh, wow Christine! I’m honored to be even a small part of your husband’s birthday celebration! I hope he really enjoys it!
Gorgeous! Perfect! Fluffy meringue! You will never want another pie…. ever.