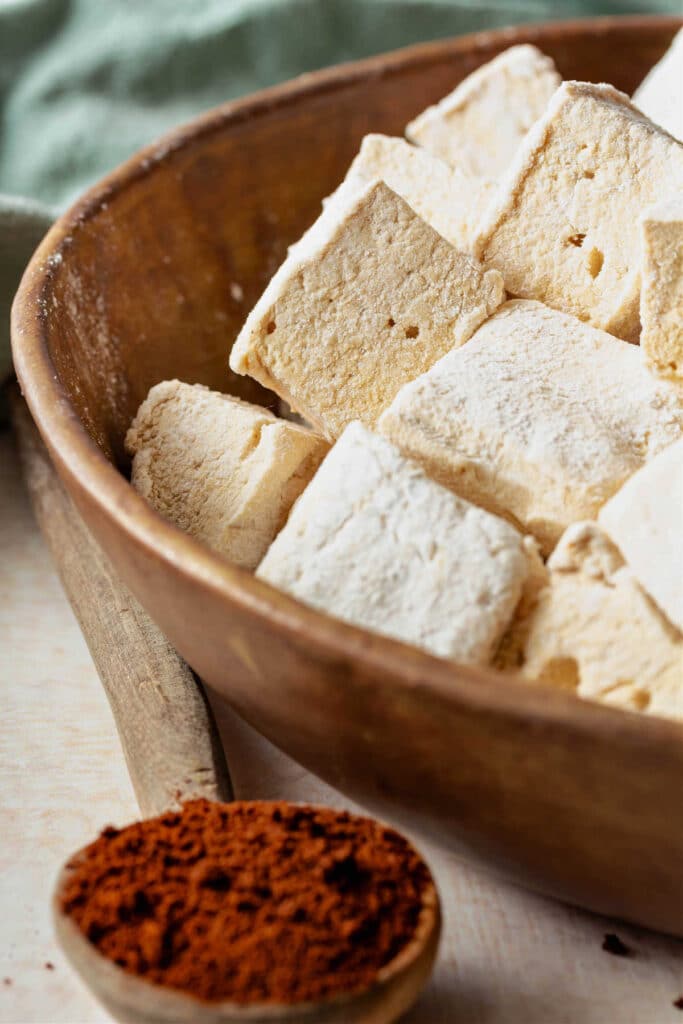
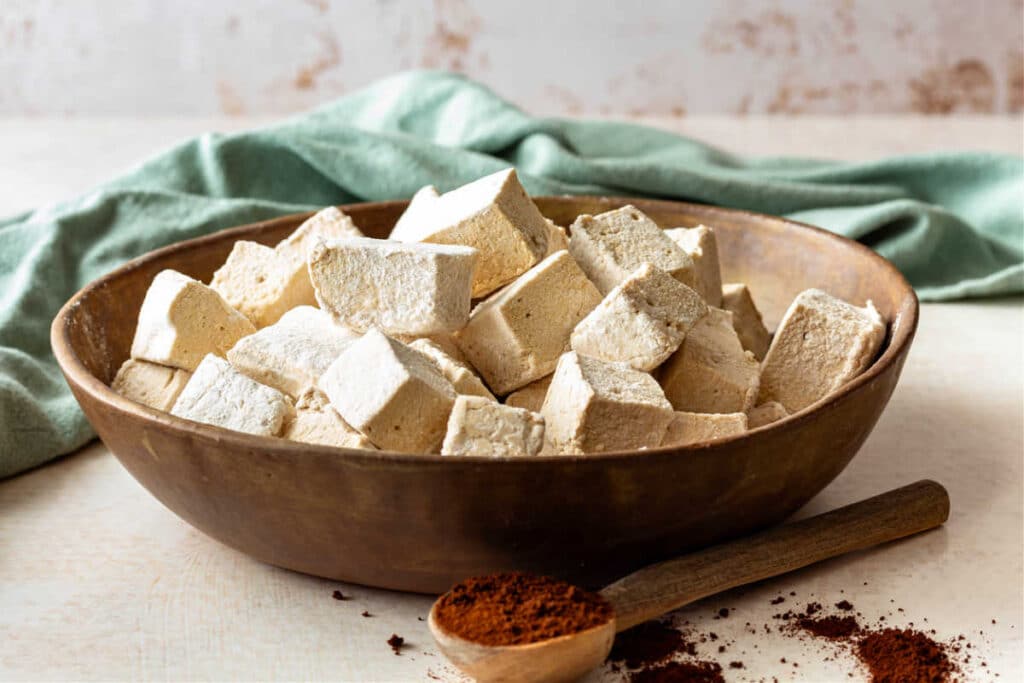
Today, I’m going to show you how to make coffee marshmallows for munching or for topping your hot chocolate custard. Homemade marshmallows are easy and economical to make, you can flavor them however you want, and the texture is so much dreamier than store-bought.
If you like the coffee marshmallows, you may want to also check out my master marshmallow recipe.
For ease of browsing, you can find all my candy recipes in one place. Now let’s make some marshmallows!
Pastry Chef Online Participates in Affiliate Programs. If you make a purchase through one of my links, I may earn a small commission. For more information click to read my disclosure policy

Coffee Marshmallows, At a Glance
These marshmallows don’t contain egg whites, and they are less fussy to make than the egg white version. Once you make them once or twice, you’ll want to make all sorts of flavor variations.
Here’s what to expect from the recipe:
✅Skill Level: Intermediate
✅Skills: Cooking a Sugar Syrup, Hydrating Gelatin, Curing
✅Type: Candy
✅Number of Ingredients: 9 + 2 optional ingredients
✅Prep Time: 10 minutes
✅Cook Time: 5-10 minutes
✅Yield: 1 9″x13″x1″ tray of marshmallows, about 100 mallows
Jump Straight to the Recipe
Why Homemade Marshmallows are Better
If all you’ve ever had, marshmallow-wise, are store-bought marshmallows, prepare to be amazed.
When compared to store-bought, these coffee marshmallows not only taste better (coffee, of course, but also a lovely vanilla flavor), the texture is smoother.
While fluffy, homemade mallows are a bit more dense and supple than store-bought versions. They contain enough salt to mitigate the sweetness, and you can cut them into whatever shape/s you like.
If you work fast, you can even pipe homemade marshmallows rather than just allowing them to set and then cutting them.
If this sounds like your kind of treat and you make and love them, I have a favor to ask:
When you do make this recipe, it will help me and other readers if you:
✅Rate the recipes using the stars in the recipe card
✅Leave a review when prompted in the recipe card (If it’s a positive review, and I hope it is, I’ll use it in the post as social proof)
✅Leave a comment on the post
Thank you so much!
How to Make Coffee Marshmallows
If you’re familiar with making marshmallows and have watched the video, feel free to jump on down to the recipe.
Otherwise, let’s go over the ingredients and a brief explanation of the steps.

- powdered gelatin: Gelatin is what makes marshmallows set into a poofy, creamy, semi-solid mass. It is also what makes them NOT suitable for vegetarians since gelatin is an animal-based product
- cold water: We use cold water twice in this recipe. First, the gelatin softens and “blooms” in cold water right in the bowl of your
stand mixer . It’s used again to help dissolve the sugar in the sugar/corn syrup mixture you heat on the stove - salt: Brings the flavors into focus and mitigates the sweetness a bit
- sugar: Lends to the sweet flavor and smooth, supple texture of the candy. Cooked to the firm ball stage, it is what helps to set the texture, ensuring that your mallows don’t get soft at room temperature
- corn syrup: Mainly used to inhibit crystallization of the sugar and to add a bit more volume. You can use honey instead, and that will yield a sweet mallow with a much more distinctive honey flavor
- instant coffee: Yields the majority of the coffee flavor in the candy. 2 Tablespoons gives a fairly mild flavor, so if you want assertive coffee flavor, try 3 Tablespoons or so.
- vanilla: Rounds out the flavors and provides an almost creamy, floral note to the marshmallows
- coffee extract: An optional ingredient, coffee extract boosts and rounds out the coffee flavor
- cornstarch and powdered sugar: Mixed together in a ratio of 1:1 (equal parts), this mixture keeps the mallows from forming a skin, keeps them separated from each other, and keeps them from drying out. Using all powdered sugar can result in sticky mallows since sugar is hygroscopic, so a mixture of sugar and cornstarch works great, since cornstarch will absorb whatever liquid the sugar attracts without making the outsides of the mallows taste chalky, which is what would happen if you used straight cornstarch.
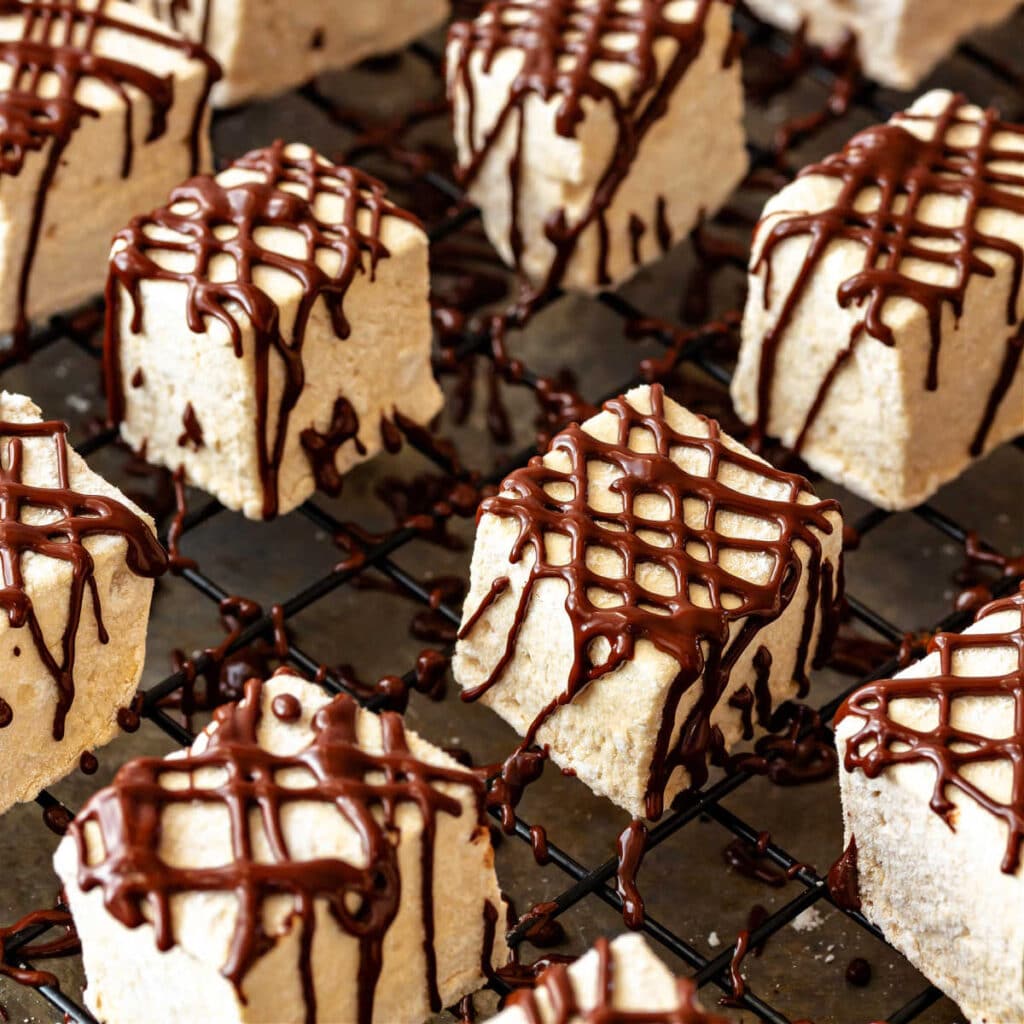
- chocolate chips: Melt chocolate chips or coating chocolate to pipe designs on your mallows if desired. You can also dunk them completely in chocolate or spread chocolate on the bottoms. Have fun with the chocolate, or leave it off entirely.
Making Marshmallows, an Overview
While it feels a little intimidating to make marshmallows the first time, I think you’ll quickly come to love the process. There is something rather magical about having a hot, brown liquid whip up into an off-white, billowy cloud of candy.
In a nutshell, here’s how to do it:
- Bloom the gelatin in cold water in the bowl of your
stand mixer . Add the flavorings and salt. - Put the mixer on low speed and let it run while you….
- …bring sugar, corn syrup, and a little water to boil and then cook it to 244F.
- Carefully pour the syrup down the inside wall of the mixer, and increase the speed to medium.
- As the candy beings to cool and thicken, turn the speed to high.
- The mallow is ready when it has increased in volume a lot, is very thick, no longer hot, and is pulling away from the sides of the mixing bowl. You’ll notice some “webbing” around the sides of the bowl as this happens.
While I don’t make videos for all my recipes and don’t always think they are super helpful, in the case of making marshmallows, I think it’s a good idea to watch the process once or twice so you can get a feel for the flow of things.
Tips for Working with Sticky, Uncured Marshmallow
There is no way around it: making marshmallows is a sticky business.
My best advise is to use pan spray or spray oil of some sort on all your utensils when transferring the mallow to your prepared pan. That means spraying your spatula before scooping out the mallow onto the pan and spraying both the mallow and your offset spatula before spreading it out as evenly as you can.
Would you like to save this post?
Also, be sure to use a liberal amount of the powdered sugar/cornstarch mixture both on your pan and on top of the mallows once you spread it out as well as you can.
Jenni Says: If you’re going to drizzle chocolate on your mallows, the flattest side will be the side that was on the bottom of the pan while curing. So arrange your mallows, bottom-sides-up, before drizzling with chocolate or decorating in any way.
Q&A

If you intend to pipe your marshmallow rather than letting it set in one large slab, have a large piping bag fitted with a large star or round tip ready to go. Load the still-warm mallows into the bag and pipe your shapes onto a Silpat-lined half sheet pan that you’ve dusted well with a 1:1 mixture of cornstarch and powdered sugar. Once you’ve finished piping, dust a liberal amount of the powdered sugar mixture over the shapes and let them cure for at least 8 hours.
When kept in a tightly sealed container at room temperature, the mallows will keep for at least a week. After that, they may begin to dry out a little.
Yes! When making marshmallows, you’re pretty much limited only by your imagination. Use different extracts, juice instead of water to bloom your gelatin, add chopped candies, etc. Have fun and don’t be afraid to experiment.
Questions?

If you have any questions about this post or recipe, I am happy to help.
Simply leave a comment here and I will get back to you soon. I also invite you to ask question in my Facebook group, Fearless Kitchen Fun.
If your question is more pressing, please feel free to email me. I should be back in touch ASAP, as long as I’m not asleep.
A Note About Measurements
My recipes are almost all written by weight, including liquids, unless otherwise specified.
For accuracy and consistency of results, I encourage you to buy–and use–a kitchen scale.
I promise that baking and cleanup will be so much quicker and easier.
This is the scale that I recommend for home use. I have owned and used one for years.
Don't let its small price and small size fool you. The Escali Primo is an accurate and easy-to-use food scale that I have used for years. It's easy to store, easy to use, has a tare function, and easily switches between grams and ounces/pounds for accurate measurements.
Love These Coffee Mallows? Please Rate and Review. Thanks!
It will help me and other readers so much if you take a moment to rate and leave a review for this recipe.
You can use the stars to rate 1-5 (5 is best), and leave a review in the comments. It helps me make adjustments if any are needed, and comments help others decide whether the recipe is worth making.
Other ways to share include pinning, and/or sharing on your favorite social media platform.
Thank you so much for taking the time!


Coffee Marshmallow Recipe
Video
Would you like to save this post?
Ingredients
- 4.5 oz cold water
- 2 Tablespoons powdered gelatin PLUS 3/4 teaspoon, 21 grams
- heavy pinch kosher salt about 1/4 teaspoon (I use Morton's)
- 2 Tablespoons instant coffee more or less, to taste
- 1 teaspoon vanilla extract
- 1 teaspoon coffee extract optional but nice if you really want to punch up the coffee flavor
- 10.5 oz sugar 298 grams or 1 1/2 cups
- 11.5 oz light corn syrup 326 grams or 1 cup
- A mixture of half powdered sugar/half corn starch for dusting both the pan and the marshmallow 3/4 cup each should be sufficient for sprinkling the pan, the mallow, and tossing them once cured)
- 4 oz chocolate chips melted and cooled to warm
Instructions
To Prepare the Pan
- Spray your pan with pan spray. This is what will hold your plastic wrap in place.
- Press a sheet of plastic wrap down onto the pan making sure it sticks along the bottom and up the sides. Use two overlapping sheets if necessary.
- Dust the plastic wrap with a very heavy dusting of half powdered sugar/half corn starch. I use a fine mesh strainer for this.
- Set the pan aside.
To Make the Mallows
- In the bowl of your stand mixer, pour in the water. Sprinkle the gelatin evenly over the surface along with the salt, instant coffee, vanilla, and optional coffee extract. Let sit for 5 minutes so the gelatin can soften and bloom.
- Place the bowl on the mixer fitted with the whip attachment and turn it on low. Let it slowly mix while you do the next steps.
- In a medium, heavy-bottomed sauce pan, bring the sugar, corn syrup and about 1/4 cup of water (this is additional to what you used at the beginning. No need to measure it–you just need a couple of ounces to ensure the sugar dissolves evenly) slowly to a boil, stirring occasionally to make sure all the sugar is wet.
- Once it has come to a boil, put the lid on and let boil 1-2 minutes to wash down any sugar crystals from the sides of the pan.
- Remove the lid and cook until it reaches 244F. I use my instant read thermometer for this, but you can also buy a candy thermometer that stays in the pan. This will only take a couple of minutes once you take the lid off, so be ready.
- Once the sugar syrup reaches 244F, remove the pan from the heat. Turn up the mixer speed to medium-low and carefully stream the sugar syrup into the gelatin mixture. (See Video)
- Let whip at that speed for a minute or two and then turn the speed up to medium and let whip for a minute or two. Once the mixture starts to thicken a bit, turn the speed up to high–be careful. If it’s not thick enough, it will slosh out and it’s still hot, so go slowly.
- Leave the mixer on high speed until the the mixture is very thick and pretty much fills the entire mixing bowl. It will triple in volume and be a very light beige color. Before it gets too thick, taste it and add more instant coffee and/or extract if you think it needs it.
- Whip until warm but not hot. You will know it's ready when the mallow starts pulling away from the sides of the bowl and starts looking a bit "webby."
- Spray a large silicone spatula with pan spray and scoop all the mallow out into your plastic wrap-lined pan.
- Spray the top of the candy with pan spray and use an offset spatula to spread it as smoothly and as evenly as you can in the pan.
- Sift another heavy coat of the powdered sugar/corn starch mixture on top of the mallow and let it sit for several hours or overnight to cure. You can cover it loosely.
- Cover loosely and let the candy sit out at room temperature for about 8 hours or overnight.
- When cured, turn the slab of mallows out onto a cutting board, and cut them into whatever shapes/sizes you like. I use a pizza cutter coated with pan spray, but use what works best for you.
- Once cut, make sure they are all completely separated, and toss them all in a bag or tightly-sealing container with powdered sugar/corn starch to cover.
- Fish them out and knock off the excess powdered sugar/cornstarch.
- If you like, use the melted chocolate to pipe thin lines of chocolate over the flattest sides of the mallows (usually the underside that was next to the plastic wrap in the pan is the smoothest side).You can also completely coat the mallows in chocolate or coating chocolate or just dunk the bottoms. It's your choice!
- Keep the mallows in a tightly-sealed container at room temperature for up to a week or so.
Did You Make Any Changes?
Notes
To Make a Large Batch
For a half-sheet tray or a 9 x 13″ pan filled to the top (not just halfway), here are the measurements. The procedure is still the same.- 9 oz cold water (255 grams or 1 cup plus 2 Tablespoons)
- 4 1/2 Tablespoons (42 grams or 4 Tablespoons plus 1 1/2 teaspoons)
- 1/2 teaspoon kosher salt (use less if using table salt or other fine salt)
- 4 Tablespoons instant coffee (use 5-5 1/2 Tablespoons for more assertive coffee flavor)
- 2 teaspoons vanilla extract
- 2 teaspoons coffee extract, optional to punch up the coffee flavor
- 21 oz granulated sugar (595 grams or 3 cups)
- 23 oz corn syrup (624 grams or 2 cups–corn syrup is heavy!)
- 4 oz water to help dissolve the sugar (no need to measure–you just need enough to wet the sugar)
Storing
Keep your mallows, chocolate-dipped/drizzled and/or plain–in a tight-sealing container at room temperature for up to a week. After that time, they may start to get a little too firm. But you can still melt them into hot chocolate!Nutrition

Hi, y’all! I hope you’ve enjoyed this post and hopefully also learned a thing or two.
If you like my style, I invite you to sign up for my occasional newsletter, The Inbox Pastry Chef.
Expect updates on new and tasty recipes as well as a bit of behind-the-scenes action. I hope to see you there!
And there you have it, friends. Delicious, homemade coffee marshmallows that you are going to love!
Thanks for spending some time with me today, friends.
Take care, y’all.


Join in Today!

