Today I’m bringing you this easy recipe for Boston Brown Bread. In this version, I replace rye flour with all-purpose flour, a luxury folks would only break out when company is over for dinner!
I think you’ll really enjoy this (mostly) traditional recipe, friends.
If you like homey breads, you may also enjoy my oatmeal beer bread or my grits bread recipes.
For ease of browsing, you can find all my breads and rolls recipes in one place. Thanks so much for being here!
Watch my best brown bread recipe web story here.
Reader Rave
Holy Moly this is good! Great recipe. Turned out perfectly. I did not let it cool for 2 hours. Are you kidding me with that one?
Reader SusanNext time I will make it early in the day so I have the patience to let it cool. Perfection, Jenni
I have long wanted to make a Boston brown bread for the blog. When I was little, my mom tells me I used to put on dress up clothes, grab a pocket book, and then tell my mom I was going out.
When she’d ask where I was going, I always said I was going to the store to buy some brown bread!
Pastry Chef Online Participates in Affiliate Programs. If you make a purchase through one of my links, I may earn a small commission. For more information click to read my disclosure policy
We never even had it at home, ever. I think I got the idea from the Peter Rabbit books.
Anyway, I am so happy I experimented to bring you a moist and delightful steamed loaf that is homey, comforting, and perfect for serving to company.
What Makes This Particular Recipe Work
Most recipes for Boston brown bread call for a mixture of rye, whole wheat, and cornmeal for the flour. But using all-purpose really brings a more refined flavor to the bread so that the molasses really shines.
Many recipes also call for allspice, which I find a little harsh with the molasses, so using cinnamon is a really lovely alternative that also has the effect of making this a more kid-friendly loaf.
I add a touch more salt than most recipes call for. The salt counteracts any bitterness you might get from the molasses.
I also plump up the raisins in boiling water. That way, they don’t soak up any liquid from the bread.
This ensures the bread and the raisins both are moist and tasty.
Last, no coffee can to bake in! I actually plan to make more using cans, but not everyone has cans lying around, so this recipe is scaled to steam up beautifully in a 8 1/2″ x 4 1/2″ loaf pan.
How to Make It
Ingredients
The ingredients are pretty straightforward. Here’s what you’ll need:
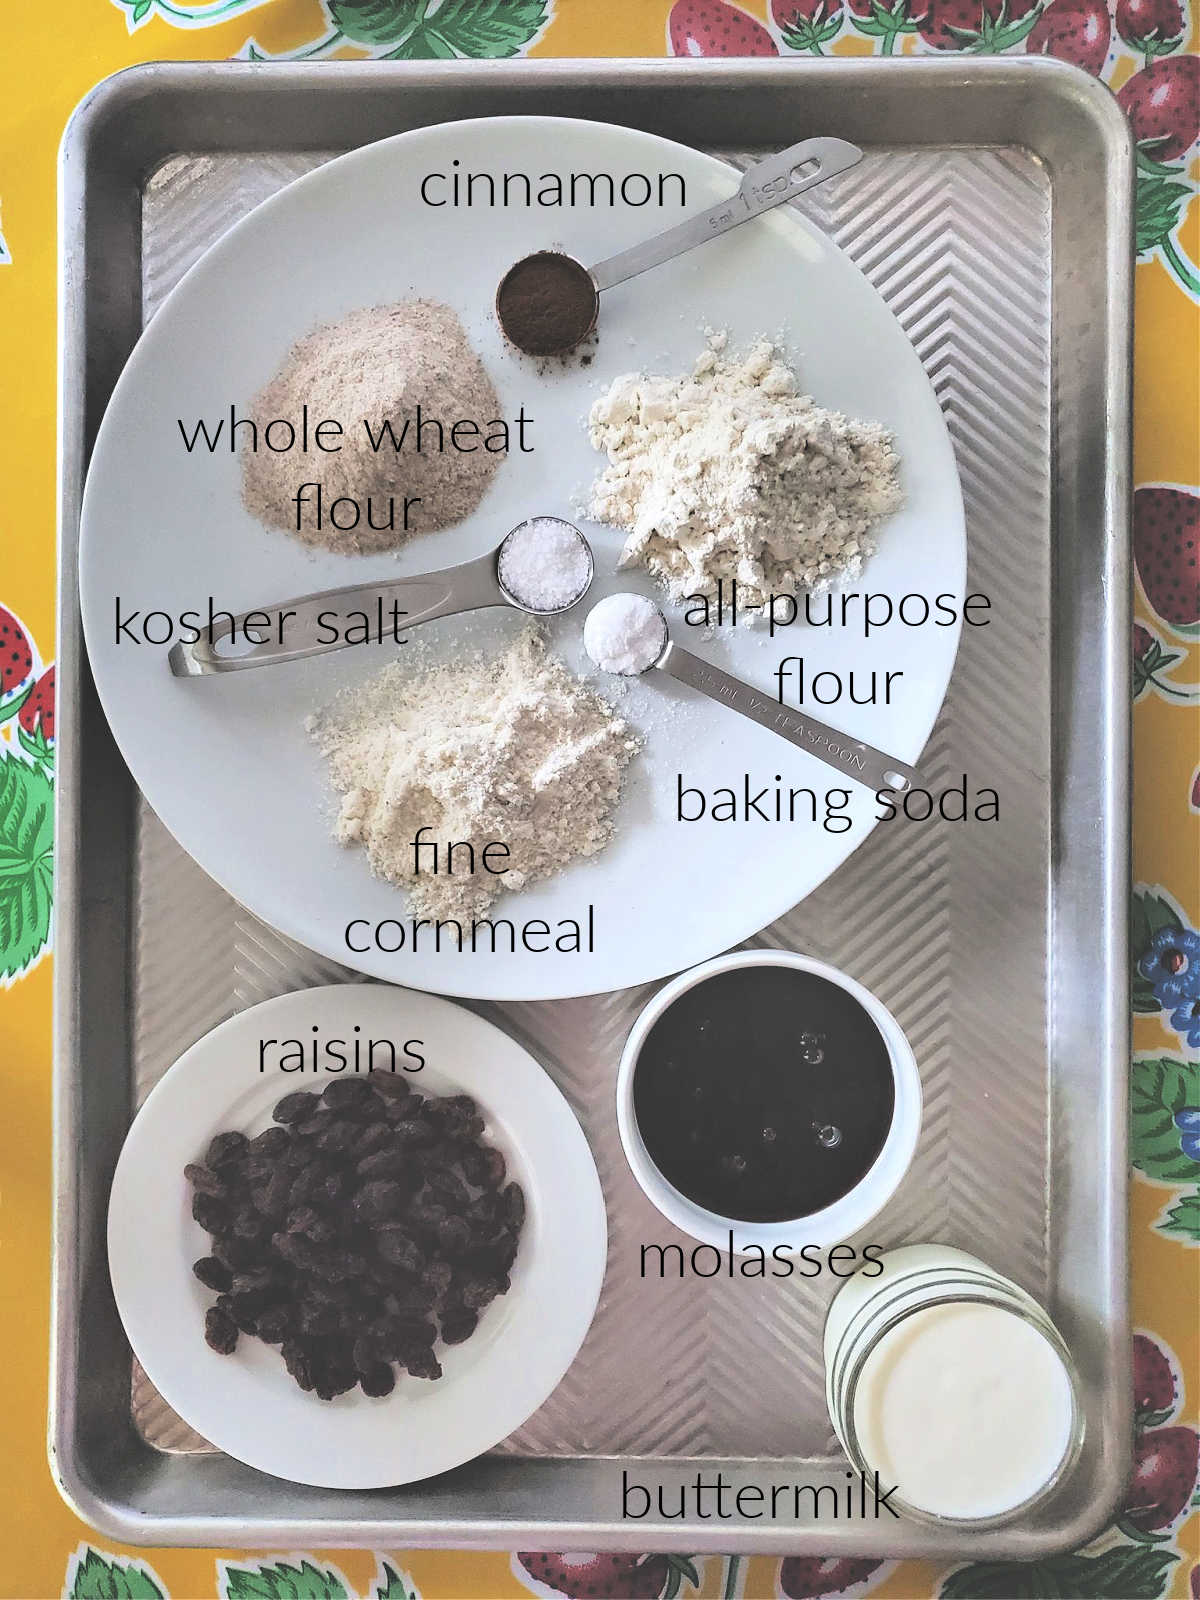
- Whole wheat flour: If you don’t have whole wheat, you can use additional all-purpose flour
- Fine cornmeal: Make sure your cornmeal is fine. Something with a coarser grind like grits or polenta will not work here. Fine cornmeal is not the same as cornstarch. They aren’t interchangeable.
- All-purpose flour: You can also use all whole wheat flour, or to be traditional, use rye instead
- Salt: counteracts the bitterness in the molasses as well as bringing out the flavor of the bread, especially the cinnamon
- Baking soda: Baking soda reacts with the acid in the molasses and buttermilk to give you a rise. Do not substitute baking powder which already contains acid.
- Cinnamon: Provides a nice, warm, familiar flavor that goes well with the molasses and raisins. You can substitute with allspice or even with pumpkin spice if you’d like. If you use allspice, I’d cut down the amount to 1/2 teaspoon, because allspice has a very assertive flavor
- Raisins: plumped in water, they add little pops of juicy fruity goodness to the bread. You can also sub in currants or golden raisins if you prefer, or leave the fruit out entirely
- Molasses: Provides sweetness and moisture and gives us that lovely dark mohagany color we’re looking for. You can use any kind of molasses you like. For a non-traditional take, you could use honey or a mixture of molasses and honey
- Buttermilk: Provides the bulk of the liquid for the batter as well as acid to react with the baking soda. You can use soured milk (1 1/2 cups milk with 1 1/2 Tablespoons of lemon juice), but it really is worth it to get real buttermilk. If you’re stuck for something else to do with it, give my buttermilk muffins or grits bread a try
Procedure
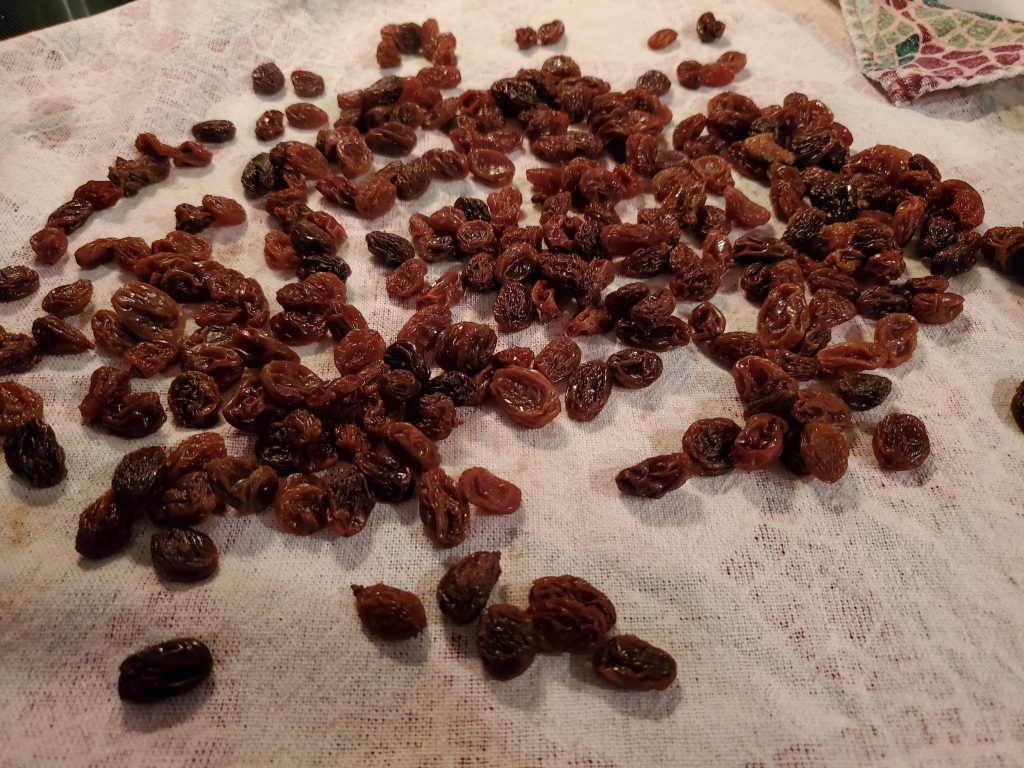
1)First, start with plumping up your raisins. This is easy to do. Just plump them in a pan of boiling water for about 5 minutes. Then strain out the liquid and spread them to cool on a lint-free towel.
You can do this a day or two beforehand if you want. Since they’re plumped up with water, I’d keep them in the fridge until ready to use them.
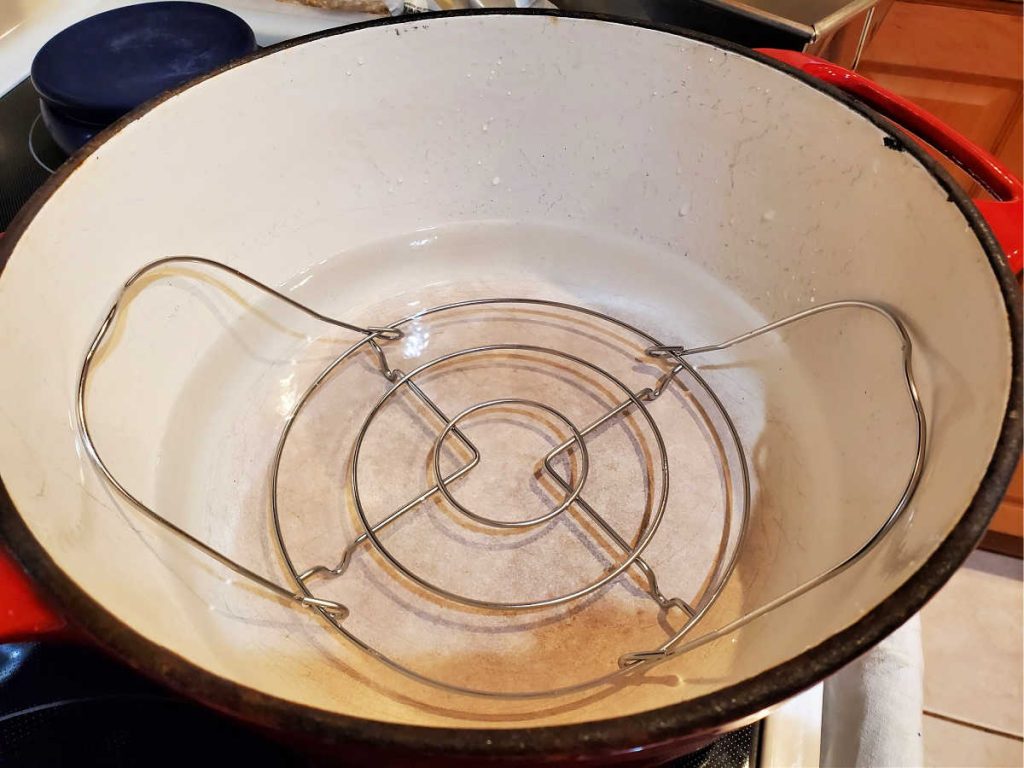
2)Place a steaming rack in the bottom of a 6 quart Dutch oven and add about 2″ of water.
Go ahead and heat that up while you’re putting the batter together.
NOTE: Make sure the water is boiling before you add your wet ingredients to your dry. Once the batter is together, you need to get it into the pot quickly so you can trap the bubbles from the reaction between the molasses and buttermilk and the baking soda in your bread.
Would you like to save this post?
3)Line a 1 pound loaf pan with parchment. Butter the parchment and any exposed parts of the pan really well with softened butter.
4)Whisk all your dry ingredients together in a large bowl.
5)Whisk the buttermilk and the molasses together.
6)Add the raisins to the dry ingredients followed by the buttermilk/molasses mixture.
7)Stir and fold to bring the batter together.
8)Pan up the batter and carefully place it in the pot. Put the lid on. Adjust the heat to keep the water at a low boil, and let the bread steam for 2 hours.
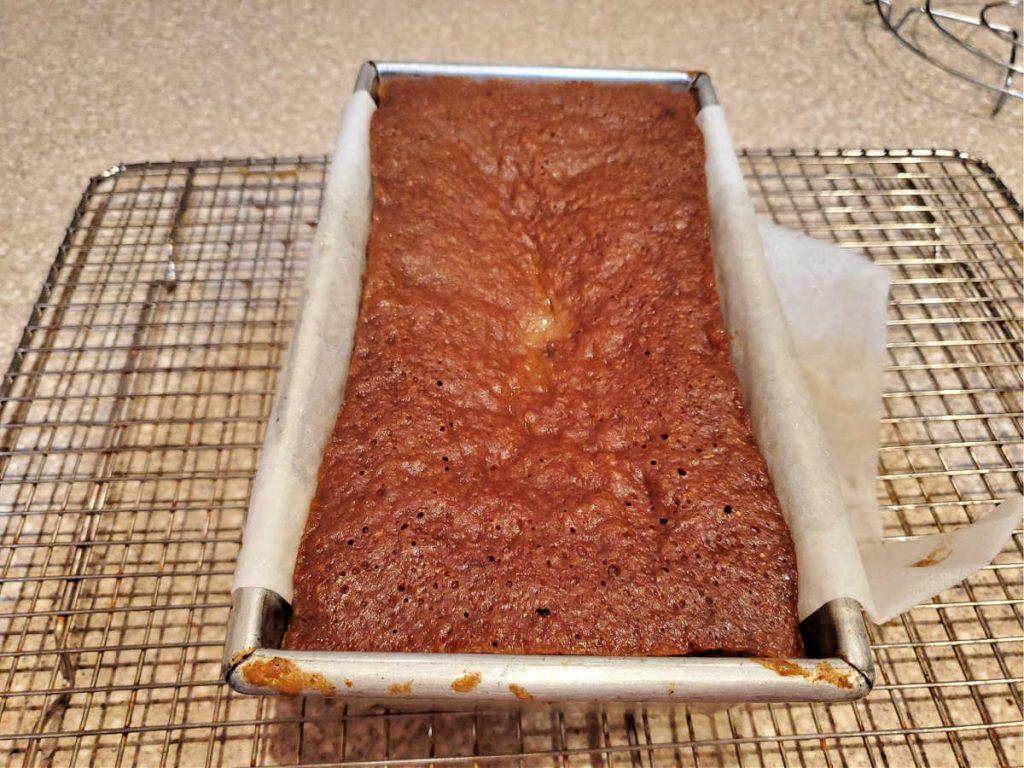
9)Carefully remove to a rack and allow to cool in the pan for a good 2 more hours before removing it from the pan and peeling off the parchment to cool completely.
Tips for Success
This is a pretty straightforward recipe, but here are some tips and tricks for you to ensure your bread is gorgeous:
- Cut the parchment to fit into your pan with plenty of parchment overhang on both sides. Then when it’s time to take the bread out of the pan, you can give it a quick once-around with a small offset spatula to make sure there was no sticking on the short ends and then lift the bread right out by the parchment “handles.”
- Be generous with the butter when you’re preparing your pan. The bread is practically non-fat without it, so you won’t feel bad that you’re using a lot of butter. Plus it’ll make double sure the bread is easy to remove from the pan.
- If you don’t have a steamer rack, use the trivet from your Instant Pot. I used the one from my 6 quart IP and it worked perfectly.
- If you steam your bread uncovered, it may get some condensed steam dripped on it from the lid. To keep this from happening (if it bothers you), place a buttered piece of parchment on top of the pan, butter side down. It will act as a shield from the water while still allowing the bread to steam nicely.
- Since the temperature in your Dutch oven will never get higher than the boiling point of water (as long as you make sure it doesn’t boil dry), the top of the bread stays nice and soft. No browning.
And here’s my best tip for serving:
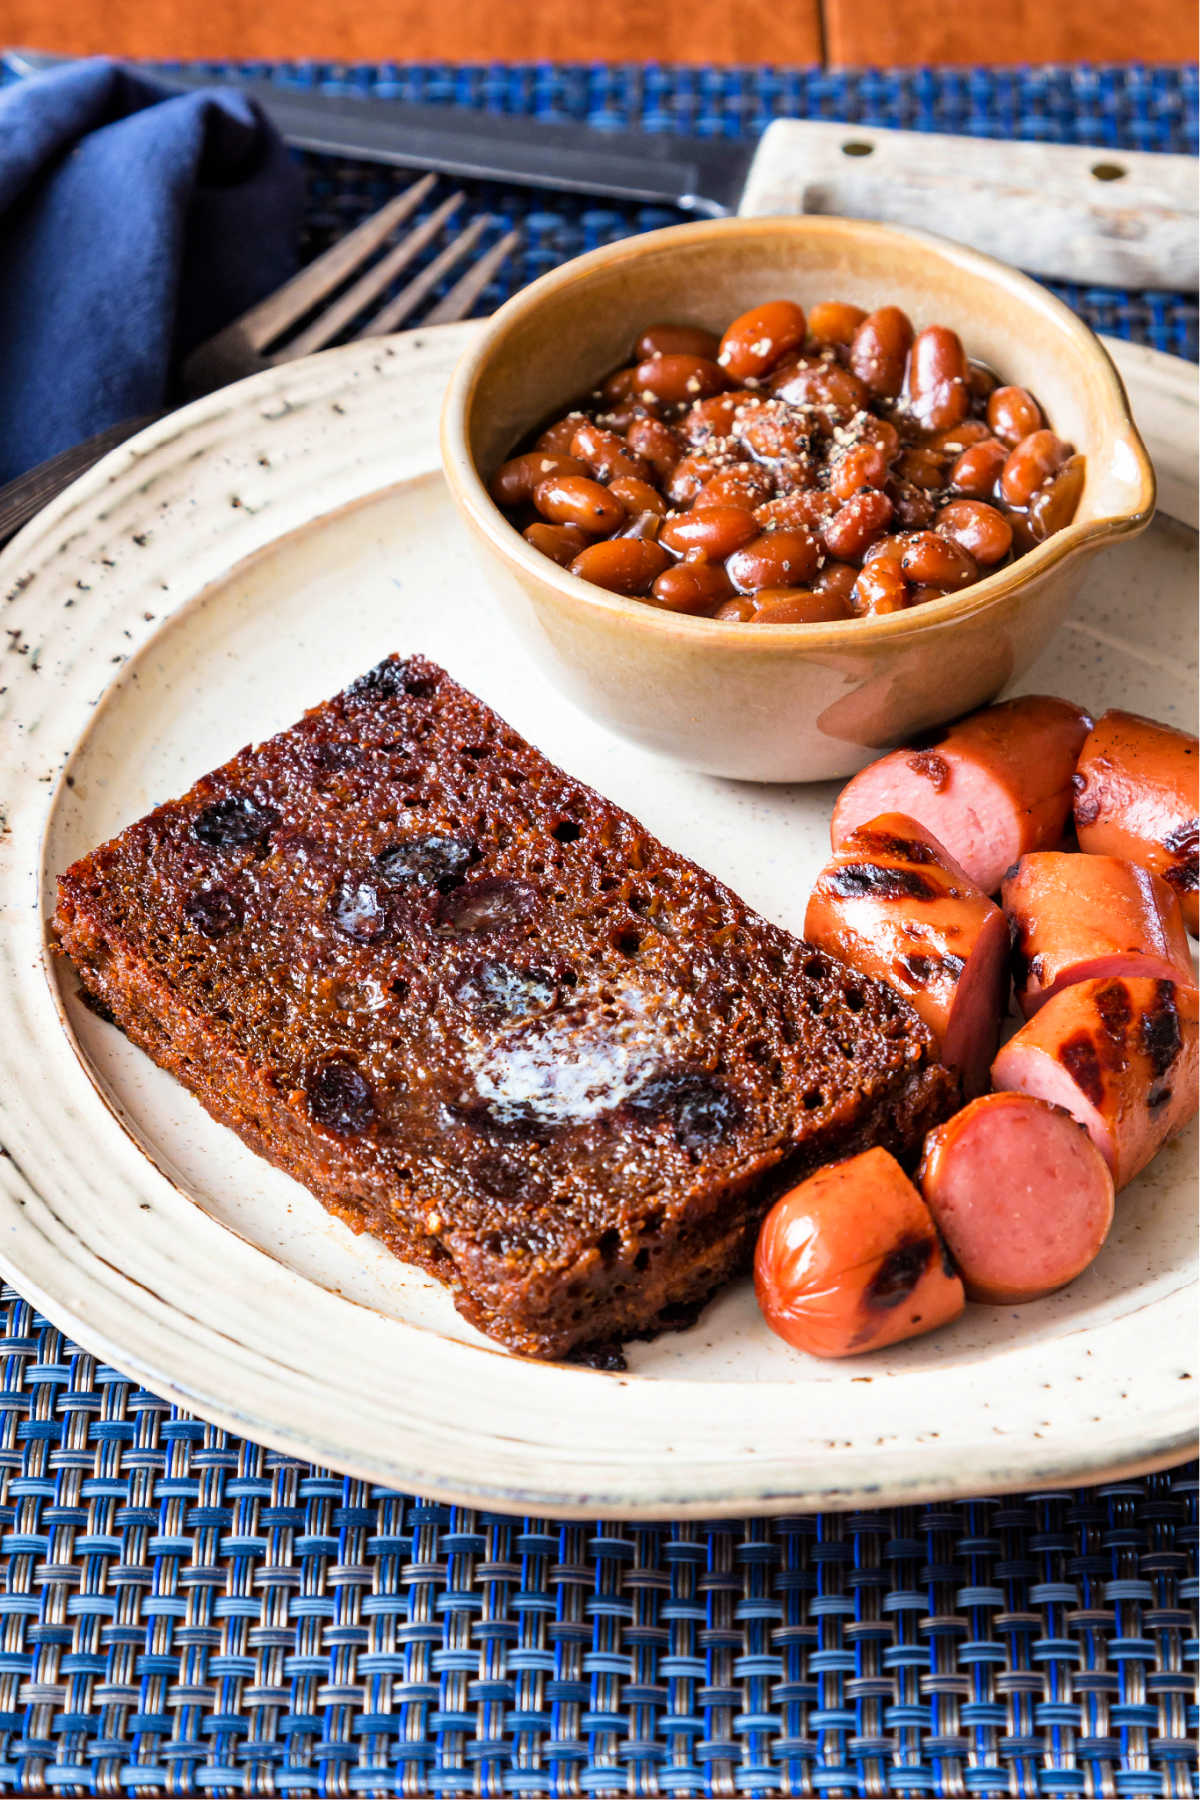
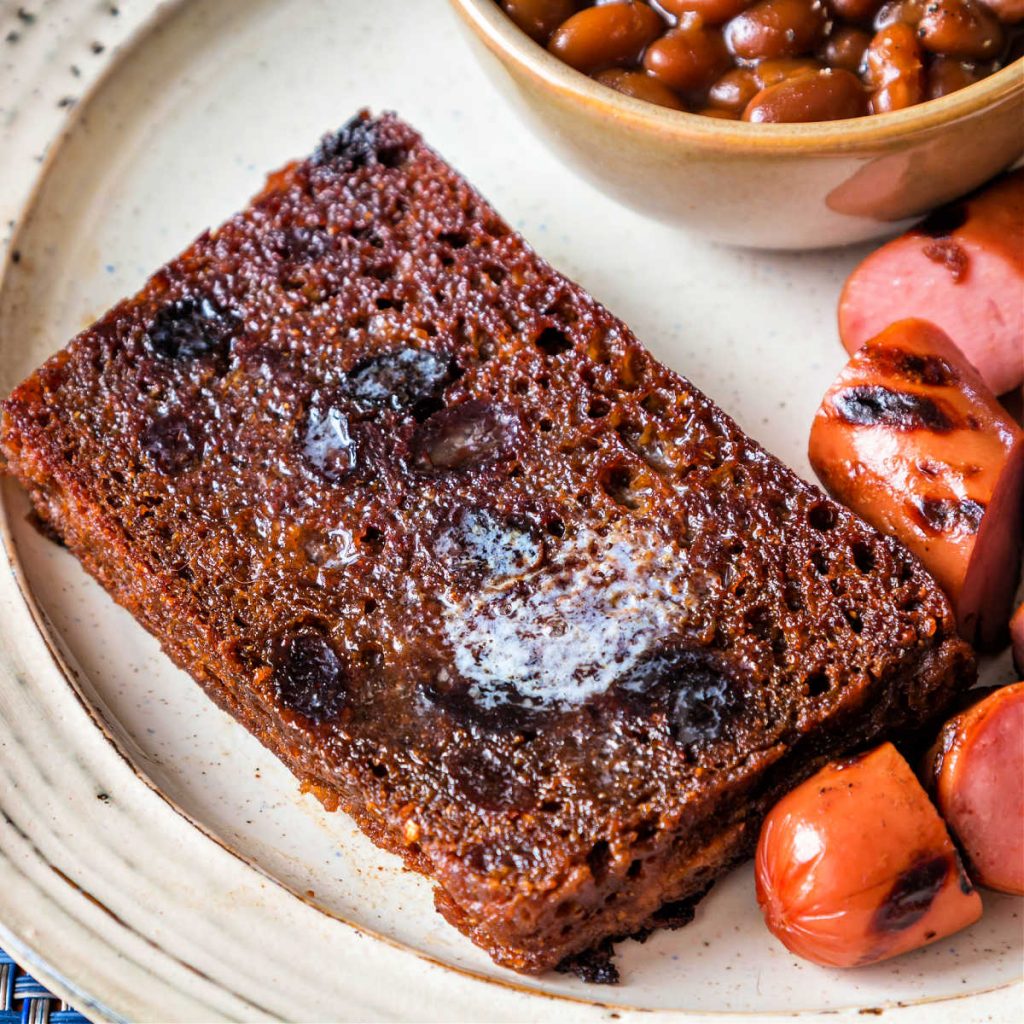
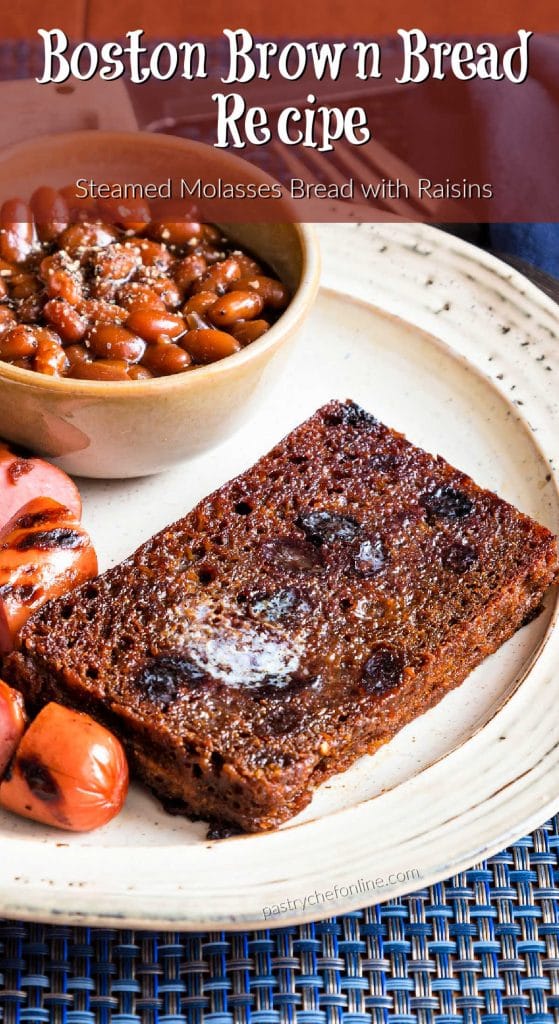
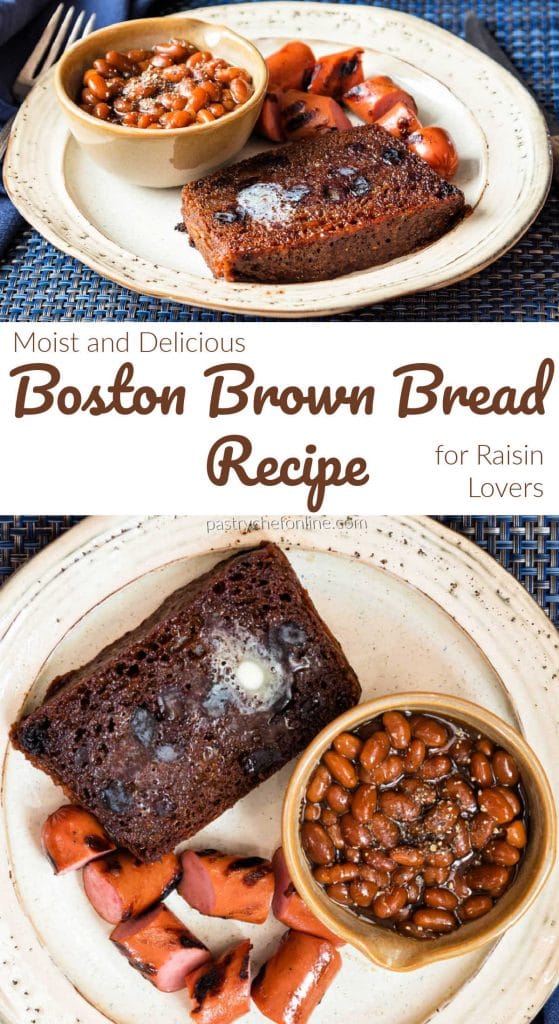
PRO TIP: To serve, fry pieces in butter in a skillet. Then serve with more butter slathered on top.
This is the traditional way to heat to serve, and trust me, it’s worth it. Again, it’s pretty lean bread, so a little fry up in butter is just fine with me. I bet it will be for you too!
Answers to Questions You May Have
I guess it depends on what you mean by healthy. It has almost no fat in it, and it contains no unrefined sugars, getting all its sweetness from molasses and the raisins. Only a third of the flour is white flour, the other two flours are made from whole wheat and whole corn. It contains a bit of fiber–about 2 grams per slice. On the whole, I’d say this is a pretty healthy recipe, especially as far as sweeter breads are concerned.
Absolutely. Use Earth Balance or vegetable oil to grease your pan, and make soured plant-based milk by mixing 1 1/2 cups of plant-based milk (soy or almond work well) with 1 1/2 Tablespoons of lemon juice. Let it sit for about 10 minutes before combining with the molasses.
Honestly, the bread is technically “done” well under the two hour mark. However, you need the long steaming time to make sure the cornmeal is softened through and that there are no weird little hard pieces in your bread.
Yes, you can. Bake at 350F until well risen and it bounces back when you press your finger into it. The internal temperature should be between 195-200F. To keep the oven moist (and to keep the bread from drying out), you can bake with a pan of boiling water on the rack below.
If you decide to bake your bread, consider soaking your cornmeal in the buttermilk for at least an hour before whisking in the molasses and adding it to the rest of your dry ingredients.
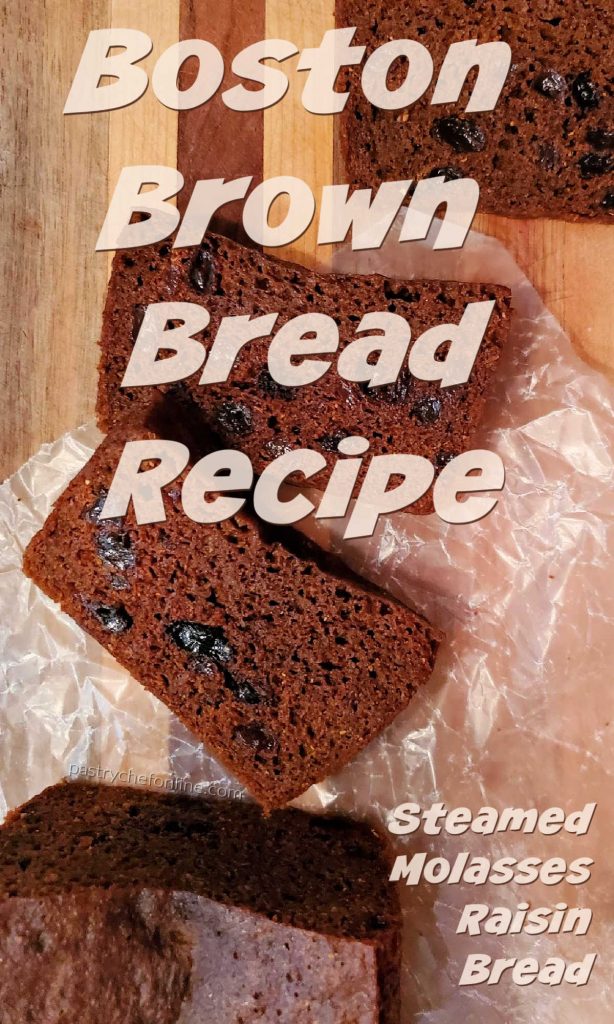
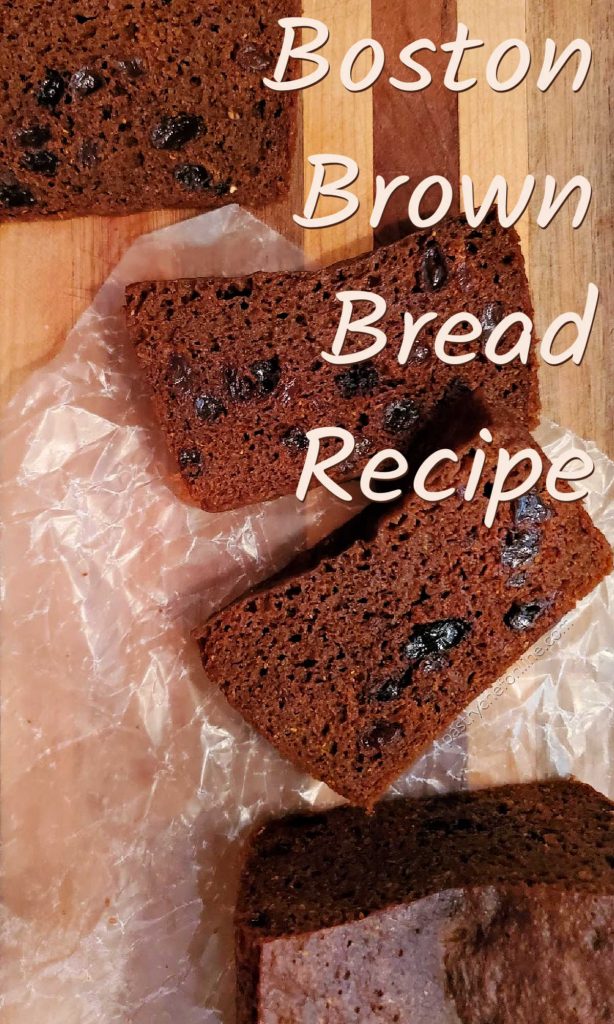
Since this is basically a non-fat recipe, steaming ensures that the bread stays nice and moist with a pleasant, bouncy texture. The crumb will be moist and relatively dense. If you bake it, the crumb will be more open but also dryer.
You can store it for up to 4 days in a tightly sealed container. Reheat by frying in butter or toasting to serve.
Like most breads, this guy freezes well. Wrap it well in plastic and foil or use a freezer bag. Be sure to press as much air out of the bag as you can before sealing it. Your bread will be fine for up to three months.
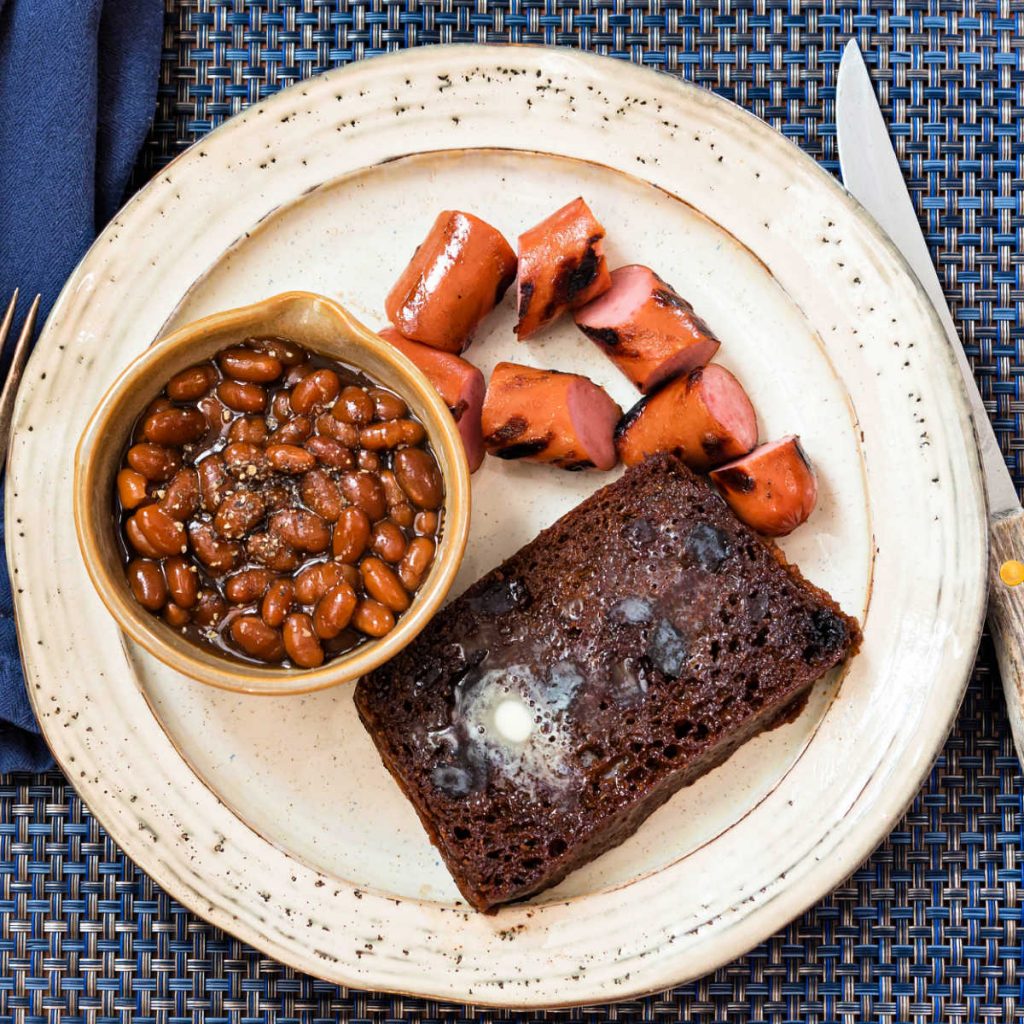
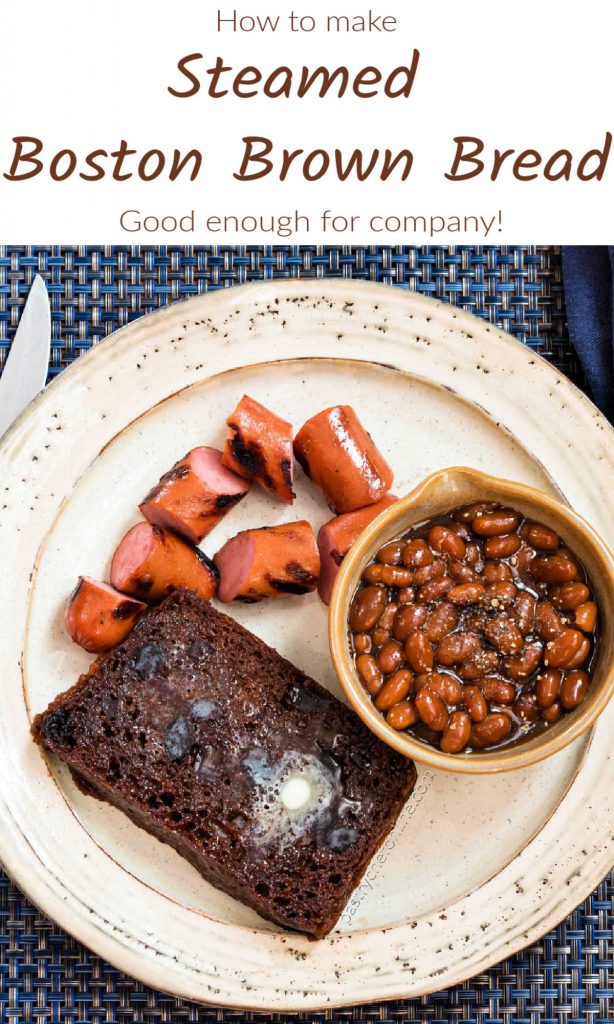
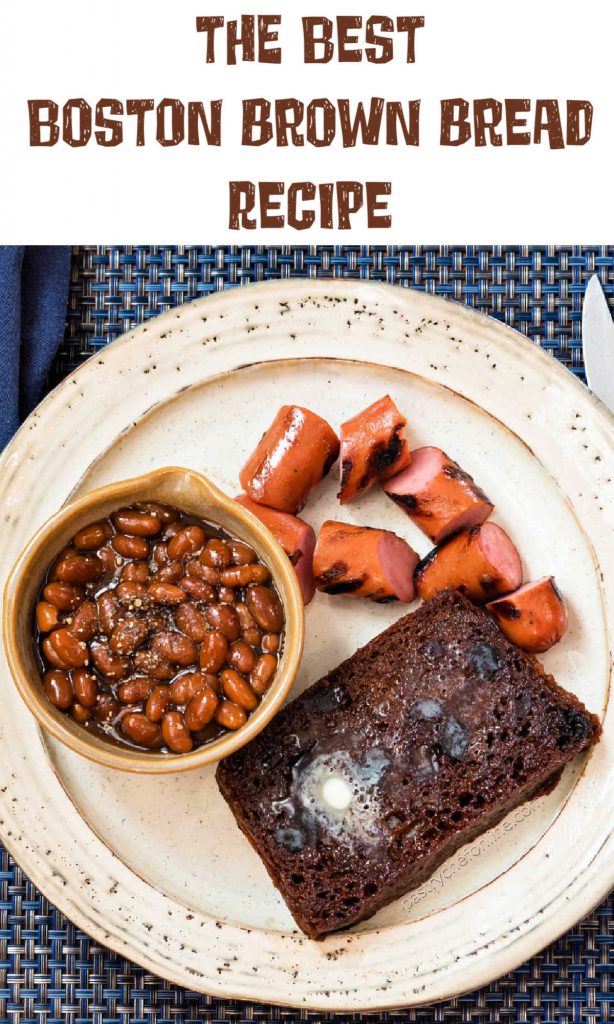
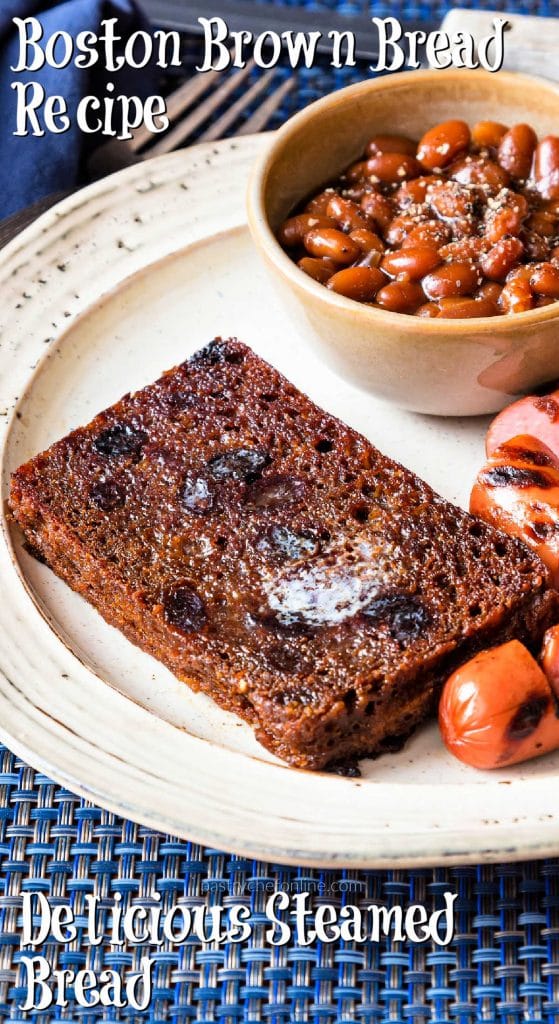
A truly old school New England dinner features brown bread fried in butter and served with franks and beans. You can serve the beans and franks together like in “beanie weenies,” and you can also serve the beans (or franks and beans) ladled over the fried bread.
If you’re not into beans and franks, serve this for breakfast or even dessert. Definitely slather it with a lot of butter, whether your fry it or not.
While it’s delicious cold, it is really wonderful hot. Frying it or toasting it crisps up the outsides of the bread so there’s a bit more textural contrast.
This bread reminds me a lot of my husband’s fruitcake, which I adore with a thick schmear of cream cheese. I highly recommend doing the same to a thick slice of this!
Questions?
Don't let its small price and small size fool you. The Escali Primo is an accurate and easy-to-use food scale that I have used for years. It's easy to store, easy to use, has a tare function, and easily switches between grams and ounces/pounds for accurate measurements.
It will help me and other readers so much if you take a moment to rate and leave a review for this recipe.
You can use the stars to rate 1-5 (5 is best), and leave a review in the comments. It helps me make adjustments if any are needed, and comments help others decide whether the recipe is worth making.
Other ways to share include pinning, and/or sharing on your favorite social media platform.
Thank you so much for taking the time!

Boston Brown Bread Recipe
Video
Would you like to save this post?
Equipment
Ingredients
- ½ cup all purpose flour
- ½ cup fine cornmeal
- ½ cup whole wheat flour or Graham flour
- 1 teaspoon kosher salt or 3/4 teaspoon table salt or fine salt
- ¾ teaspoon baking soda
- 1 teaspoon cinnamon
- 1 cup raisins plumped in boiling water for 5 minutes drained and cooled
- ½ cup molasses
- 1 ½ cups buttermilk
Instructions
- Set a pot large enough to fit an 8 1/2" x 4 1/2" loaf pan inside. Place a steamer basket or a trivet inside to keep the pan off the bottom of the pot. Fill with 2" of water and start bringing it to a boil.
- Line your loaf pan with parchment and generously butter it.
- In a large bowl, combine all purpose flour, cornmeal, whole wheat flour, salt, baking soda, and cinnamon. Whisk well to combine evenly.
- Add the cooled raisins.
- Whisk together the molasses and the buttermilk.
- Pour the wet mixture into the dry mixture and stir/fold to combine.
- Pour into the prepared pan and carefully lower into the pot. Moderate the heat to maintain a low boil and put the lid on.
- Let the bread steam for two hours.
- At the end of 2 hours. carefully remove to a cooling rack. Loosen the sides of the bread from the pan and allow to cool for 2 hours in the pan.
- Remove the bread from the pan, peel off the parchment, and allow to cool completely.
Did You Make Any Changes?
Nutrition

Hi, y’all! I hope you’ve enjoyed this post and hopefully also learned a thing or two.
If you like my style, I invite you to sign up for my occasional newsletter, The Inbox Pastry Chef.
Expect updates on new and tasty recipes as well as a bit of behind-the-scenes action. I hope to see you there!
Thanks for spending some time with me today.
Enjoy the steamed raisin bread, friends. Take care, and have a lovely day.


Join in Today!


I made this today and it was excellent. I had to improvise on the cooking method because I didn’t have a pot big enough to hold a loaf pan so I cooked it in the slow cooker on high for about three hours. I placed canning rings on the bottom of the cooker and added hot water to the depth of the rings. I didn’t have any problem with water dripping on the top of the loaf. I also improvised and used gin soaked raisins because I had them ready to go…
Oh wow, great improv! Good to know it will work in a slow cooker. I will add that little tidbit to the post! I’m very glad you enjoyed the bread. I think it’s so cozy!
I realize this post is old but I just found your site. My grandma used to make Boston brown bread in soup cans, roll in powdered sugar when cool and wrap in Saran Wrap and tinfoil. It was one of the many treats she made at Christmas time.
Hi, Patty! Thank you so much for telling me about your grandma’s brown bread. I had never heard of rolling it in powdered sugar before. A special treat indeed!
Beautiful bread Jenni. The slice with melted butter looks so inviting. Never tried the steaming thing before. I think I must give it a try. Thanks for sharing!
Thank you, Namita! Aside from the time it takes to steam, it’s super easy. I do hope you give it a try sometime!
The more steamed bread like this I see the more I know I’m missing out! Great job!
It’s my first steamed bread, and I’m here to tell you that you really *are* missing out. So good and so easy, Sarah! 🙂
Love how it turned out in the loaf pan! Oh, that picture of melted butter on brown bread just takes me back. And you are totally right, my first recipe had no all purpose flour and the molasses flavor was just lost and muddy. I split my whole wheat portion between spelt and rye. Definitely like the buttermilk version!
My next foray will be baking it in a can, Kelly. I’m a total convert. So good!
I love raisins in bread and your bread looks so awesome that I want to have straight out of the screen. The tips you shared will definitely help anyone bake a perfect loaf. Thanks.
Oh this makes me so happy! Thank you! And you should definitely give it a try. It really is so good!
Boston brown bread looks delicious I need to try that plate. so yum.
Thanks, Swathi! It is really good and easy. I’ve already made it three times!
I love the story about dressing up to go buy brown bread! I haven’t heard the term “pocket book” in forever! I’ve got to try making this (and frying it in butter!).
Apparently I was a very quaint child! Frying in butter is highly recommended! 🙂
It is hard to find coffee cans anymore. Coffee seems to come only in plastic or bags now a days. Glad you found a pan that works well.
In subsequent reading, I found out the traditional can was bean cans! Which makes sense if it was served with franks and beans! 🙂