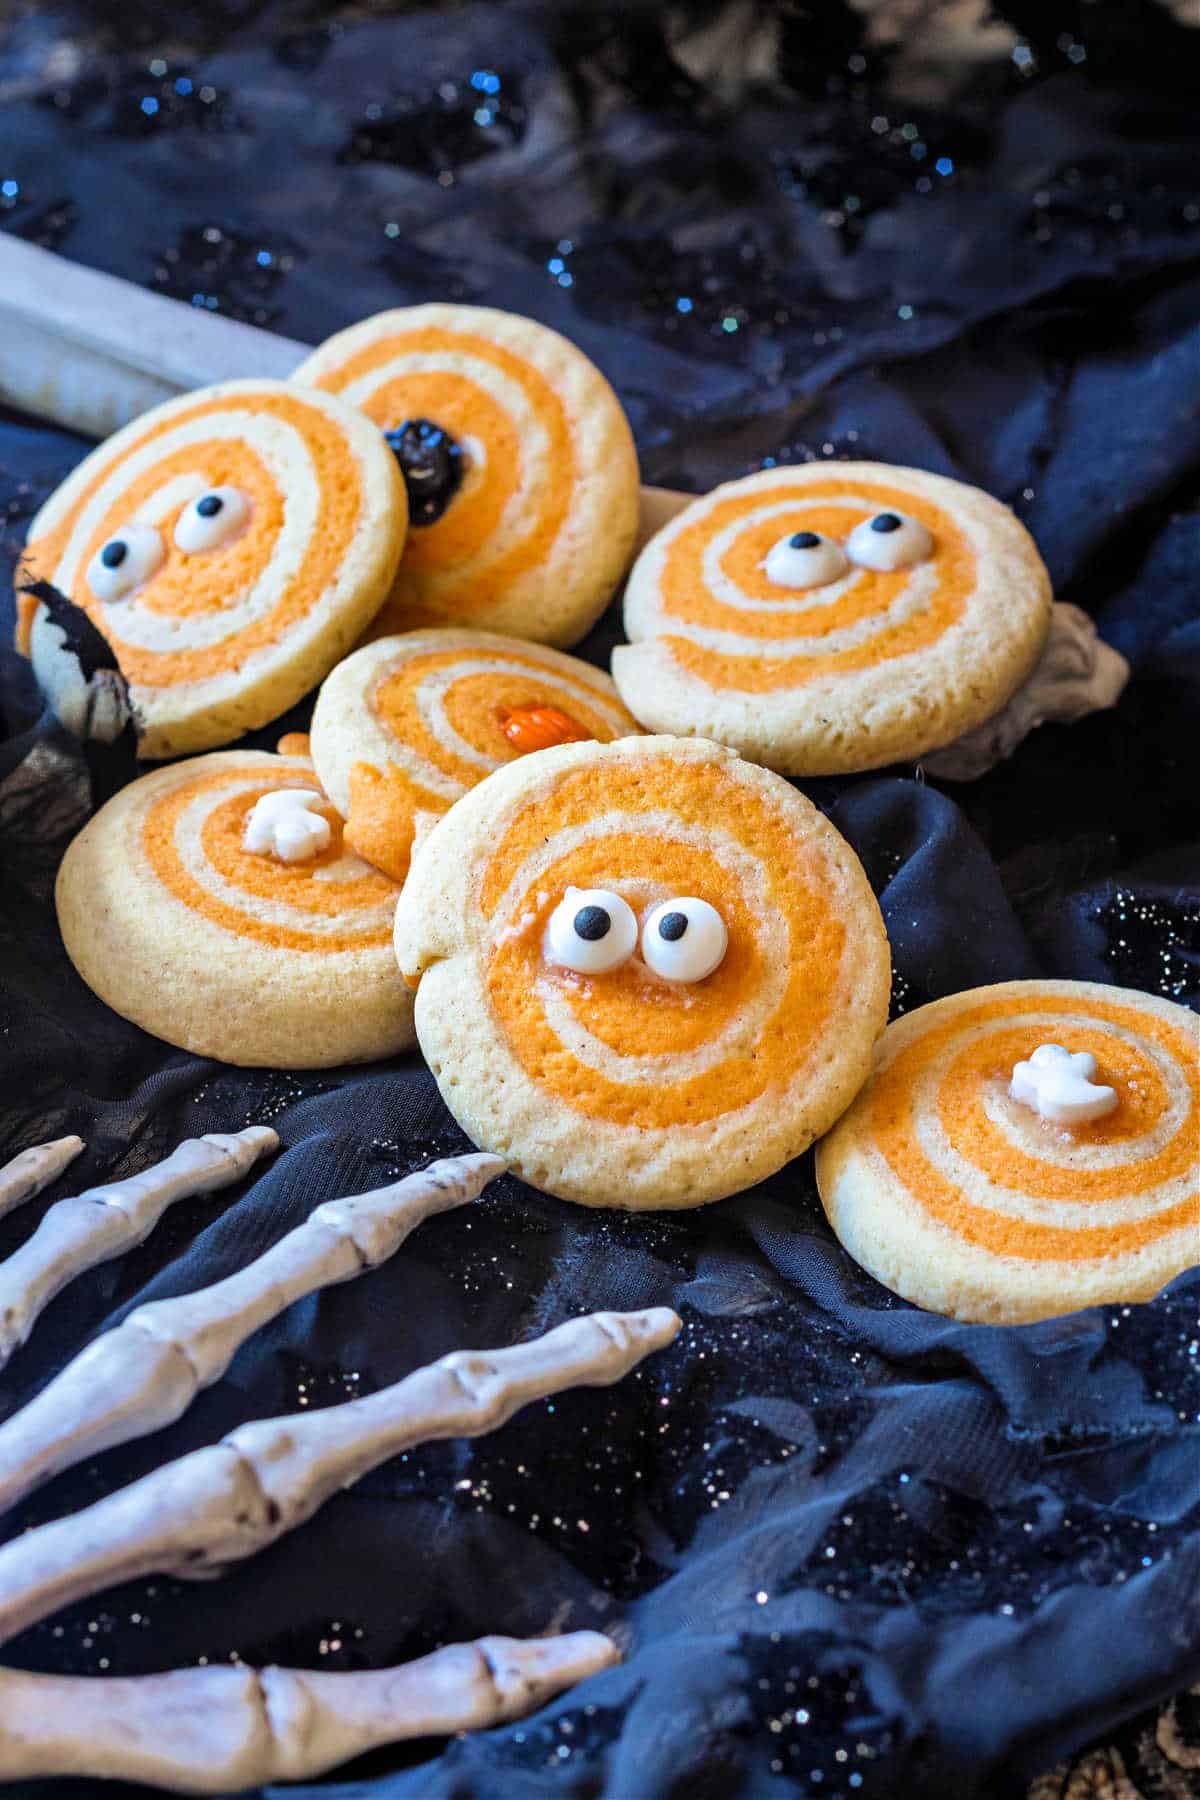
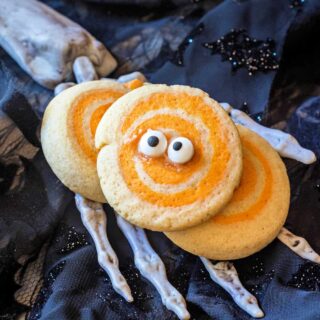
Halloween sable cookies are sandy, crumbly cookies that are a just-sweet-enough Halloween treat.
Two doughs, one flavored with cinnamon and the other colored orange, get sandwiched together, rolled up, then sliced for fun, slice and bake Halloween cookies.
I’ll show you how to make and roll out the dough as well as show you how to get the two doughs to stick together for easy rolling and perfect pinwheels.
For a savory Halloween treat, you may want to give my Halloween deviled eggs or my pimento cheese spread brain recipes a try. And for ease of browsing, you can find all my cookie recipes in one place. Thanks so much for being here.
Pastry Chef Online Participates in Affiliate Programs. If you make a purchase through one of my links, I may earn a small commission. For more information click to read my disclosure policy
Sable Cookies, at a Glance
✅Skill Level: Beginner
✅Skills: The creaming method, stacking and rolling 2 colors of dough, slice and bake
✅Type: Shaped Cookies
✅Number of Ingredients: 7
✅Prep Time: 15 minutes
✅Cook Time: 15 minutes
✅Chill Time: 2 hours
✅Yield: 32 cookies
Jump Straight to the Recipe
Why You Need to Make These Cookies
With all of the overly-sweet candies available at Halloween, and often cookies decorated with overly-sweet Halloween candy, it’s nice to offer something a bit more on the restrained side.
Sable cookies, which are made from the same sweet, egg-enriched dough that you’d use for the base of a French tart, are sturdy yet crumbly and just-sweet-enough.
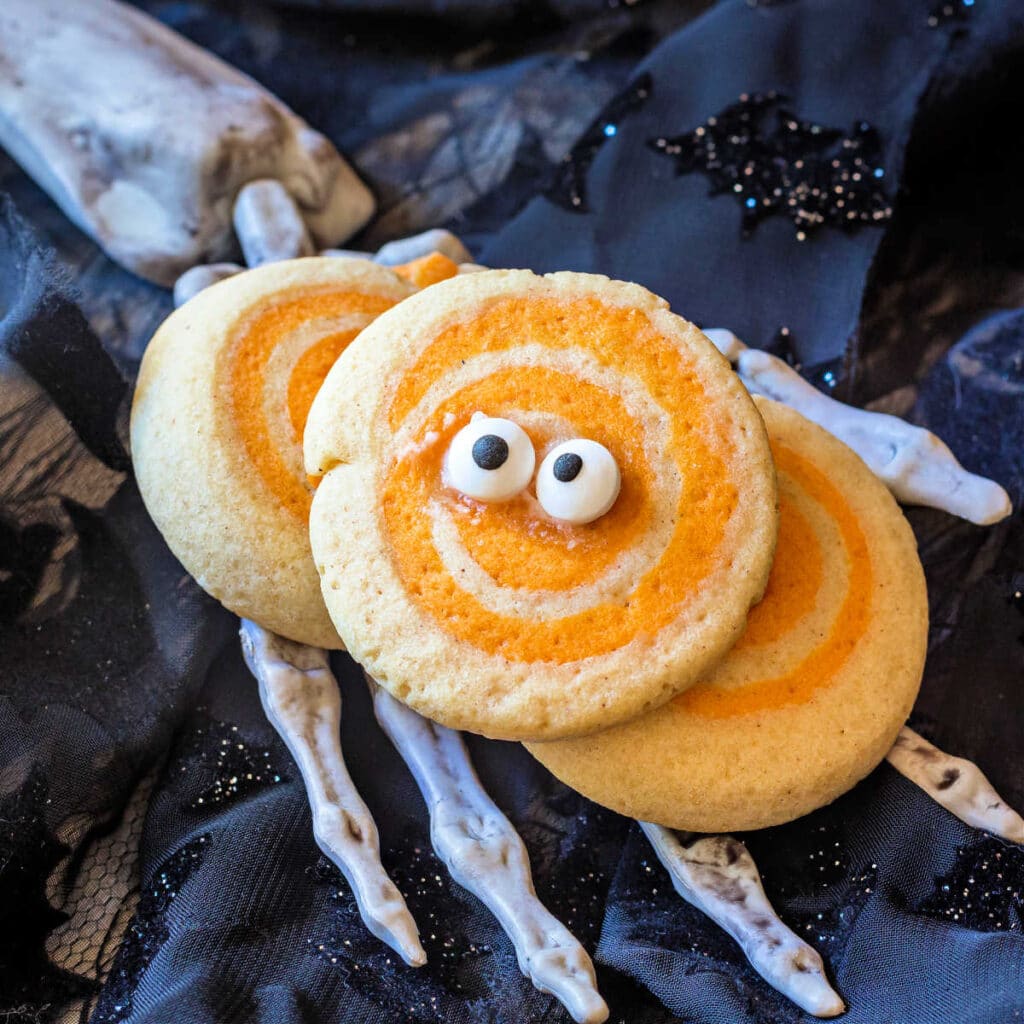
The decoration is fairly understated with the orange swirl in the white dough, and the recipe is very easy to adapt to other colors and flavors.
The Difference Between Sable Cookies and Shortbread Cookies
The main difference between sable cookies and shortbread cookies is egg.
Sable dough contains egg while shortbread traditionally is made only with sugar, butter, salt, and flour.
Sable cookies are more similar to American butter cookies and can contain either yolks alone or whole egg.
My recipe calls for whole egg which makes for a slightly sturdier cookie (or tart shell) since the water in the whites will activate some gluten in your flour.
How To Make Sable Cookies
The hardest thing about making these cookies is getting the swirl in there, but I’ll show you how to do that.
It’s not hard. It’s just a bit of a process.
If you’re ready to bake, you may jump straight to the recipe. Otherwise, let’s continue.
Here’s what you’ll need:
Ingredients and Substitutions
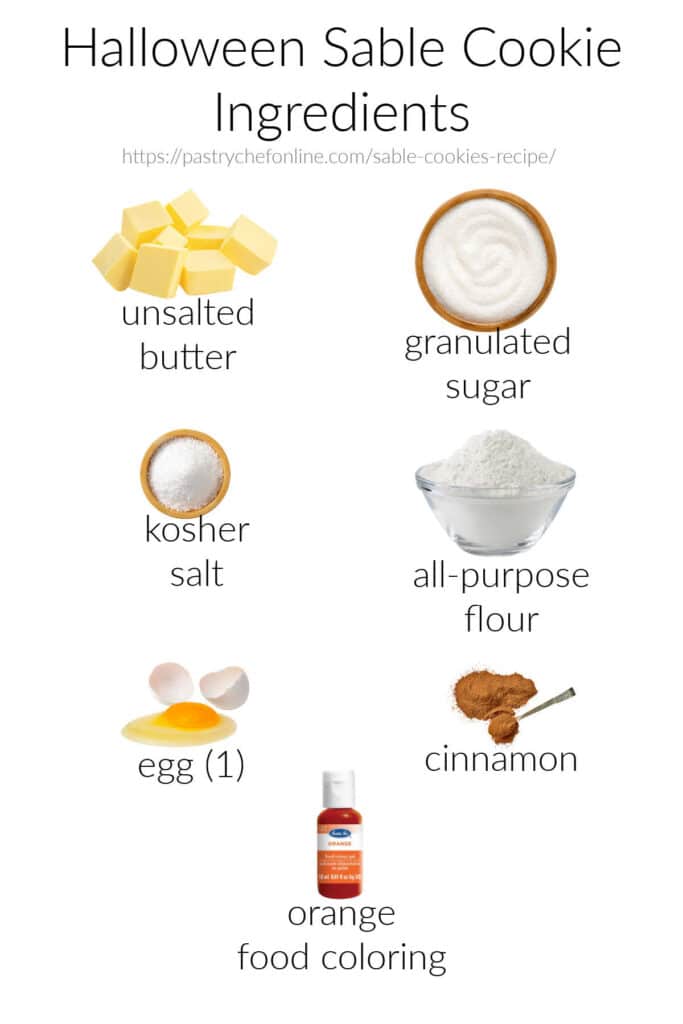
- Unsalted butter: I always call for unsalted butter since a)It is usually fresher, and b)you can control the amount of salt you’re adding. If all you have is salted, you will just have to cut down on the amount of salt you add by about half
- Sugar: Regular granulated sugar. You can substitute brown sugar for a portion of the granulated sugar if you don’t mind your dough being a darker color. Or you could make the cinnamon dough with brown sugar and make the orange dough with granulated sugar
- Salt: I use Morton’s kosher salt. If you use Diamond, you may need a bit more than I call for, and if you use table salt or fine sea salt, you will probably need less.
- All-purpose flour: This provides the bulk and structure for the sable dough. You can substitute cake flour for an even more crumbly, delicate cookie if you’d like. You can also replace 1/2 oz of flour with an equal weight of cornstarch with similar results
- Egg: Adds some fat, emulsifiers, protein, and water. The water in the whites yields a slightly sturdier, less crumbly cookie than using all yolks. You’ll also need a beaten egg white to stick the two layers of dough together before rolling them up
- Cinnamon: If you are not a fan of cinnamon, substitute your favorite baking spice here. Apple pie spice, pumpkin pie spice, ground ginger, etc
- Orange food coloring: I use gel colors so it doesn’t affect the consistency of my dough
Procedure
I go into great detail in the recipe, but in a nutshell, you’ll:
- Make both doughs and press into a generally rectangular shape.
- Roll dough out into sheets.
- Glue the sheets together with egg white and roll up like a cinnamon roll. NOTE: You may also brush the dough with a bit of water
- Slice cookies, press them to about 1/4″ thick.
- Bake, cool, and decorate (or leave plain).
Equipment You May Need
You can make this dough in a
If you have a strong arm, you can even make it with a wooden spoon and a big old bowl.
Would you like to save this post?
A pizza wheel comes in handy for cutting the edges of the dough so they are even, and you will want sturdy half-sheet pans that don’t warp in the oven.
I line my pans with parchment paper already cut to fit onto half-sheet pans. Nice and easy!
Visual How-To
Here is what your dough should look like as it is finishing mixing. It doesn’t have to come together into a ball, but you do want all the flour to be incorporated evenly.
Shaping the Dough
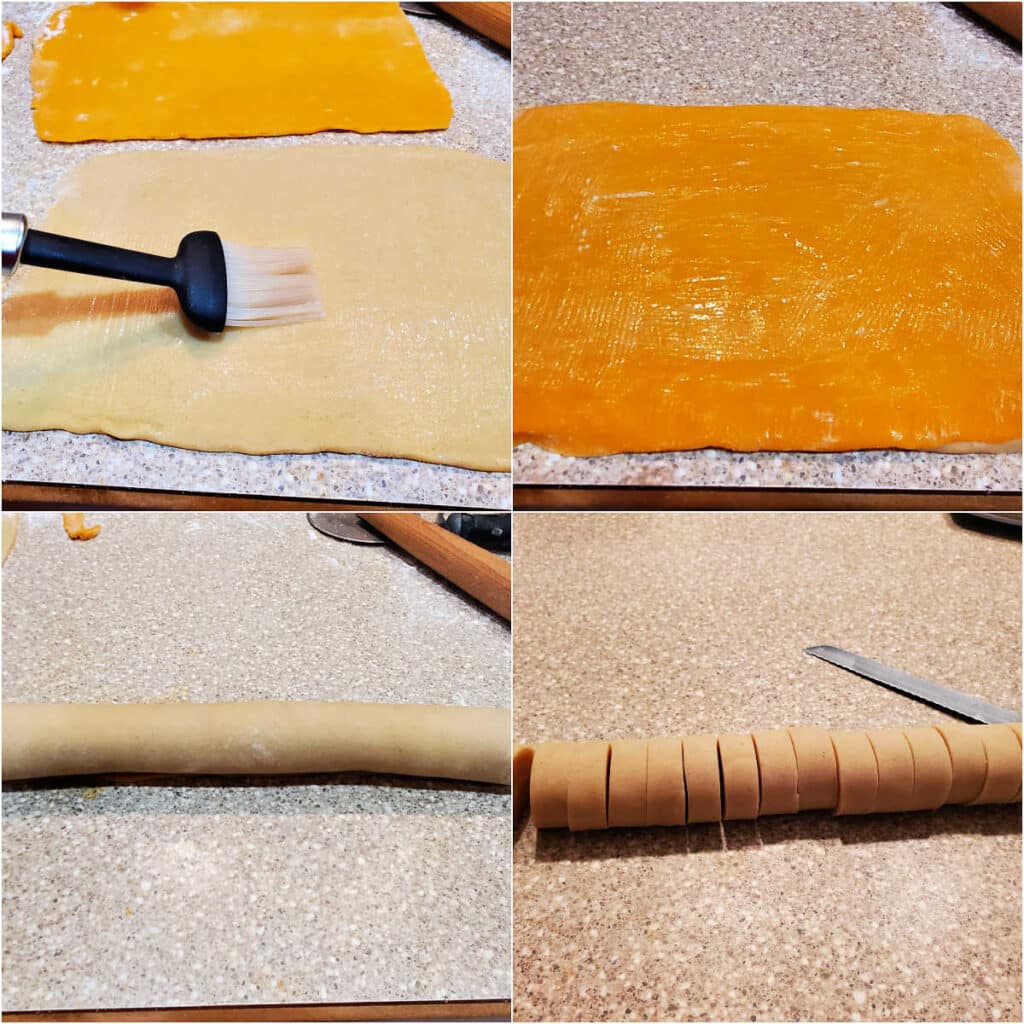
From top left:
- Brushing the dough with egg white–note how thin the coating is
- Stacking the orange dough on top of the cinnamon dough and brushing the orange dough with egg white.
- The dough all rolled into a log.
- Dough cut into 1/2″ slices.
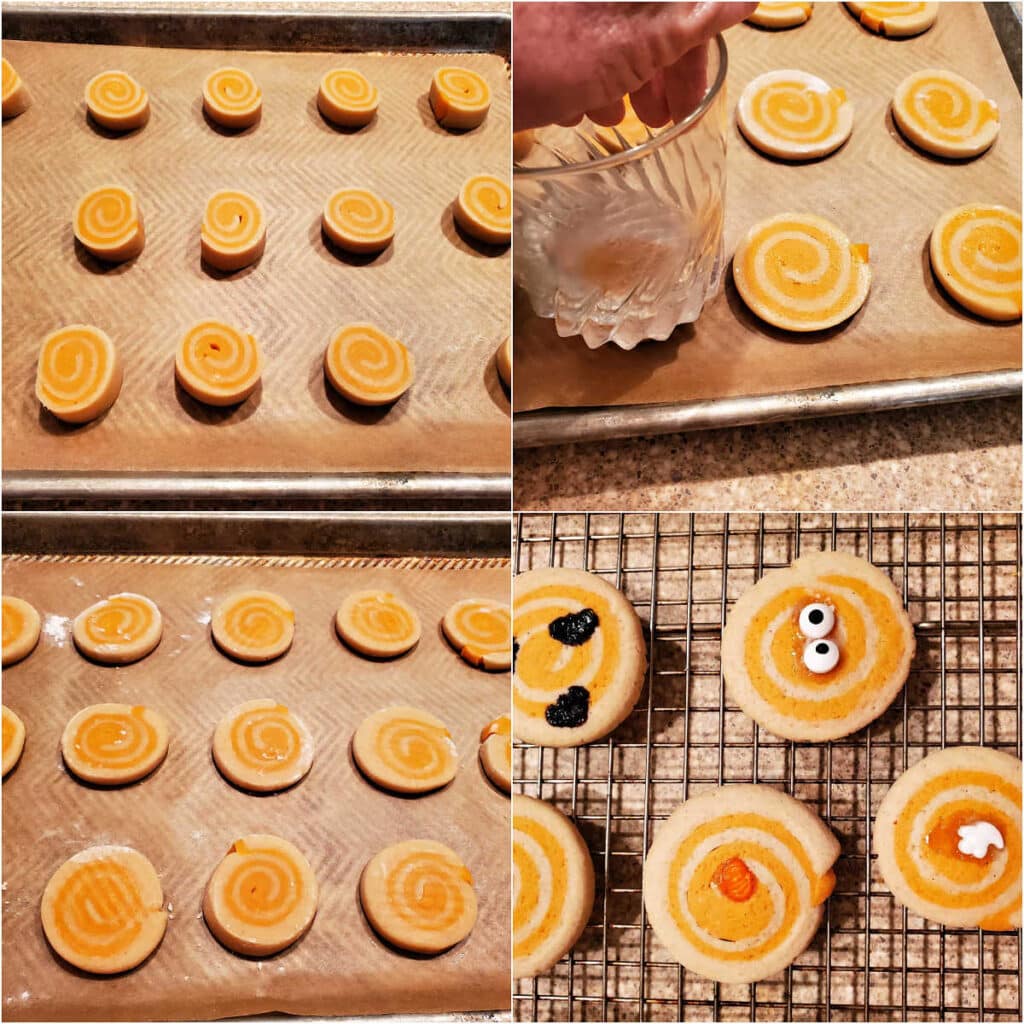
- The sliced cookies on the sheet pan.
- Using the bottom of a floured glass to evenly flatten the cookies to about 1/4″.
- The cookies ready for baking.
- Baked cookies with decorations glued to the center of each with slightly more corn syrup than strictly necessary!
Jenni Says: Since some sugar decorations can melt in the oven, it’s best to bake the cookies plain and then attach the decorations with a dot of frosting, powdered sugar glaze, or corn syrup.
Halloween Sable Cookies Q & A
Yes, you can substitute plant-based butter for u0022regularu0022 butter. As plant butter is generally a bit softer than cow butter, your cookies may spread a bit more.
The easiest way to make these sable cookies gluten-free is to use a cup-for-cup gluten-free flour blend in place of the all-purpose flour.
Store them in an airtight container for up to 5 days. Freeze in a zip-top freezer bag with as much air pressed out as possible for up to 2 months.
More Halloween Cookies
If you’re planning a Halloween cookie tray, consider making some of my malted milk ball spider cookies and maybe these cute decorated Halloween black and white cookies.
These adorable and tasty Hocus Pocus spellbook brownies would also be a hit, especially because nobody wants a cookie tray with only round cookies on it.
You may also want to give my soft and chewy sugar cookies a try. It’s easy to decorate them with a Halloween theme.
And for a quick and easy, semi-homemade treat, buy some ready-made shortbread cookies and add your own Halloween icing and sprinkles.
Questions?
If you have any questions about this post or recipe, I am happy to help.
Simply leave a comment here and I will get back to you soon. I also invite you to ask question in my Facebook group, Fearless Kitchen Fun.
If your question is more pressing, please feel free to email me. I should be back in touch ASAP, as long as I’m not asleep.
A Note About Measurements
Don't let its small price and small size fool you. The Escali Primo is an accurate and easy-to-use food scale that I have used for years. It's easy to store, easy to use, has a tare function, and easily switches between grams and ounces/pounds for accurate measurements.
It will help me and other readers so much if you take a moment to rate and leave a review for this recipe.
You can use the stars to rate 1-5 (5 is best), and leave a review in the comments. It helps me make adjustments if any are needed, and comments help others decide whether the recipe is worth making.
Other ways to share include pinning, and/or sharing on your favorite social media platform.
Thank you so much for taking the time!

Halloween Sable Cookies Recipe
Would you like to save this post?
Ingredients
For the Cinnamon Dough
- 4.5 oz unsalted butter 1 stick and 1 Tablespoon, slightly softened
- 3.5 oz granulated sugar 1/2 cup
- ¼ teaspoon kosher salt I use Morton’s
- 2 large eggs
- 8.75 oz flour 245 grams, or about 2 cups
- ½ teaspoon ground cinnamon
For the Orange Dough
- 4.5 oz unsalted butter 1 stick and 1 Tablespoon, slightly softened
- 3.5 oz granulated sugar 1/2 cup
- ¼ teaspoon kosher salt I use Morton’s
- 2 large eggs
- 8.75 oz flour 245 grams, or about 2 cups
- 4-5 drops orange gel food coloring
For Shaping
- 1 egg white beaten
- Prepared icing powdered sugar glaze, or corn syrup to use as “glue.”
- Small candy Halloween decorations such as black cats ghosts, candy eyes, etc.
Instructions
For the Cinnamon Dough
- Cream the butter, salt, and granulated sugar together until nice and creamy, about 3-4 minutes with a stand mixer.
- Crack the eggs into a bowl, beat them lightly, and with the mixer on low speed, drizzle them into the mixer gradually, in about 6 additions over 2 minutes. Scrape the sides of the bowl as necessary.
- Whisk the flour and cinnamon together, and with the mixer off, add the whole amount.
- Mix on low speed until all the flour is uniformly moistened and you have a nice, stiff dough.
- Scrape the dough out onto plastic wrap, and wrap it tightly, pressing it into a rectangle. Refrigerate while making the orange dough.
For the Orange Dough
- Follow the same steps above, omitting the cinnamon and adding the food coloring with the butter, salt, and sugar.
- Scrape finished dough onto plastic wrap, wrap it tightly. and refrigerate both doughs for at least 2 hours or overnight.
To Shape and Bake
- Set a rack in the upper and lower thirds of your oven, and preheat to 325F.
- Remove the dough from the fridge, unwrap, and cut each rectangle into two equal pieces. Rewrap one of each and work with the remaining two.
- One piece at a time, place each piece on a lightly floured surface and lightly flour the top of the dough.
- Roll each piece into about a 1/4" thick rectangle, all roughly the same size. Your rectangles should be about 10" long.
- Brush as much flour off the dough as you can.
- Brush the cinnamon sheet of dough with a very thin coating of beaten egg white and top with the orange sheet, lining up your rectangles as well as you can.
- Use a pizza wheel to cut the two long edges of the rectangle of dough so they are straight. This will make it easier to roll up.
- Brush the orange sheet of dough with a very thin coating of egg white. Roll up from one of the long ends. Press the seam together as well as you can, roll up in plastic wrap and refrigerate.
- Repeat steps 3-7 with the other pieces of dough. Each roll of dough will fit on 1 cookie sheet. You can save some to bake now and freeze some of the dough for later.
- Once all your dough is prepared, slice off each uneven end of your rolls of dough.
- Cut each roll into about 16 1/2"-thick slices.
- Place on a Silpat- or parchment-lined baking sheet. The cookies will not spread much, so you can have them relatively close together. You should easily be able to get 16 cookies on each pan.
- Lightly spray the bottom of a flat glass or a measuring cup with pan spray, then dip in flour, knocking off the excess.
- Use it to gently press down on each cookie until they are about 1/4" in diameter.
- Reflour the glass as necessary so the cookies don't stick.
- Bake on racks for about 15 minutes, rotating the pans and switching racks halfway through baking.
- The cookies are done when the bottoms are lightly golden brown and the edges are just beginning to color.
- Remove to cooling racks to cool completely.
- Once cool, use little dots of icing or corn syrup to attach small Halloween decorations to the centers of each cookie.
- Let dry, then store in an airtight container for up to 5 days.
Did You Make Any Changes?
Notes
Variation
You can also brush the outside of the logs of dough very lightly with egg white and then roll the logs in Halloween sprinkles or sparkling sugar before slicing, pressing, and baking. For chocolate dough, substitute 1 oz coca powder for 1 oz of flour and whisk the two together before adding to your dough.Storing
Keep the cookies in an airtight container or cookie tin. They will be fine at room temperature for up to five days.Freezing
For longer storage, store in a freezer bag with a zip top for up to 2 months. Press as much air out of the bag as possible before sealing. Nutrition
Thanks for spending some time with me today.
I hope you enjoy making (and eating) these understated but cute and very tasty Halloween sable cookies!
Take care, y’all.

Hi, y’all! I hope you’ve enjoyed this post and hopefully also learned a thing or two.
If you like my style, I invite you to sign up for my occasional newsletter, The Inbox Pastry Chef.
Expect updates on new and tasty recipes as well as a bit of behind-the-scenes action. I hope to see you there!


Join in Today!


1