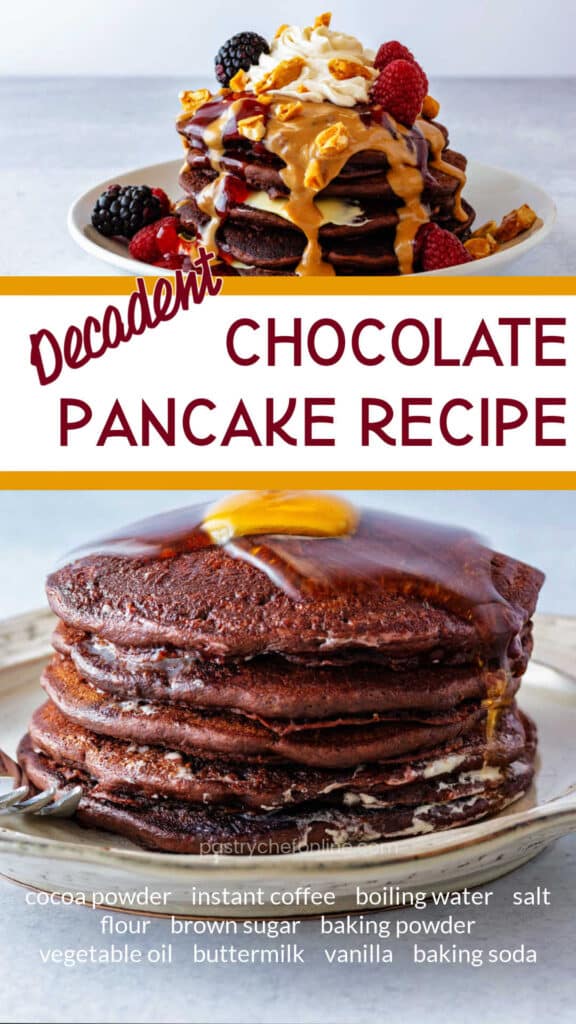
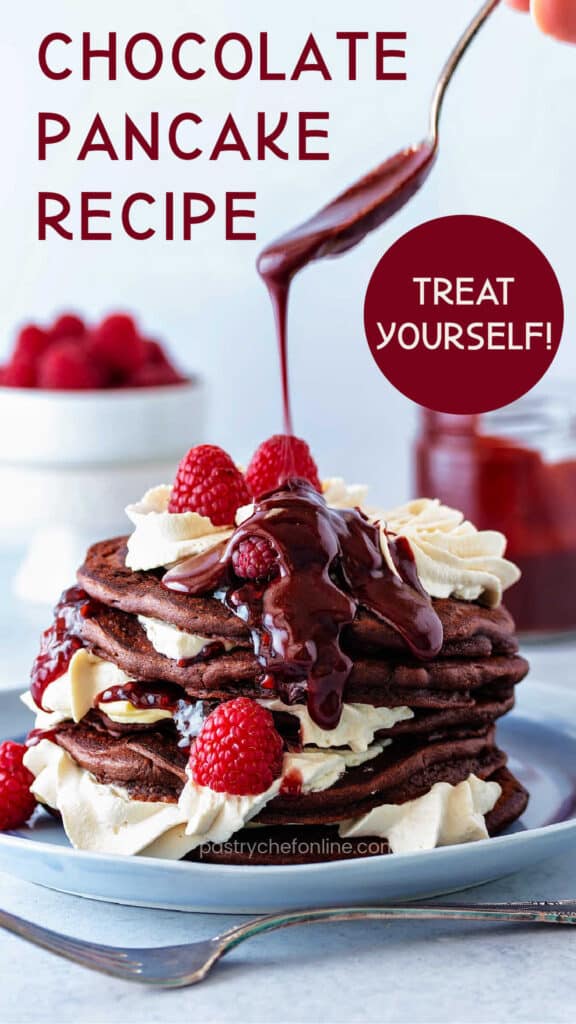
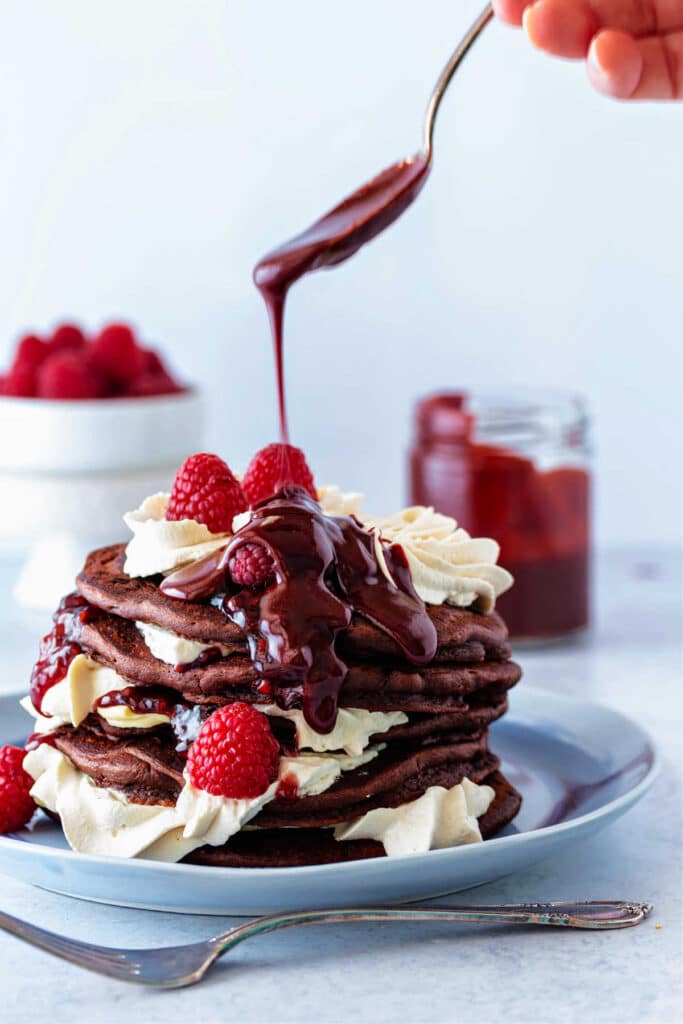
Today, I have a just-decadent-enough recipe for chocolate pancakes that cook up with deep, chocolate flavor and a light and fluffy texture.
There are no eggs in the recipe to muddy the flavor of the chocolate, so what you get is pure chocoatey goodness in every bite.
Make these for a fun, celebratory breakfast or even as an afternoon treat or fun breakfast-for-dinner. You may also want to take a look at my chocolate yeast-raised pancakes as well.
Pastry Chef Online Participates in Affiliate Programs. If you make a purchase through one of my links, I may earn a small commission. For more information click to read my disclosure policy
For ease of browsing, you can find all my breakfast recipes in one place. Now let’s get to it.
Chocolate Pancakes, At a Glance
✔️Skill Level: Beginner
✔️Skills: Neutralizing an Acid with a Base, The Muffin Method (linked)
✔️Type: Griddle-Cooked Quickbread
✔️Number of Ingredients: 11
✔️Prep Time: 10 minutes
✔️Cook Time: 3 minutes per pancake
✔️Yield: 6 pancakes, easily doubled or halved
Jump Straight to the Recipe
Why You Need to Make These Chocolate Pancakes
These pancakes are a treat, y’all! They’re deeply chocolatey, but they’re not so sweet that it feels wrong to eat them for breakfast.
They’re tender and fluffy and pair well with all sorts of syrups, sauces, and garnishes.
The base recipe yields six 5″ pancakes, so roughly double my recipe for pancakes for one.
This makes it a great breakfast for two, but feel free to double or even quadruple the recipe if you’re feeding a crowd.
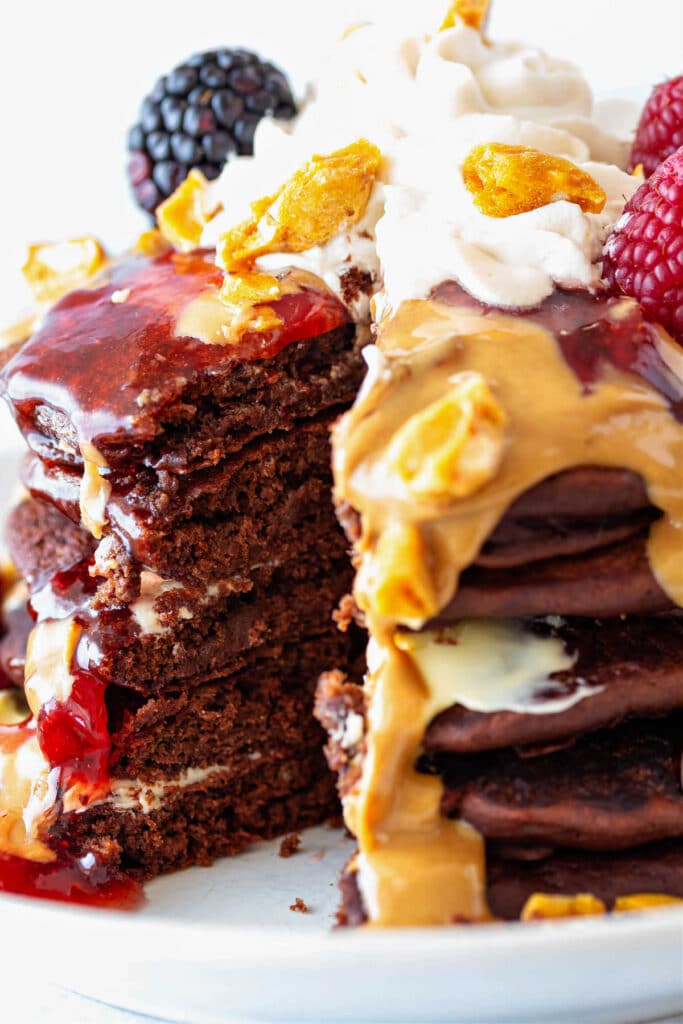
Once you adjust the heat on your griddle or pan, these babies cook up perfectly in about 90 seconds on one side and an additional 60 seconds on the other.
And just look at that beautiful texture, y’all:
How to Make Them
This recipe uses the muffin mixing method (so you may want to review that) with one main modification.
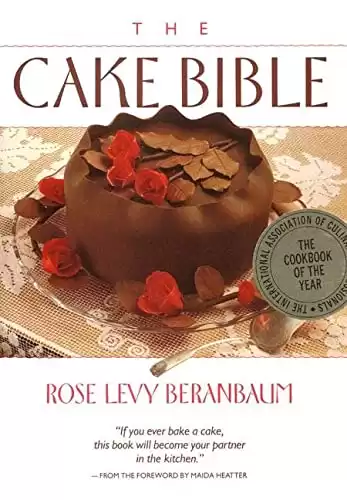
First, you mix cocoa powder with boiling water. This is a trick I learned from Rose Levy Beranbaum in her fantastic book, The Cake Bible.
This is one of my go-to cookbooks for all things cake. From frostings to fillings to cake recipes that work every time, this book is as much textbook as it is cookbook. Rose is a fabulous teacher, and you will learn a lot. This was also one of the first American cookbooks to have weight measurements as well as volume, too.
The cocoa powder basically steeps like tea in the boiling water, allowing the flavor to unfold and deepen.
Do that step first, and your cocoa will be ready to use once you measure out all your dry ingredients.
If you don’t need any of the substitutions and you are familiar with the muffin method, feel free to jump straight to the recipe.
Otherwise, keep reading for some more detailed information on how to make these pancakes.
Ingredients and Substitutions
Here’s what you’ll need to make your own batch of chocolate pancakes. Below the photo, I’ll give you substitutions where I can.
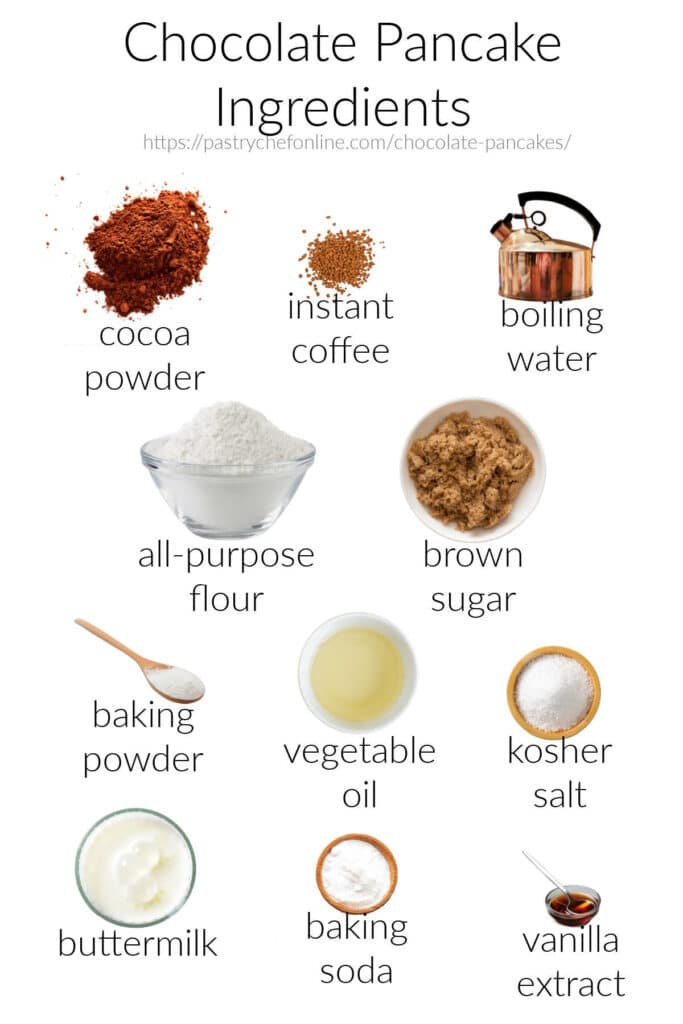
- cocoa powder: This provides the rich chocolate flavor. Use non-alkalized (American) cocoa powder. If all you have is Dutch process, use that, but leave out the baking soda
- instant coffee: Just a touch deepens the coffee flavor. You won’t taste the coffee at all, I promise. But if you really hate coffee, leave it out
- boiling water: Blooms the cocoa powder and the instant coffee. Using water keeps the chocolate flavor from being muddied by dairy. If you prefer, you can substitute hot coffee and leave out the instant coffee
- all-purpose flour: Provides the bulk and crumb for the pancakes. All-purpose is the best choice here. Using cake flour could make the pancakes be too delicate
- brown sugar: Just a bit of sugar to tenderize the pancakes and to offer a bit of sweetness. You may substitute granulated sugar if you prefer
- baking powder: Gives the batter some lightness by reacting with the liquids to create gas for rise
- vegetable oil: Carries flavor and tenderizes the pancakes. You can substitute butter, but use ghee, brown butter, or clarified butter rather than whole butter. My favorite oils for baking are avocado oil and light olive oil
- salt: Snaps all the flavors into focus and counteracts bitterness from the cocoa powder and instant coffee. Please don’t leave it out
- buttermilk: Along with water, buttermilk is the other water-type liquid in the recipe. The acid in the buttermilk tenderizes and provides a bit of a tang. I use full-fat. You can substitute low-fat. Or if you don’t have buttermilk, dilute yogurt to the consistency of buttermilk with either milk or water. Another substitute is regular milk, either cow’s or plant-based. Leave out the baking soda if using “regular” milk
- baking soda: Added to the cocoa and buttermilk mixture, baking soda works to neutralize some of the acidity of those ingredients and making sure the batter is balanced enough to cook evenly and not too quickly, as acidic batters tend to do
- vanilla extract: Rounds out all the flavors
Procedure
In short, here’s how to make some delicious chocolate pancakes:
- Bloom cocoa in boiling water
- Whisk dry ingredients together (flour, sugar, baking powder)
- Add the rest of the wet ingredients to the cocoa mixture.
- Pour wet into dry and whisk until you have a thick batter with just a few lumps
- Cook your pancakes
Here are a few collage that show the steps:
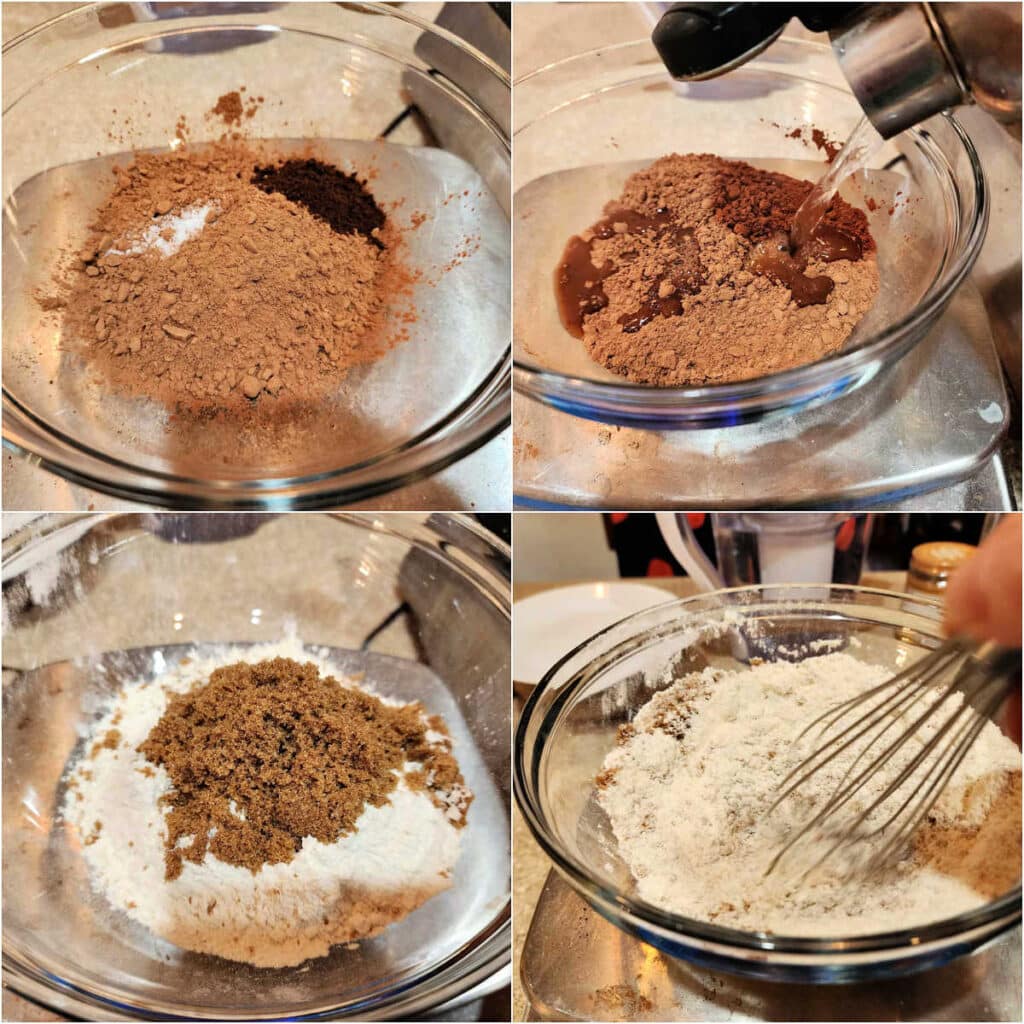
- Put cocoa powder, instant coffee, and salt in a small bowl.
- Pour in boiling water. Whisk, cover, then set aside while you…
- …Add dry ingredients to a large bowl: flour, brown sugar, and baking powder
- Whisk well to combine.
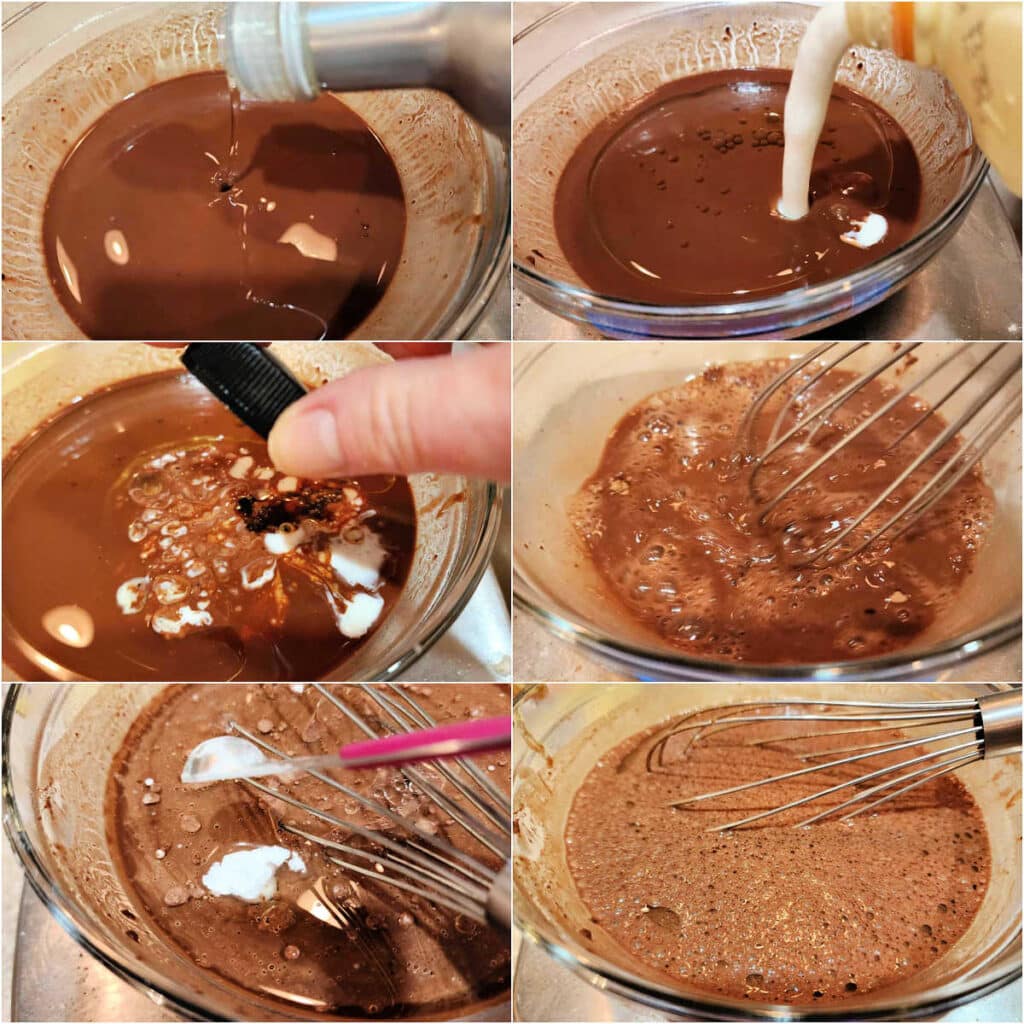
To the cocoa mixture, which will still be hot but not boiling hot, whisk in oil, buttermilk, and vanilla.
Whisk in the baking soda and let it sit for a couple of minutes. Note how the mixture gets bubbly.
That’s the soda helping to neutralize the acids in the cocoa powder and buttermilk.
We don’t need those bubbles for leavening, so you don’t have to work at breakneck speed, but once it’s all mixed, it’s time to bring the batter together.
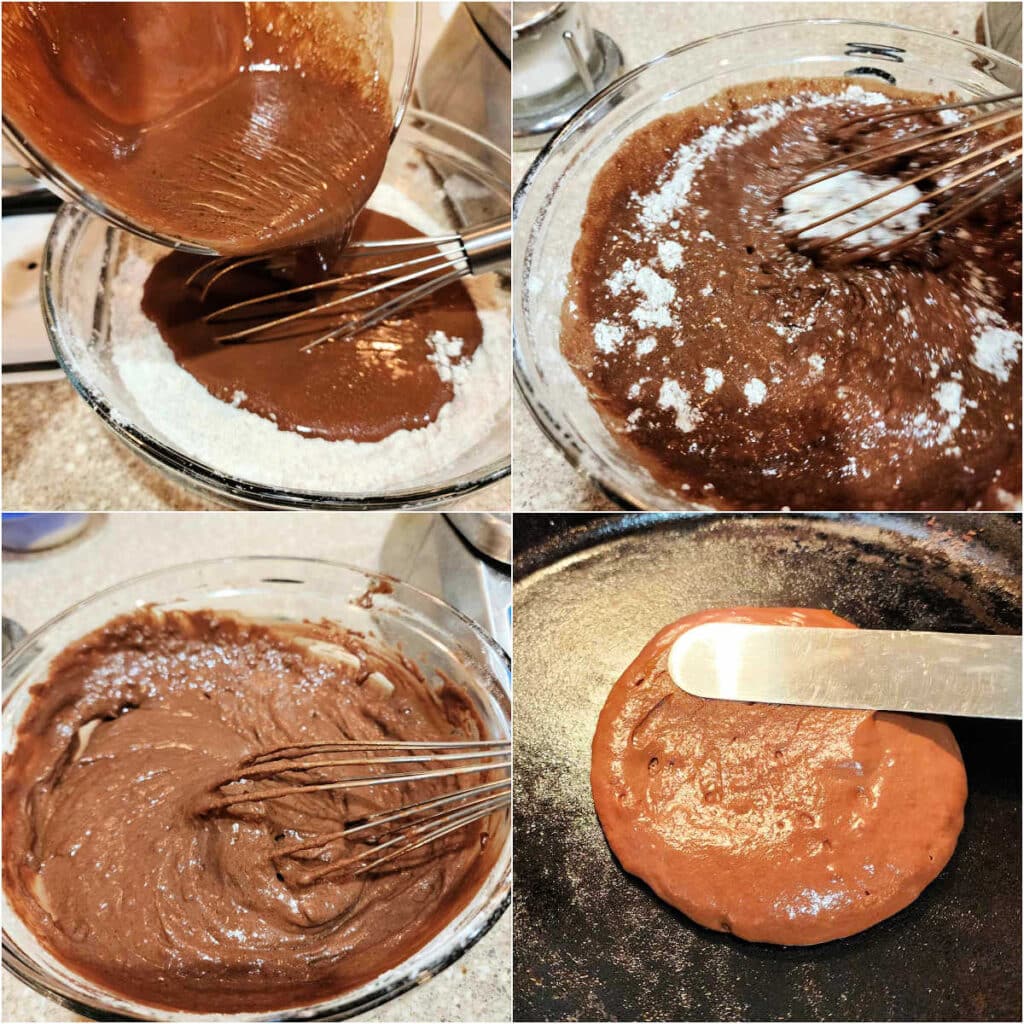
- Pour the liquid ingredients into the dry ingredients.
- Whisk to combine.
- It’s okay to have a few lumps. The batter will be very thick, but it is pourable.
- When you start cooking the pancakes, the batter will want to mound up in the centers, so use an offset spatula to gently even them out as they cook.
Note this last collage for cues to know when to turn your pancakes.
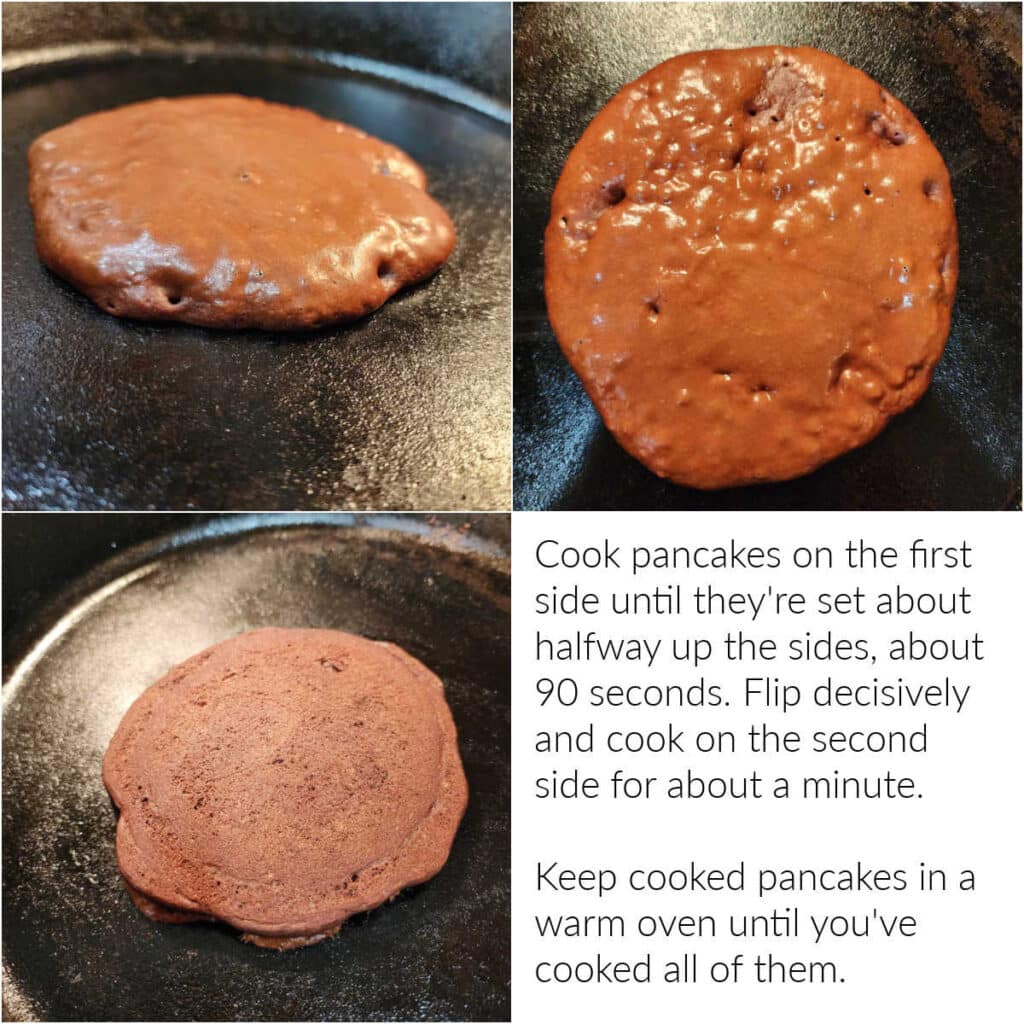
Cook pancakes on the first side until they’re set up about halway up the sides. This will take about 90 seconds.
Flip pancakes decisively with one firm “shove” under the pancake with a thin spatula. Then it’s a quick up and over for the flip.
The second side will only take about a minute to cook.
Jenni Says: The pancake batter should just barely sizzle when you add it to the pan. Adjust your heat to make sure your pancakes don’t cook too fast. It’s harder to tell when chocolate pancakes are done since they’re already brown, so don’t go above medium-low to medium heat.
Equipment You May Need
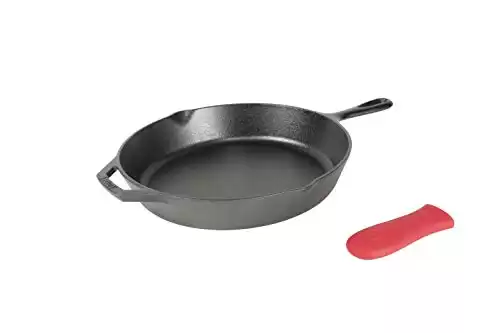
I cook my pancakes in my well-seasoned 12″ cast-iron skillet. Use your favorite, large non-stick pan, electric griddle or electric fry pan.
Turn them with your favorite, thin spatula. Keep them warm in a toaster oven or conventional oven at about 200F.
I make almost all my smashed burgers (and a bunch of other things) in this Lodge 12" cast iron skillet. It's heavy, which is great for smashed burgers. It holds heat and allows the burgers to cook evenly.
Plus, over time, it builds up its own, natural, magic non-stick coating. So the burgers stick when you need them to for browning, but then they're pretty easy to flip as well. Best of both worlds!
This is also my go-to pan for making pancakes.
Tips and Tricks for Success
Tip 1: This is a thick batter, so use an offset spatula to spread the batter that tends to mound up in the center of each pancake towards the edges so the pancakes will have an even thickness.
Tip 2: When turning the pancakes, use a thin spatula and decisively push it up under each pancake in one quick motion. Doing it quickly gives you a much better chance of flipping a perfect pancake than gingerly wiggling the spatula under each one. Trust me!
Serving Suggestions
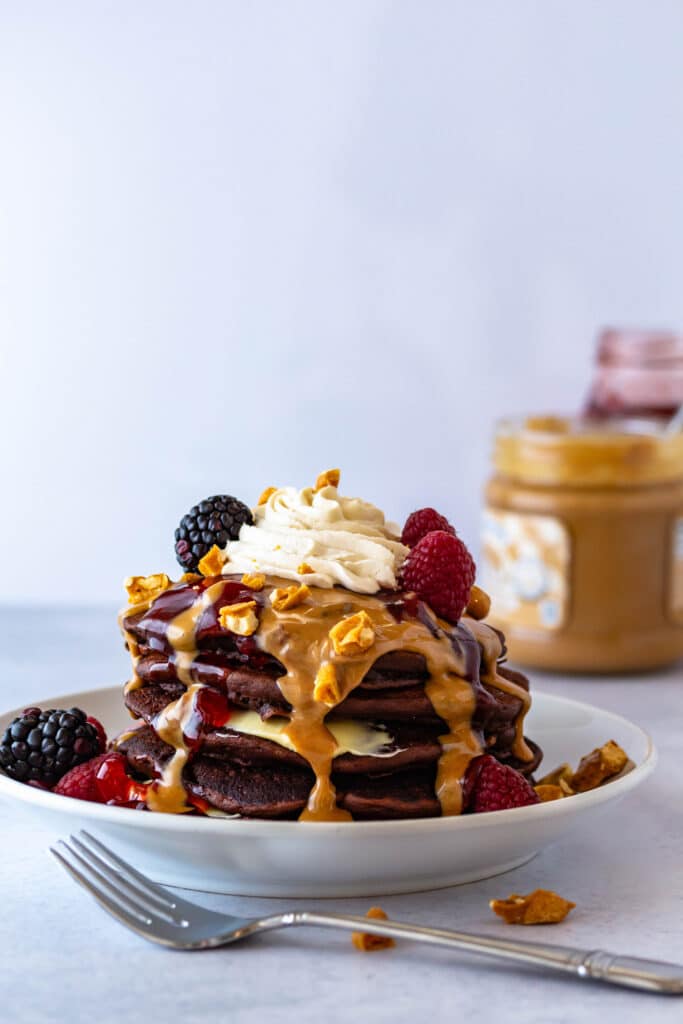

There really are no wrong way to eat these. I’ll divide up my recommendations to range from healthier to splurge!
Healthier
- Spread with any flavored and sweetened yogurt and top with some granola and a bit of syrup
- Spread with butter and your favorite flavor of berry jam
Middle-of-the-Road
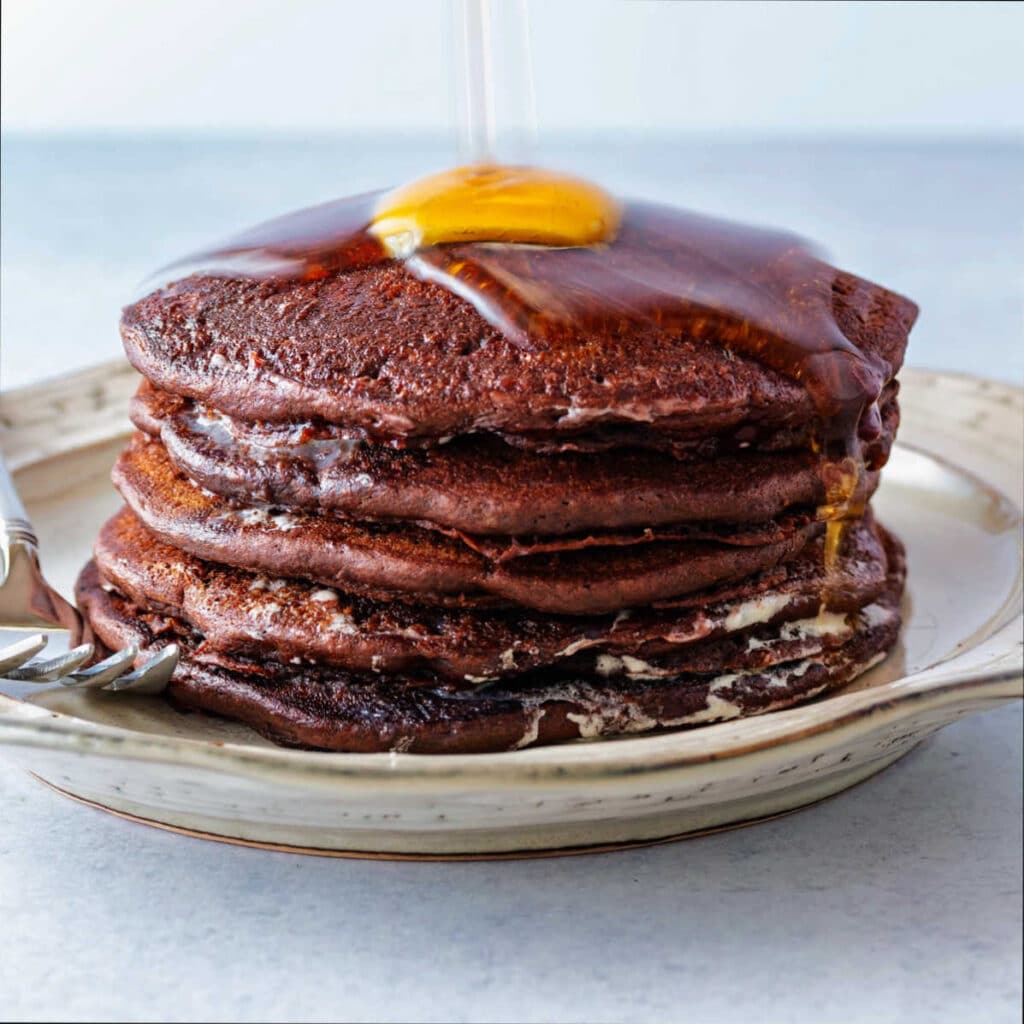
- There is a lot to be said for having them with nothing but a bit of salted butter and pure maple syrup. It’s honestly my favorite way to eat them
- Top them with chocolate syrup or strawberry syrup, and squirt on a bit of Reddi-Wip
- Add some chocolate chips to each pancake before flipping for double chocolate-melty goodness. Top with a little white chocolate sauce
Splurge
- Top them with my hot fudge sauce and whipped cream. Sprinkle on some chopped nuts and/or berries
- Pour on some caramel sauce and top with cut up chocolate-caramel candy bars
- As pictured above, top with butter, strawberry sauce, peanut butter sauce, and chopped peanut brittle for peanut butter and jelly chocolate pancakes
- Put a couple of squares of milk chocolate bars between each hot pancake, add marshmallow fluff and crushed Graham crackers and douse in chocolate sauce and more fluff for a S’Mores variation
Chocolate Pancake Q &A
Yes! Since they’re already egg-free and don’t have butter in them, you just need to account for the buttermilk. Substitute a vegan buttermilk made with soy milk and a little lemon juice. Allow it to sit for a few minutes to curdle and thicken before using. Or just use your favorite plant-based milk and leave out the baking soda.
If you have leftovers, they’ll be fine, well-wrapped, for 2-3 days in the fridge. Reheat in a toaster or toaster oven to serve. For longer storage, wrap them in foil and then seal in a freezer bag. They will stay good for a good couple of months. Thaw overnight in the fridge and then heat as already outlined.
Questions?
If you have any questions about this post or recipe, I am happy to help.
Simply leave a comment here and I will get back to you soon. I also invite you to ask question in my Facebook group, Fearless Kitchen Fun.
If your question is more pressing, please feel free to email me. I should be back in touch ASAP, as long as I’m not asleep.
A Note About Measurements
My recipes are almost all written by weight, including liquids, unless otherwise specified.
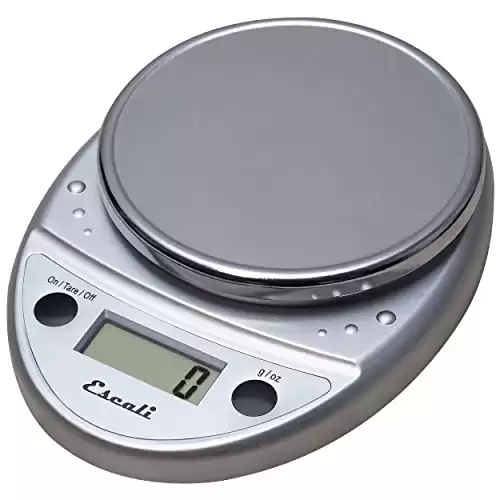
For accuracy and consistency of results, I encourage you to buy–and use–a kitchen scale.
I promise that baking and cleanup will be so much quicker and easier.
This is the scale that I recommend for home use. I have owned and used one for years.
Don't let its small price and small size fool you. The Escali Primo is an accurate and easy-to-use food scale that I have used for years. It's easy to store, easy to use, has a tare function, and easily switches between grams and ounces/pounds for accurate measurements.
It will help me and other readers so much if you take a moment to rate and leave a review for this recipe.
You can use the stars to rate 1-5 (5 is best), and leave a review in the comments. It helps me make adjustments if any are needed, and comments help others decide whether the recipe is worth making.
Other ways to share include pinning, and/or sharing on your favorite social media platform.
Thank you so much for taking the time!

Chocolate Pancake Recipe
Ingredients
- 30 grams cocoa powder 1.1 oz or 1/3 cup, not Dutch process. See notes if using Dutch process
- 1 teaspoon instant coffee
- ¼ teaspoon kosher salt I use Morton's
- 125 grams boiling water 4.4 oz or 1/2 cup plus 1 Tablespoon
- 120 grams all-purpose flour 4.2 oz or 1 cup measured by whisking the flour, lightly spooning it into your cup, and sweeping off the excess.
- 45 grams brown sugar 1.6 oz or 3 tightly-packed tablespoons
- 1 ½ teaspoons baking powder
- 100 grams buttermilk 3.5 oz or a scant 1/2 cup
- 45 grams neutral vegetable oil 1.6 oz or 4 Tablespoons, such as avocado or light olive
- ½ teaspoon vanilla extract
- ¼ teaspoon baking soda
Instructions
- Put the cocoa powder, instant coffee, and salt in a small bowl (like a cereal bowl) and pour in the boiling water. Stir well to completely combine, and then cover with plastic wrap or a small plate. Set aside so the chocolate flavor can bloom.
- In a medium mixing bowl, whisk together the all-purpose flour, the brown sugar (sift if it is very lumpy), and baking powder.
- To the bloomed cocoa powder, pour in the buttermilk, oil, vanilla, and baking soda. Stir well. The mixture will bubble up a bit. That's the interaction between the acidic cocoa powder and buttermilk and the baking soda.
- Make a well in the center of the dry ingredients, and pour the cocoa/buttermilk mixture in, scraping the bowl to get as much as you can.
- Whisk to combine until only a few little lumps remain, about 10 seconds. Batter will be very thick but pourable.
To Cook the Pancakes
- Heat a large cast-iron or non-stick skillet over medium heat or use an electric griddle.
- Lightly coat with a bit of butter or pan spray, and then wipe off the excess.
- When a little water sizzles in the pan, add batter using a 1/3 cup measure. Spread the batter out gently with an offset spatula so the pancakes are even all across their surface.
- Regulate the heat as necessary, and cook each pancake for about 90 seconds on the first side. Flip with a thin, flexible spatula. Decisively shove the spatula under each pancake so it reaches the far end of the pancake before that pancake has a chance to realize what you're doing! Wiggle the spatula just a bit from side to side to make sure the pancake is releasing completely from the pan, and then lift straight up and flip the pancake over so the second side can cook.
- Cook the second side for about a minute. Add more fat as needed, but always wipe out any excess.
- Keep pancakes warm in a 200F oven, or let people eat as soon as they come off the griddle. Serve with your choice of toppings: butter, maple syrup, peanut butter syrup, jam, chocolate syrup, chopped and toasted nuts, etc.
Did You Make Any Changes?
Nutrition

Hi, y’all! I hope you’ve enjoyed this post and hopefully also learned a thing or two.
If you like my style, I invite you to sign up for my occasional newsletter, The Inbox Pastry Chef.
Expect updates on new and tasty recipes as well as a bit of behind-the-scenes action. I hope to see you there!
Thanks so much for spending some time with me today.
I hope you enjoy the chocolate pancakes, you guys. They are really such a treat!


Join in Today!
