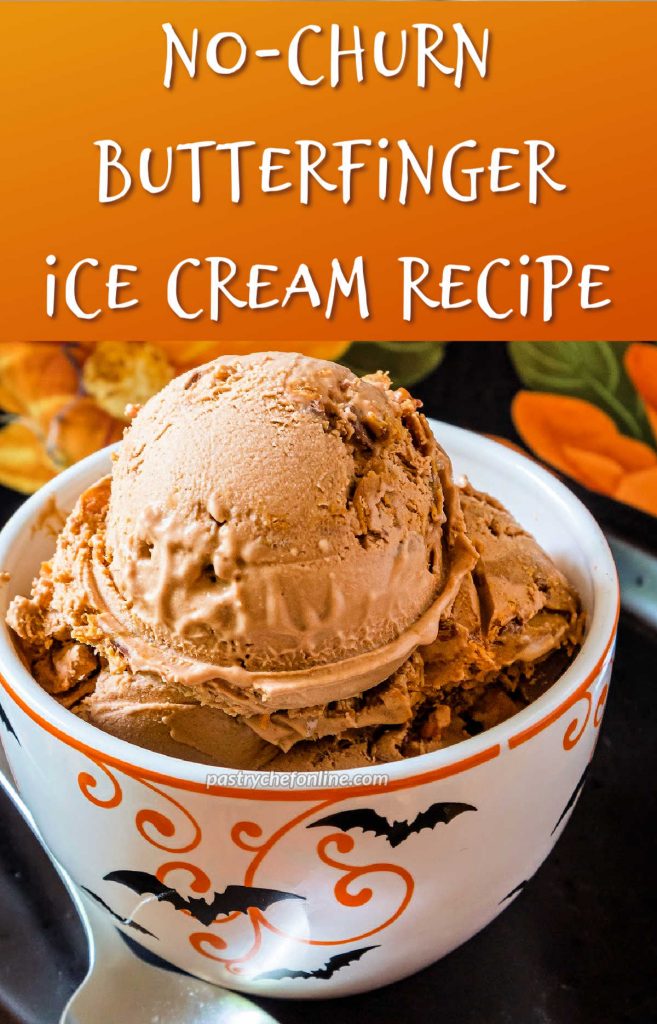
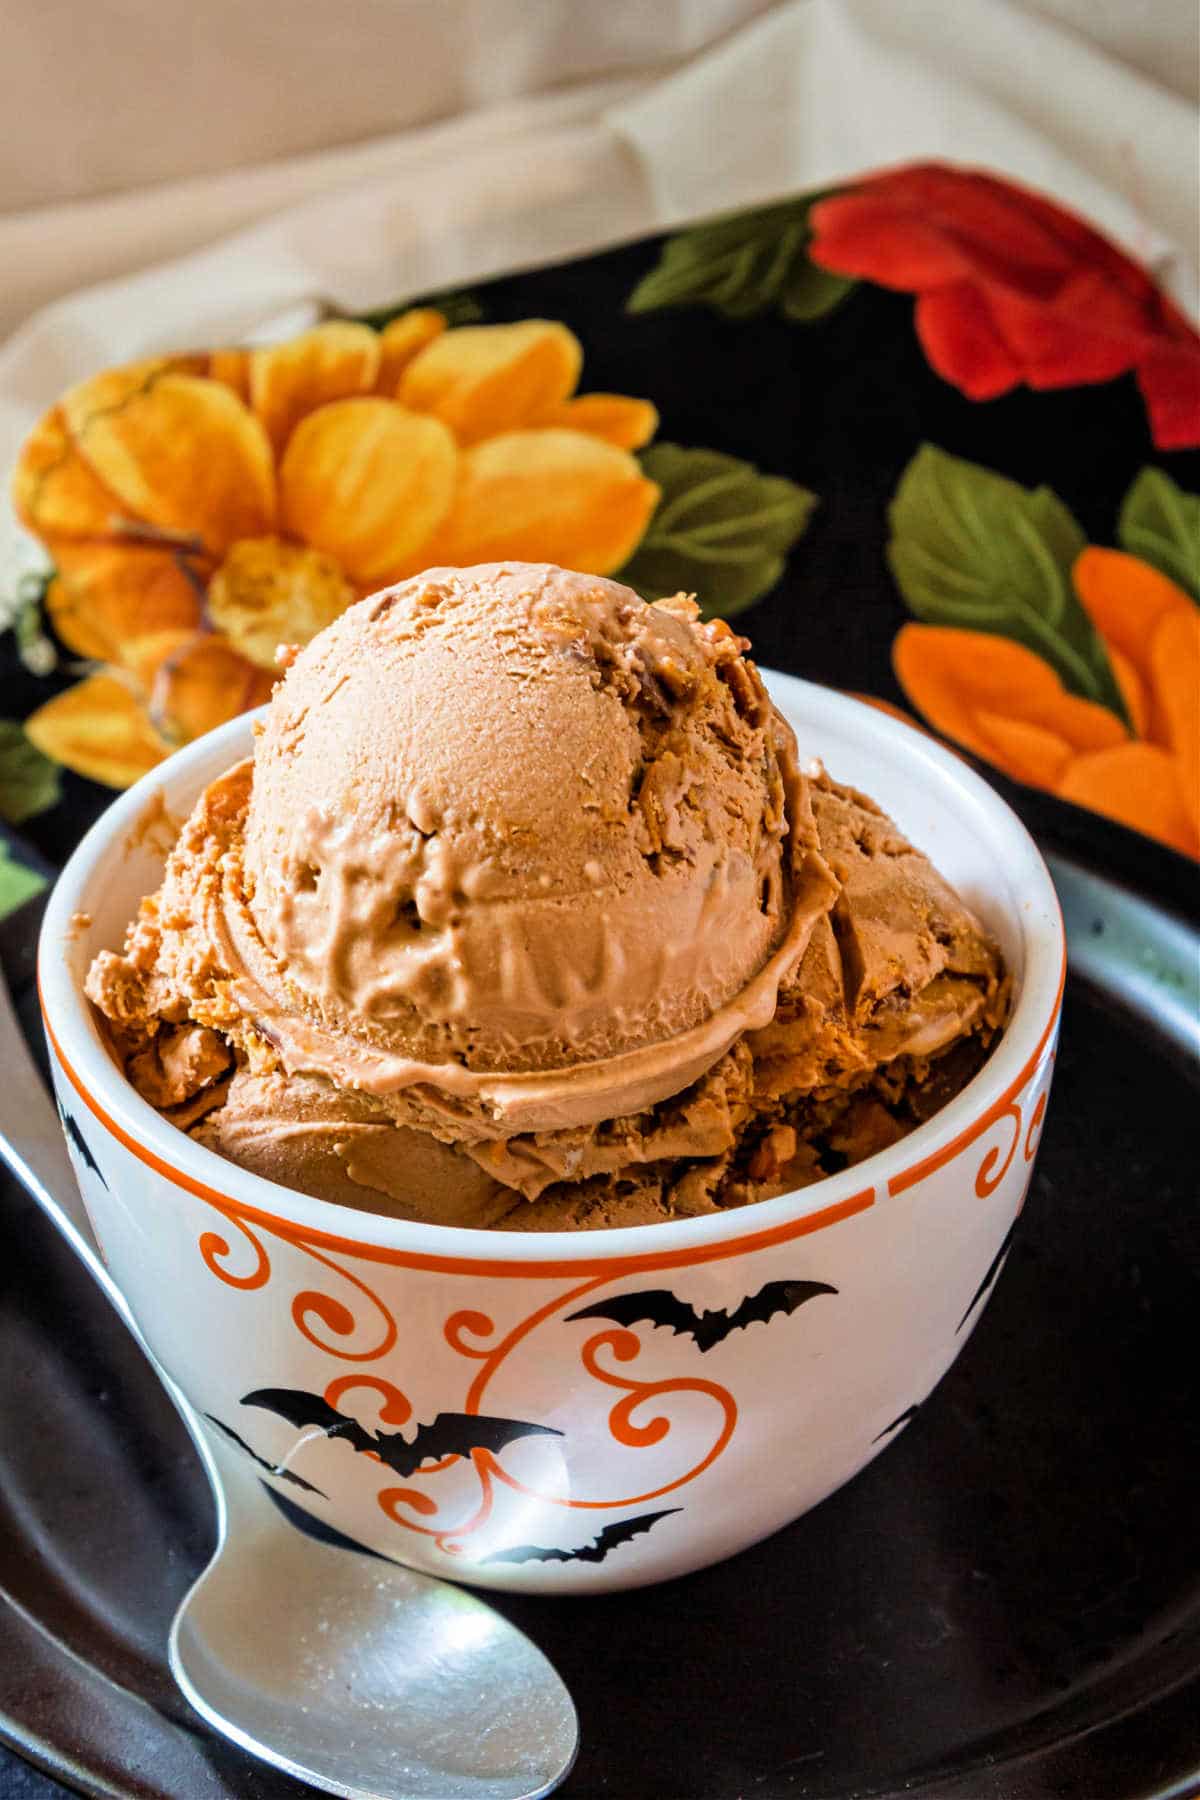
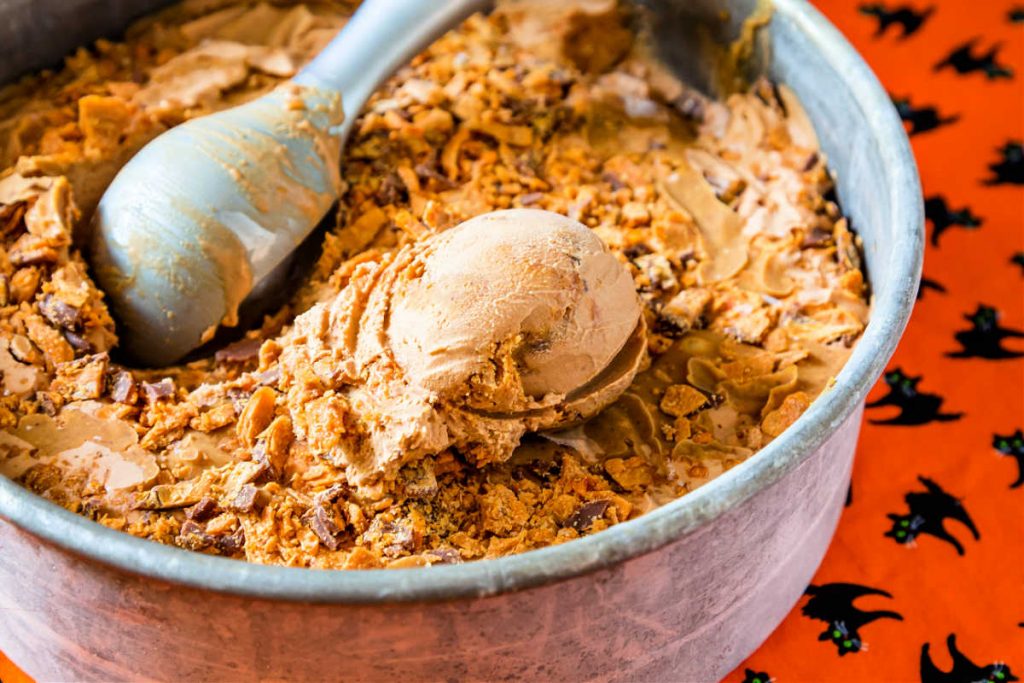
I am so happy you’re here today so I can share an excellent Halloween-ish ice cream recipe with you. Meet no-churn Butterfinger ice cream. It’s packed with Butterfingers melted right into the base plus extra chocolate and peanut butter for good measure.
If you’re a huge Butterfinger fan, you may also really enjoy my crunchy Butterfinger candy recipe or my easy Butterfinger bark.
For ease of browsing, you can find all my ice cream recipes in one place. Now let’s get down to business.
Pastry Chef Online Participates in Affiliate Programs. If you make a purchase through one of my links, I may earn a small commission. For more information click to read my disclosure policy
No-Churn Butterfinger Ice Cream, At a Glance
✅Skill Level: Beginner
✅Skills: Melting Candy into Cream, Making No-Churn Ice Cream
✅Type: No-churn ice cream
✅Number of Ingredients: 8
✅Prep Time: 30 minutes
✅Cook Time: 5 minutes
✅Freezer Time: 8 hours
✅Yield: 12 servings
Jump Straight to the Recipe
Why You Should Make This Recipe
This is a great way to use up Fun-Sized (or full-sized) Butterfinger candy bars.
It’s rich, so a little goes a long way.
This recipe is very creamy and crunchy, so there is a nice textural contrast in each bite.
After a couple of extra steps of melting ingredients into heavy cream, this is made just like regular no-churn ice cream.
How To Make Butterfinger Ice Cream
Here are the ingredients you’ll need along with substitutions you might make.
If you’re ready to get right to it, please head straight to the recipe.
First, let’s take a look at the ingredients.
Ingredients and Substitutions
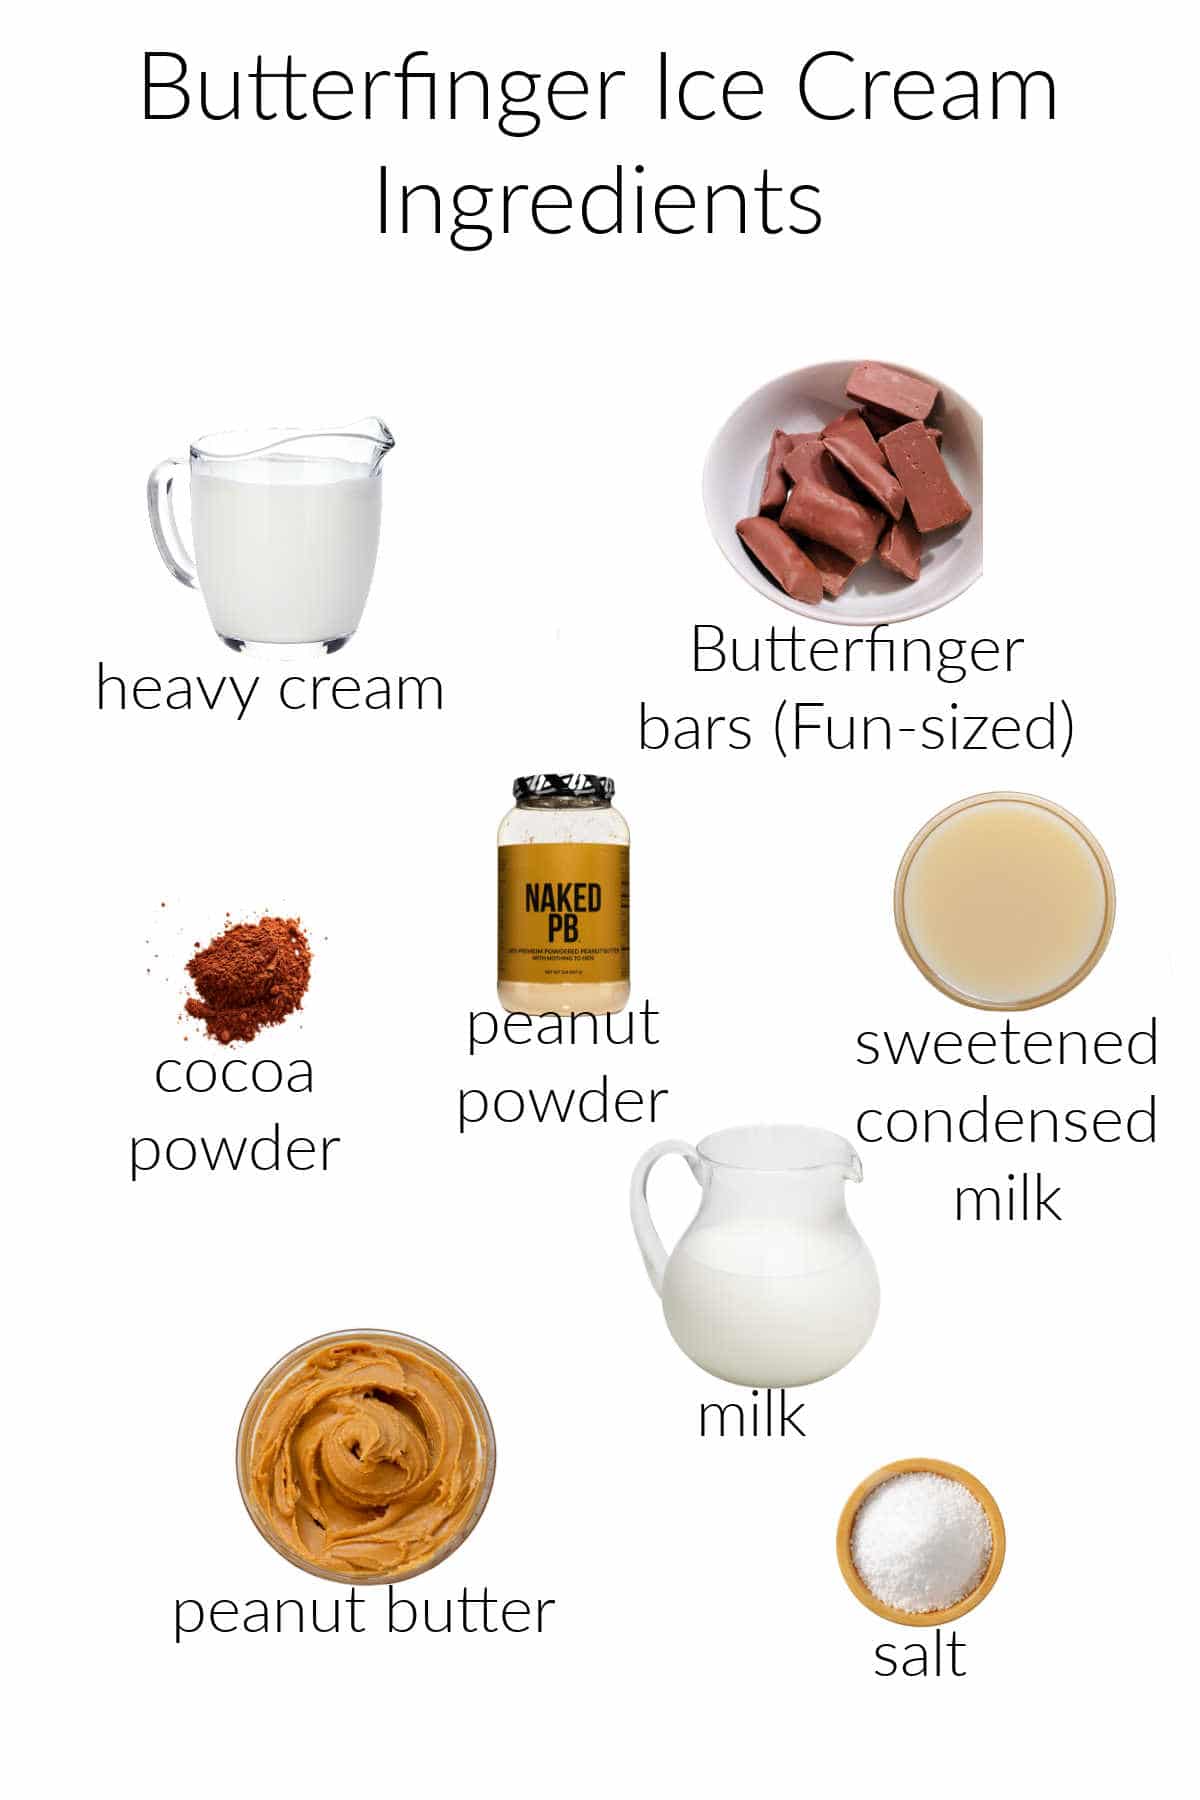
- heavy cream: Whipping the cream adds body and airy texture
- Butterfinger bars: Used twice, some melted into the base and more crushed candy bars layered into the finished ice cream. You can use Fun-Sized or full-sized bars. I don’t recommend using Butterfinger Bites because the chocolate layer is very thin and not delicious. They make for an underwhelming flavor. Trust me, I gave it a shot.
- cocoa powder: Just a touch melted into the cream with the candy yields deeper chocolate flavor
- peanut powder: To add a bit more peanut butter flavor to the base. Not strictly necessary, but it does boost the flavor.
- sweetened condensed milk: provides some of the sweetness and more milky, creamy goodness
- milk: whole milk, reduced fat, or lowfat milk will work here. It increases the bulk, keeps the base from being too thick and rich, and all the water in the milk ensures that the dessert will freeze nicely
- salt: brings all the flavors into focus, especially the peanut flavor
- peanut butter: I use natural peanut butter, but you can use your favorite, smooth or crunchy. Heat it for a few seconds in the microwave so you can drizzle it into the ice cream. Peanut butter is only there for the swirl, so you can leave it out if you prefer
Procedure
Here’s how to make no-churn Butterfinger ice cream, friends.
- Heat cream and stir in chopped Butterfingers, cocoa powder, peanut powder, and salt.
- Blend in your blender until smooth.
- Refigerate until cold, about 4 hours.
- Whip the cream mixture until lighter in color and a little bit thicker.
- Whip in the sweetened condensed milk and milk.
Would you like to save this post?
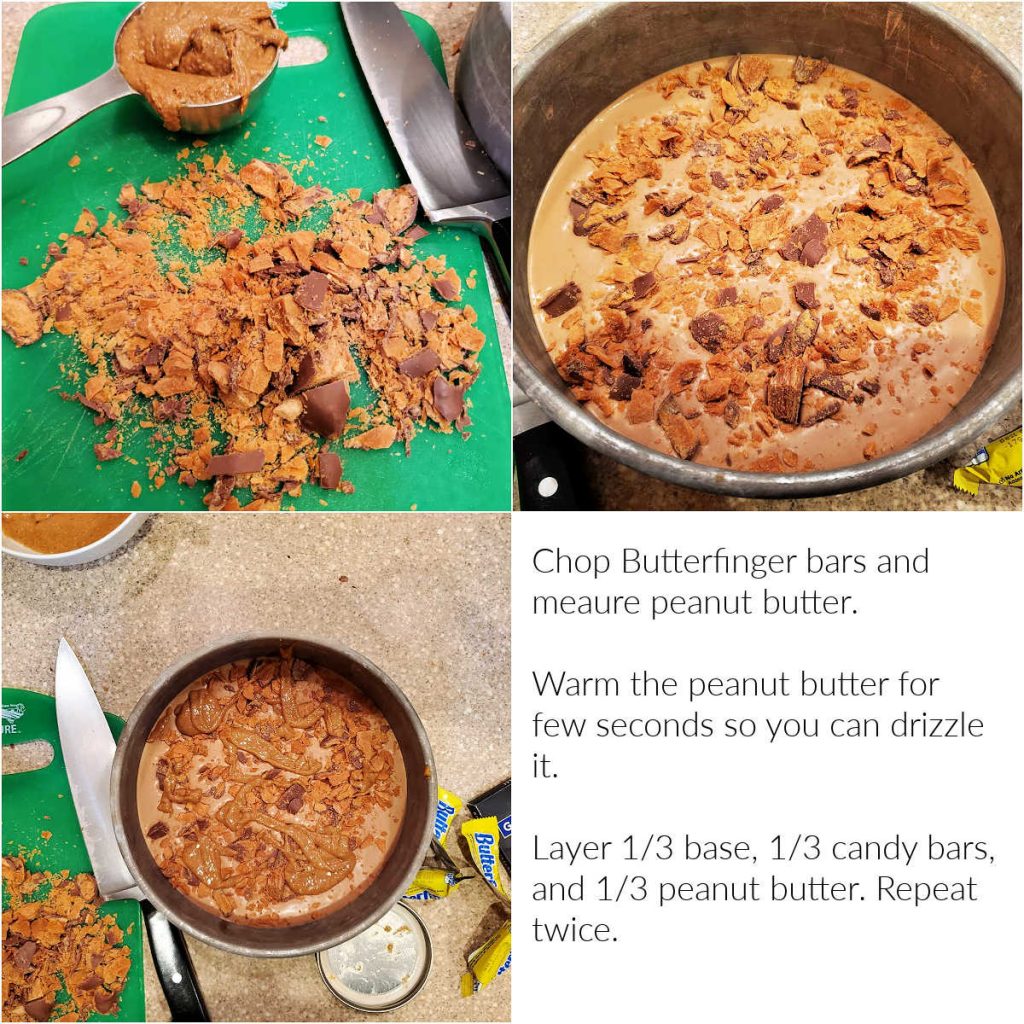
- Heat peanut butter so you can drizzle it.
- Into your freezer-safe container, layer in the chocolate peanut butter base, crushed Butterfingers, and peanut butter in 3 additions of each, starting with the base and ending with the last of the mix-ins.
- Freeze until firm, about 8 hours.
Tips and Tricks for Success
This is a pretty straightforward recipe to make, despite the steps.
Here are a few pointers for you to ensure success.
- Make sure to chill the heavy cream base thoroughly before whipping.
- You can use a hand mixer or a
stand mixer to make this ice cream, although I think you will get a lighter texture if you use astand mixer . - Whisk slowly to combine the sweetened condensed milk and milk. Since the two milks are very different in texture, it’ll be easier to combine them with the rest of the base if you completely whisk them together first.
- You can use more or fewer candy bars than I call for in the recipe. If using fewer, you can keep the chocolate peanut butter flavor front and center by adding a bit more cocoa powder and peanut butter powder to your base.
Butterfinger Ice Cream Q & A
Use 4-5 full-sized bars in the ice cream base itself and chop 2 additional for layering.
For best flavor and texture, eat within the first week. Make sure to store your Butterfinger ice cream in an air-tight, freezer-safe container, ideally with plastic wrap also pressed down onto the surface.
Friends, this is a high-calorie ice cream recipe. It has way more calories in it than even super-premium brands. You can cut down on the calories by leaving out the melted Butterfingers in the base, but then you’ll have to play around with increasing the cocoa powder, peanut butter powder, and sweetened condensed milk. Personally, I’d make it as written and just consider it a seasonal treat.
Serving Suggestions
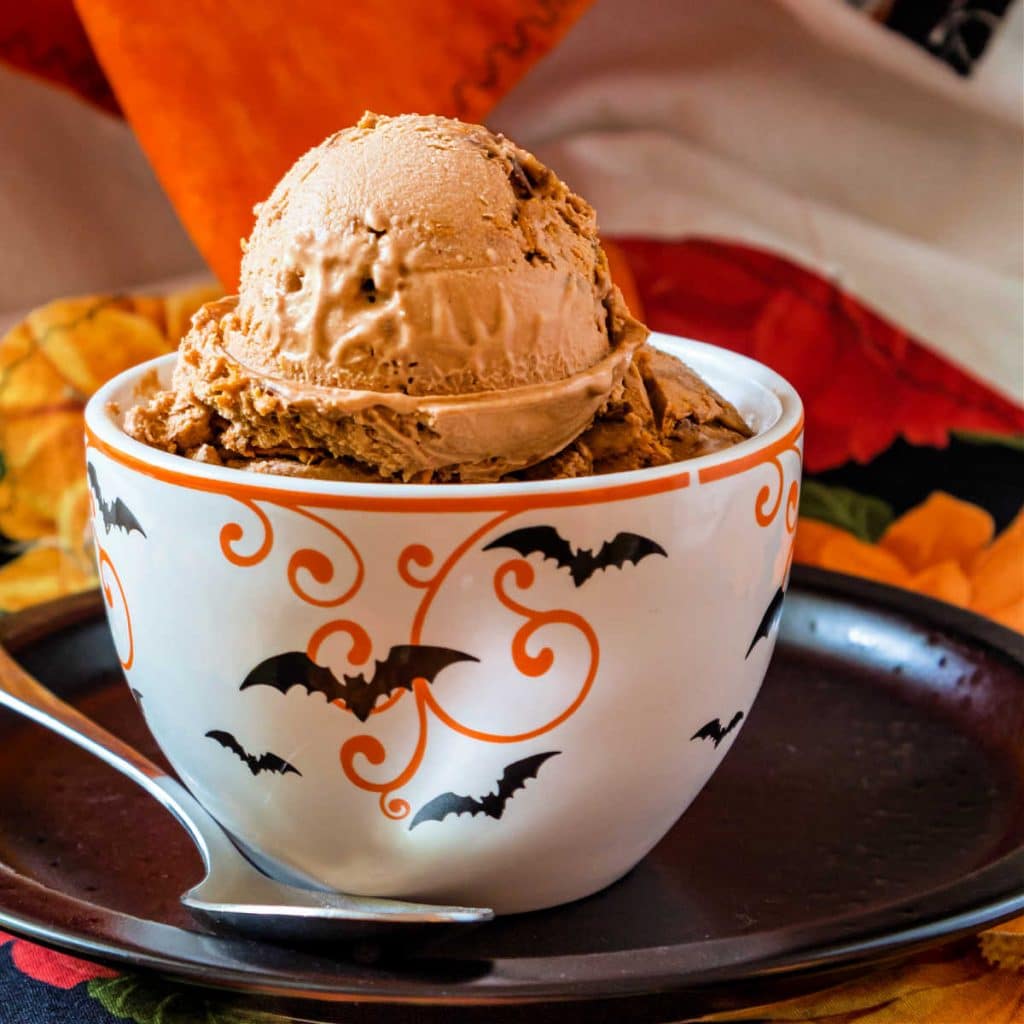
- You can obviously eat this ice cream plain, but it would also be delicious with some of the best hot fudge sauce in the world or my quick hot fudge sauce.
- And I’ve had it with butterscotch ice cream sauce on top, and I can highly recommend that!
- Consider serving a scoop of Butterfinger ice cream on top of a fudgy brownie or a marbled chocolate peanut butter brownie. Top with some hand-whipped cream for a great Butterfinger sundae.
Questions?
If you have any questions about this post or recipe, I am happy to help.
Simply leave a comment here and I will get back to you soon. I also invite you to ask questions in my Facebook group, Fearless Kitchen Fun.
If your question is more pressing, please feel free to email me. I should be back in touch ASAP, as long as I’m not asleep.
A Note About Measurements
My recipes are almost all written by weight, including liquids, unless otherwise specified.
For accuracy and consistency of results, I encourage you to buy–and use–a kitchen scale.
I promise that baking and cleanup will be so much quicker and easier.
This is the scale that I recommend for home use. I have owned and used one for years.
Please Take a Moment to Rate and Share
It helps me and other readers so much if you take a moment to rate and review this recipe.
Your star rating and comments help others decide whether the recipe is worth making, and your feedback helps me continue improving recipes here at Pastry Chef Online.
Other lovely ways to share include pinning or posting on your favorite social media platform.
Thank you so much for taking the time!


Best Butterfinger Ice Cream Recipe
Ingredients
- 15 Fun-Sized Butterfinger candy bars 1 bag
- 12 oz heavy cream about 1 1/4 cups
- ¼ teaspoon kosher salt
- 1 Tablespoon cocoa powder
- 2 Tablespoons peanut butter powder
- 8 oz sweetened condensed milk
- 8 oz milk
- 8 Fun-Sized Butterfinger candy bars finely chopped
- ½ cup natural peanut butter
Instructions
- Chop the 15 Butterfingers into small bits.
- Heat the cream in a microwave-safe bowl until hot.
- Whisk in the chopped Butterfingers, cocoa powder, and peanut butter powder. Not everything will melt smoothly, but that’s okay.
- Transfer the cream mixture to your blender and blend until smooth, about 30 seconds.
- Refrigerate until cold, at least 4 hours.
- Add the chilled cream mixture (it will be very thick) to your mixer bowl (or to a large bowl if using a hand mixer), and whip until lighter in color, about 45 seconds or so. Scrape the bowl.
- Whisk together the sweetened condensed milk and milk until well-combined and add to your mixing bowl.
- Whisk on medium-low speed to combine. Scrape bowl as necessary.
- Heat the peanut butter for a few seconds so it is easy to drizzle.
- Layer 1/3 of the ice cream base into a freezer-safe container.
- Sprinkle on 1/3 of the second amount of chopped Butterfingers and drizzle on 1/3 of the peanut butter.
- Repeat twice more, finishing with the mix-ins.
- Press plastic wrap directly on top of the ice cream and freeze until firm, 8 hours or overnight.
- Enjoy within 10 days to 2 weeks.
Did You Make Any Changes?
Notes
To Use Full-Size Bars
Melt 4-5 full-sized Butterfinger bars into the base in place of the 15 fun-sized bars. Chop 2 full-sized bars to use for layering.Storing
Keep in the freezer with plastic wrap pressed directly on top of the ice cream for up to 2 weeks. It really is best within the first week, though. After that, flavor and texture will suffer.Nutrition
Would you like to save this post?

Hi, y’all! I hope you’ve enjoyed this post and hopefully also learned a thing or two.
If you like my style, I invite you to sign up for my occasional newsletter, The Inbox Pastry Chef.
Expect updates on new and tasty recipes as well as a bit of behind-the-scenes action. I hope to see you there!

Enjoy this decadent, no-churn ice cream, you guys.
Thanks for spending some time with me today!
Take care, y’all.


Join in Today!