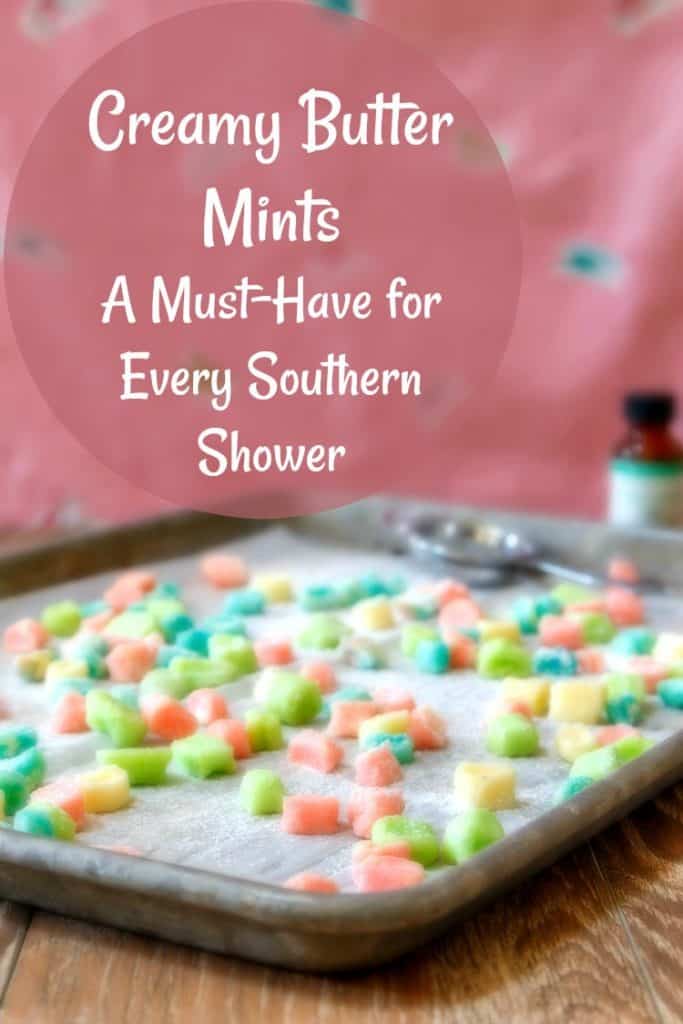
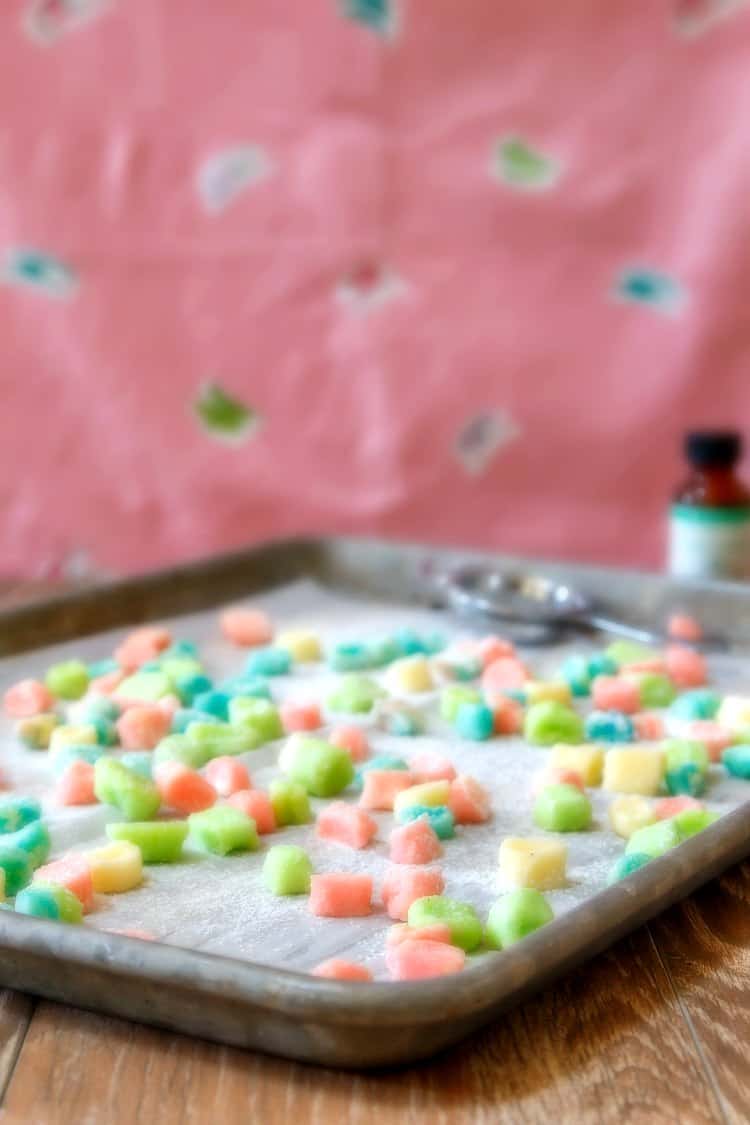
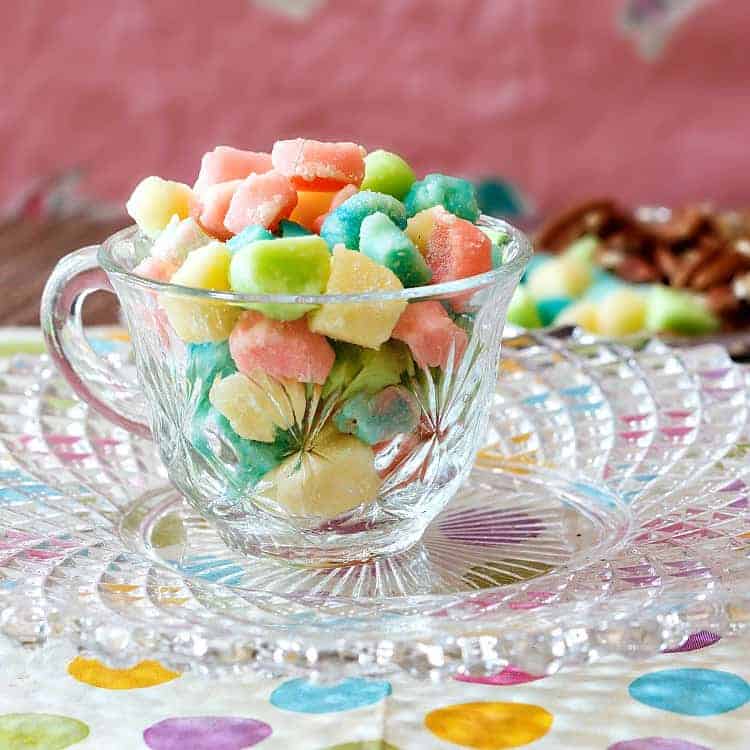
Homemade butter mints might be one of the easiest Southern candies to make. Every true Southerner also knows these as baby shower mints, because in the south, it’s not a shower unless there are mints and nuts!
Another candy recipe you might enjoy serving at that shower are my pate de fruits.
I fancied up this butter mints recipe with a little disco dust to make them sparkly, too. So much fun to serve for a baby shower or wedding shower, or switch up the food coloring to make them perfect for a Thanksgiving or Christmas treat!
For ease of browsing, here are all my candy recipes in one place.
Are Butter Mints Hard to Make?
In a word, no. If you can make “regular frosting” with butter and powdered sugar (American Buttercream), you can make butter mints, no problem.
The only special skill you might need is “rolling dough into snakes,” and I think most of us mastered that particular skill in kindergarten.
How To Make Them:
Okay, here’s the rundown.
Pastry Chef Online Participates in Affiliate Programs. If you make a purchase through one of my links, I may earn a small commission. For more information click to read my disclosure policy
- Mix butter and powdered sugar until creamy.
- Add mint flavoring and a bit of milk.
- Roll into snakes (refrigerate before slicing if too soft)
- Slice snakes into individual mints.
- Let dry out for a good 24 hours or so.
See? Easy!
A Couple of Notes on Making Homemade Shower Mints
- Use salted butter to make butter mints. Why? Because if you use unsalted butter, your mints will be flat tasting and seem way too sweet. You could add a bit of salt, but I find Kerry Gold salted butter to have the perfect amount of salt for well-balanced butter mints.
- Check your bottle of peppermint flavoring carefully. If you have peppermint oil, it’s super concentrated, so you’ll only need a very few drops to get a nice balance between mint and butter. If you have peppermint extract, you may need 1/2 to even 1 teaspoon since extract is much less potent than the oil.
- Let your mints set up at room temperature. Don’t think you can dry the mints out in the oven. The butter will just melt out, and that is not at all what we want.
How to Make Marbled Butter Mints
If you look in the photos, the blue mints are marbled.
The look is easy to achieve.
Don’t mix the coloring all the way into the butter mint dough so some remains creamy white (or pale yellow if you are using Kerry Gold butter).
That’s it. So it’s arguably even easier to make marbled mints than it is to make regular ones!
Can I Make Unicorn Mints?
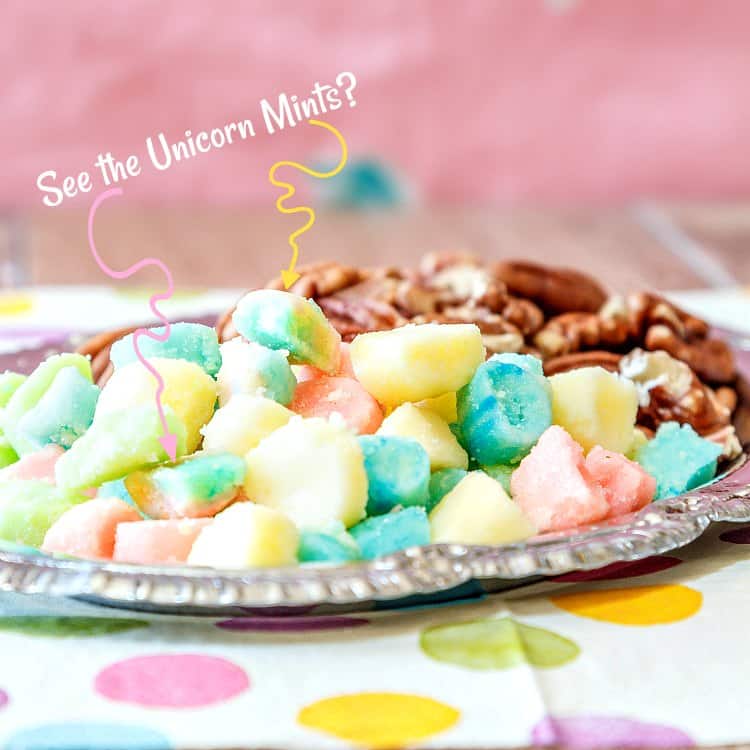
Yes! That’s easy too.
- Take the ends or pieces that break off your snakes of dough and push them together.
- Roll the different colored ends together into a snake.
Would you like to save this post?
And that’s it!
You can even make them sparkly by brushing them with some disco dust. That’s what I did and, although it doesn’t really show up well in the photos, they’re sparkly and pretty in real life.
Gel Colors Versus Liquid Colors
In the grocery store, you can get little bottles of liquid color. They work well, color-wise, but since they are a liquid, they will thin out your butter mint dough a little–and the more you use, the thinner it will get.
It will most likely not be a problem since you’re only going to be using a drop or two, but for other projects where you want to use more color, if the consistency of what you’re coloring is important, I’d forgo the liquid colors.
Gel colors are where it’s at, as far as I’m concerned.
Gel colors are much thicker than liquid colors, so even if you add a fair amount, the texture of your frosting won’t be affected.
If you are not a fan of using artificial colors, there are some natural food colors out there that you can get.
Or, you can just not color them at all. The yellow ones in the photos are actually not dyed at all. Thanks, Kerry Gold grass fed butter for being so yellow and sunny!
Let’s Make Some of This Candy!
I’m almost sad that I know how to make these guys.
They are basically little bits of rich butter frosting flavored with mint and allowed to harden. That’s it, for real! And now you know, too.
It helps me and other readers so much if you take a moment to rate and review this recipe.
Your star rating and comments help others decide whether the recipe is worth making, and your feedback helps me continue improving recipes here at Pastry Chef Online.
Other lovely ways to share include pinning or posting on your favorite social media platform.
Thank you so much for taking the time!

Butter Mints
Equipment
Ingredients
- 6 oz salted butter 1 1/2 sticks or 3/4 an 8 oz block of butter, I used Kerry Gold at cool room temperature
- 1 pound confectioners sugar
- 1 Tablespoon milk plant based or cow’s milk
- 4-6 drops peppermint oil* to taste
- food coloring of choice 1-2 drops per color
- extra confectioners sugar for rolling
Instructions
- Place the butter and powdered sugar in the bowl of your stand mixer and mix on medium speed until smooth and creamy. This could take a few minutes, so be patient.
- Add the tablespoon of milk and the peppermint oil. Be very sparing with the oil, because it is super strong. Mix in a couple of drops and then taste before adding more. (See notes)
- Divide the mixture into as many portions as colors you want to make and stir/knead in the color evenly. Note that the colors will deepen some as the mints dry, so go easy if you want pastel colors.
How To Shape the Mints
- If the mint dough seems too soft, wrap each color in a different sheet of plastic wrap, form into a tube about 1" thick and refrigerate for an hour or so. Otherwise, just go for it.
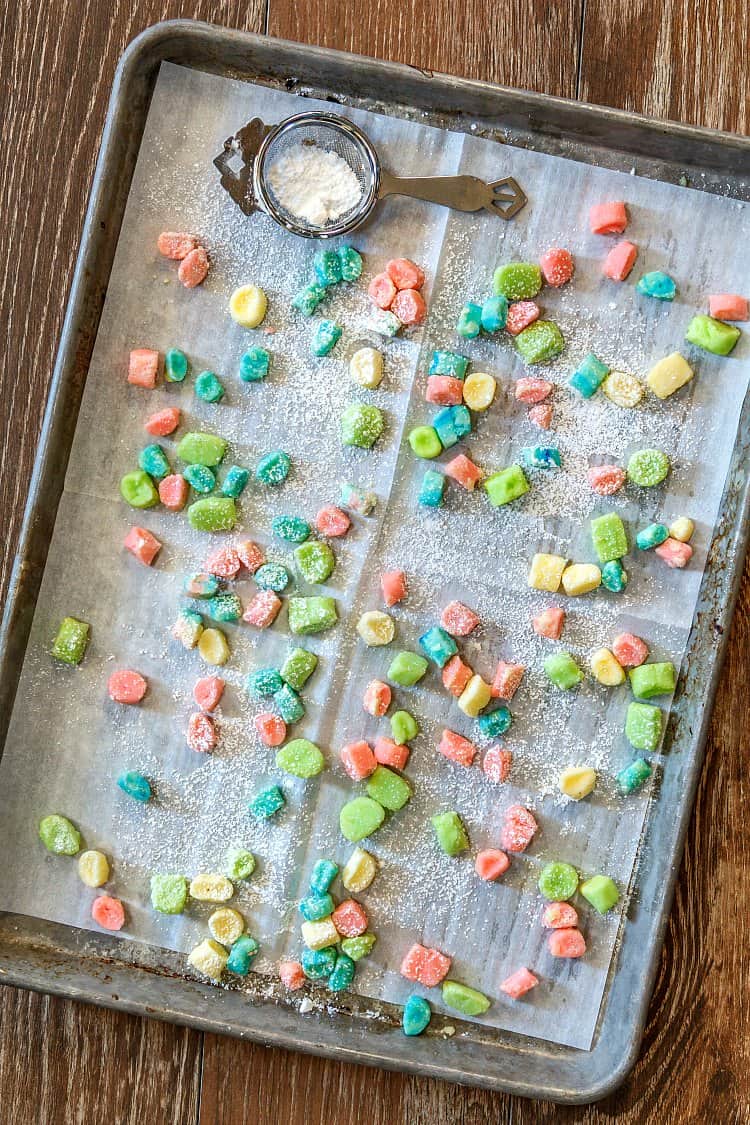
- Liberally dust your work surface with powdered sugar and use your hands to roll the "dough" into long snakes. Sprinkle them with some powdered sugar and then use a pizza cutter or a knife to cut the ropes into 1/4" to 1/2" pieces.
- Use your bench knife to scoop onto parchment lined baking sheets and allow to harden for 24 hours.
Did You Make Any Changes?
Notes
Nutrition
Would you like to save this post?
And there you have it, friends. Delicious, buttery, minty butter mints. Make them for the next shower you go to.
Thanks for spending some time with me today, friends. Enjoy the mints, take care, and have a lovely day.

Hi, y’all! I hope you’ve enjoyed this post and hopefully also learned a thing or two.
If you like my style, I invite you to sign up for my occasional newsletter, The Inbox Pastry Chef.
Expect updates on new and tasty recipes as well as a bit of behind-the-scenes action. I hope to see you there!


Join in Today!
Have you ever shaped these using molds? I’m about to try, not knowing where to begin, I think I’ll start with recipe.
Hey, Delora, as long as your “dough” is pretty firm and you dust the molds with some cornstarch or a mixture of cornstarch and powdered sugar, I expect it will work just fine. Just make sure the molds don’t have tons of crevices so you don’t get little bits stuck in the cracks. I think simple, straightforward molds will be better suited. Please let me know how it goes!
Have you ever used a dehydrator to dry mints?
Hey, Missi. I haven’t, but I expect that would work well with this sort of candy. Not for too long, because you still want the overall texture to be creamy, but it’s definitely worth a try to dry the outsides into a sort of shell.
Wow in so glad I found your recipes. Unfortunately I am using my cell phone & the page is really hard to read with it. My mother use to be the one everyone called to make candy for baby & wedding showers. So I’m definitely going to try some of your recipes because I’m almost positive they are very close to the ones my mother used.
Here is the direct link to the buttermints recipe. Enjoy! https://pastrychefonline.com/butter-mints/#Butter_Mints
how would you store these mints? Fridge or room temp?
Hi, Sarah. I’d store at room temp for a week and then freeze for longer storage.
Love these! I upped the oil to 1/8 teaspoon. I like toothpaste level minty. Creamy, minty, perfect. The only problem is having them last long enough to dry.
JENNI! This is incredible! Showers definitely call for both nuts and butter mints… and I love that you made these beauties at home for this shower! I never knew they were so easy, and I’m definitely going to be trying this recipe soon!
Thank you so much for participating in this surprise shower to welcome Baby Speckle—she and I feel so loved and supported! Now if there was a way for us to share all this food via the Internet so I could have a bite of everything, that would be amazing…
I’m so happy for you and your growing family, Erin, and I was so glad to have been asked to help you celebrate! I knew you’d know that mints and nuts are Absolutely Necessary! Enjoy them! And, let’s go, Baby Speckle! 🙂
Oh my lord! I used to love butter mints as a kid when we got them as gifts. And now I’m so happy you shared a recipe. Can’t wait to try it. Thanks for sharing, Jenni!
So nostalgic and delicious, BA! Enjoy them!