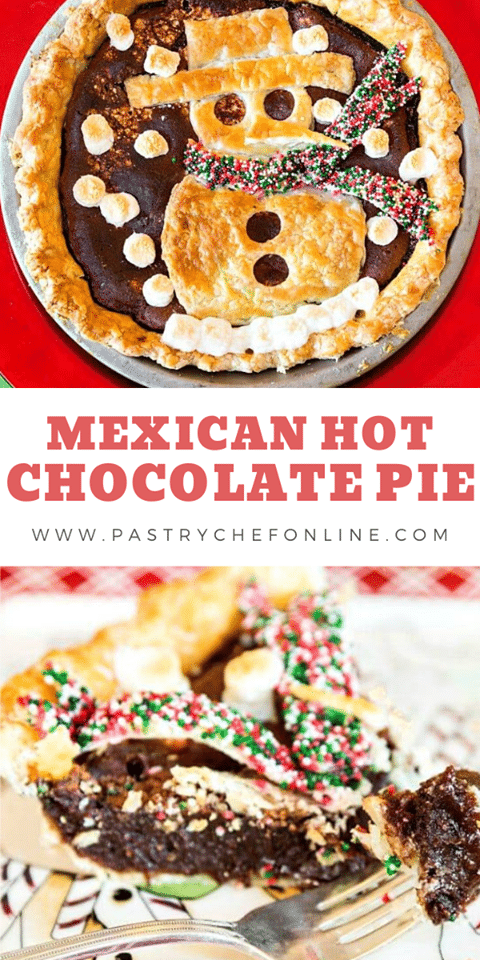
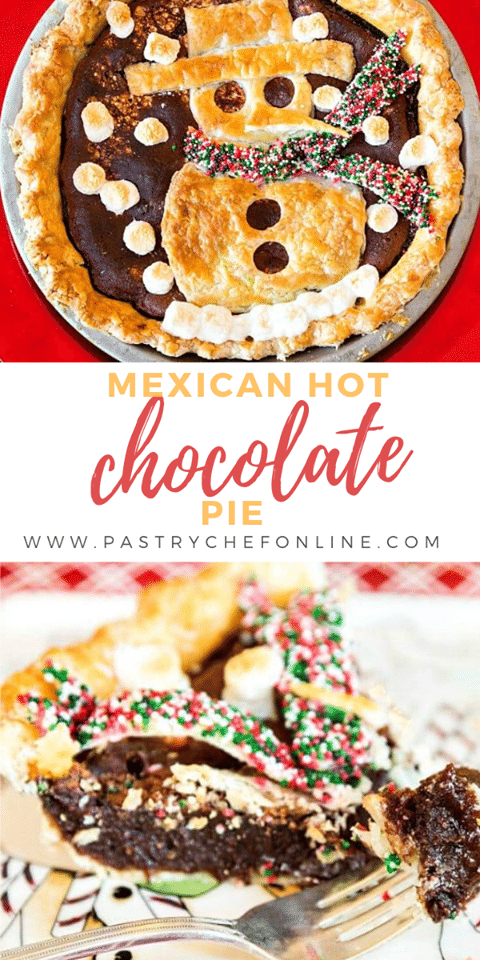
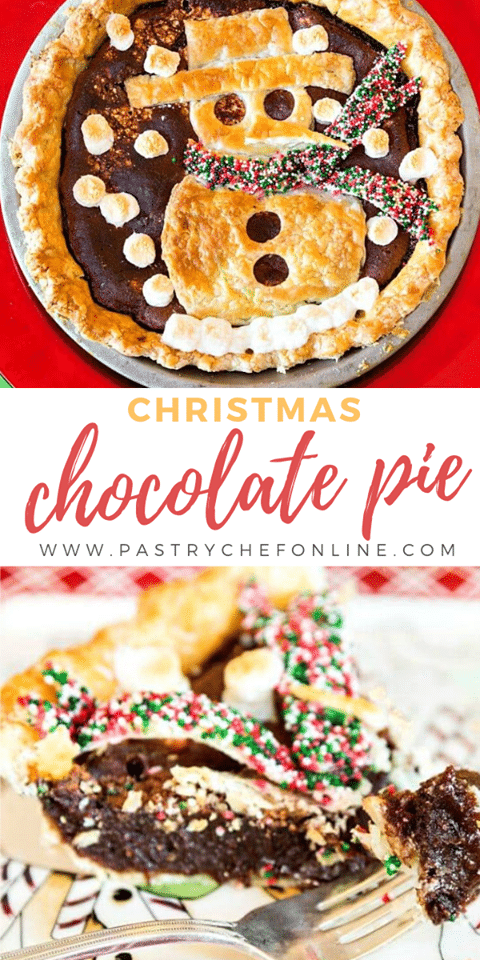
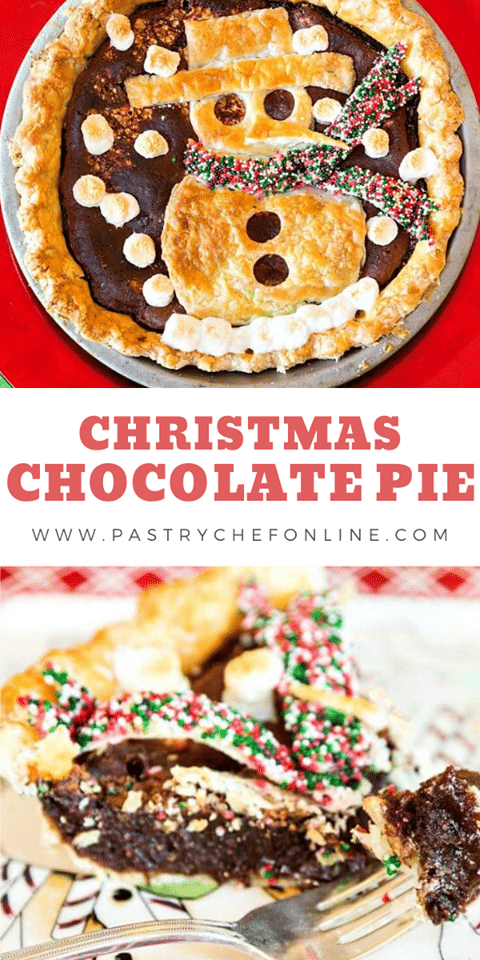
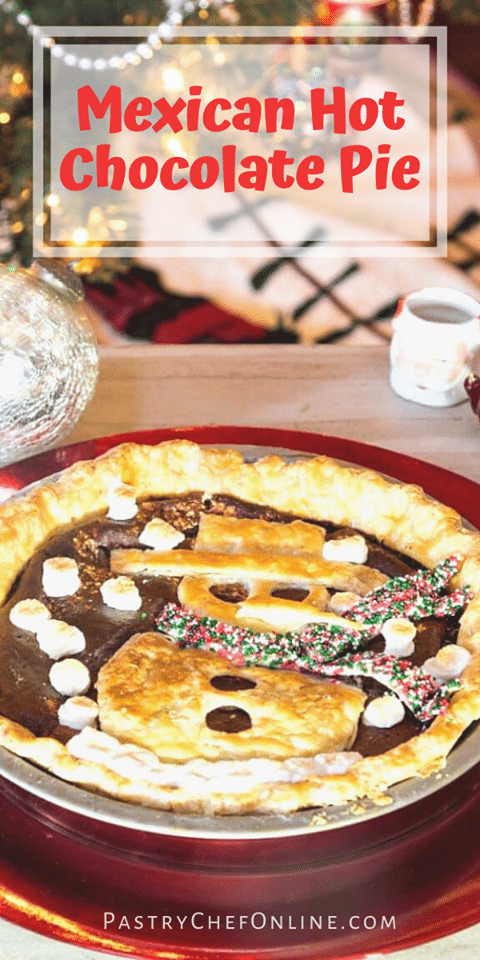
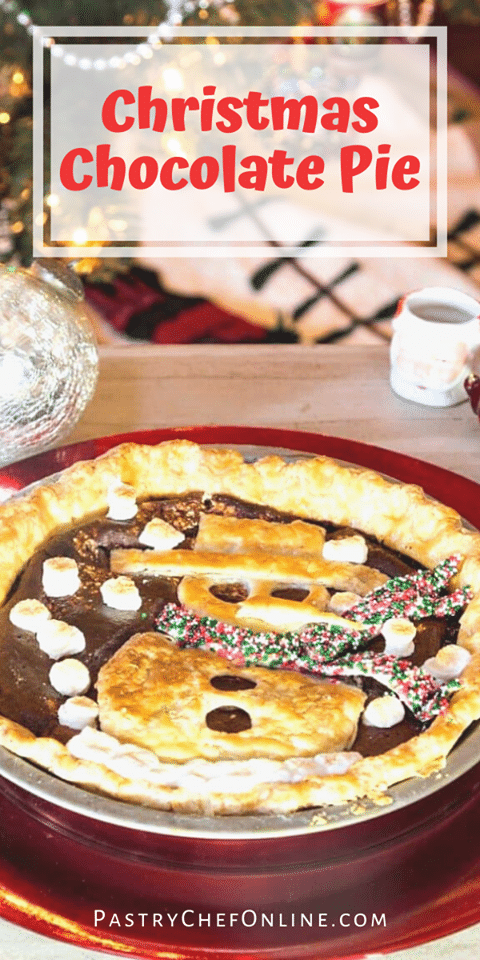
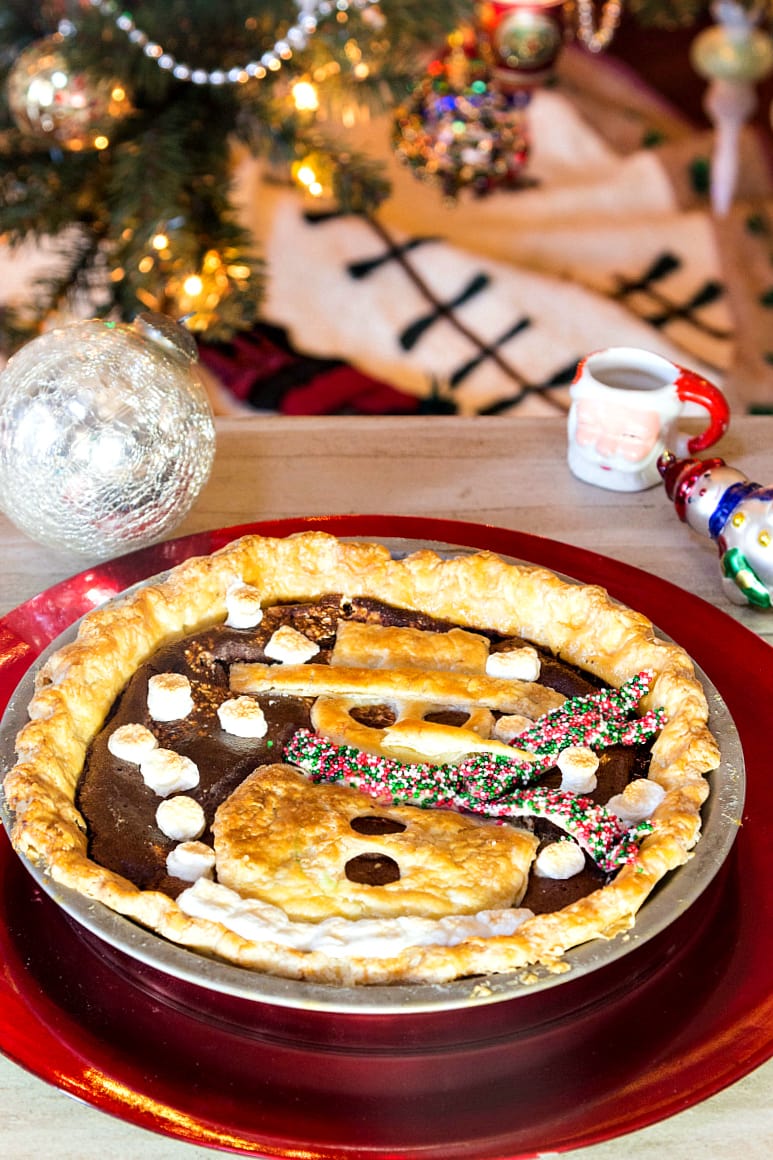
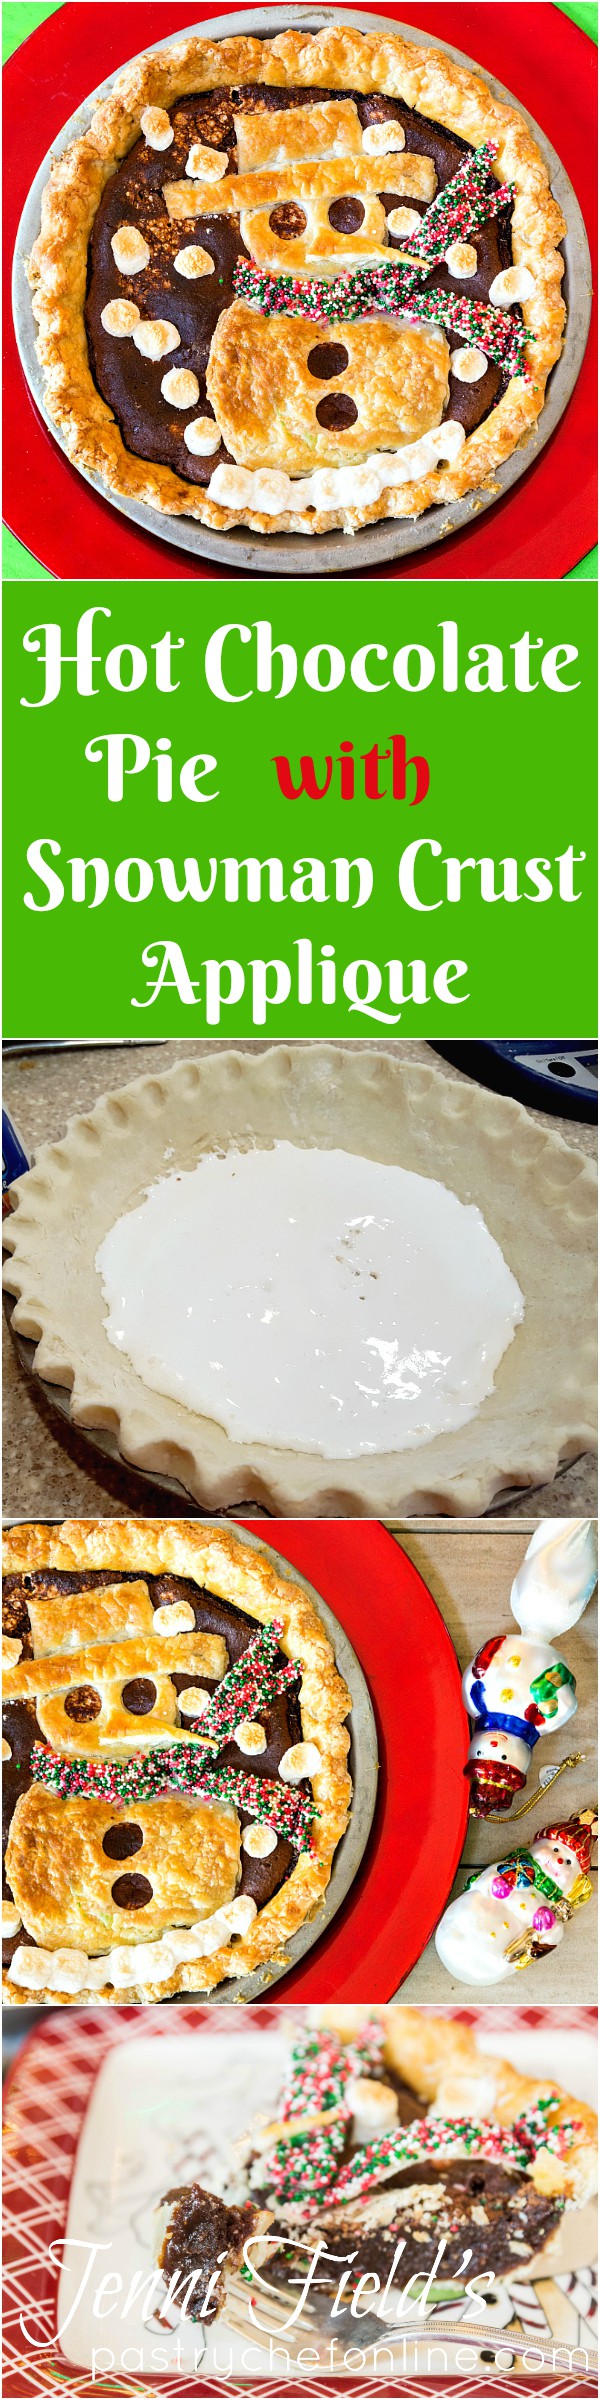
Inspired by my friend Renee’s absolutely adorable turkey crust pumpkin pie, I decided to get crafty with my crust treatment and came up with this cute Christmas pie: Mexican Hot Chocolate Pie with Snowman Crust Applique. It makes a cute and delicious Christmas pie for your holiday dessert table!
The pie, based on my chocolate chess pie recipe is delicious, and you can use the same techniques Renee and I used to come up with your own cute crust applique ideas!
Consider serving this Mexican-inspired pie as dessert after a most excellent Gordita Burger.
And please find all my pie and tart recipes in one place. Thanks for visiting!

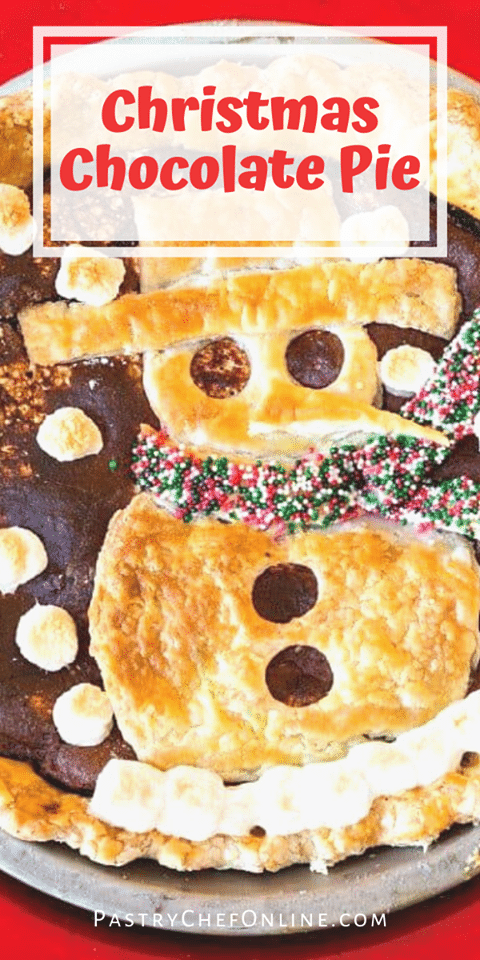
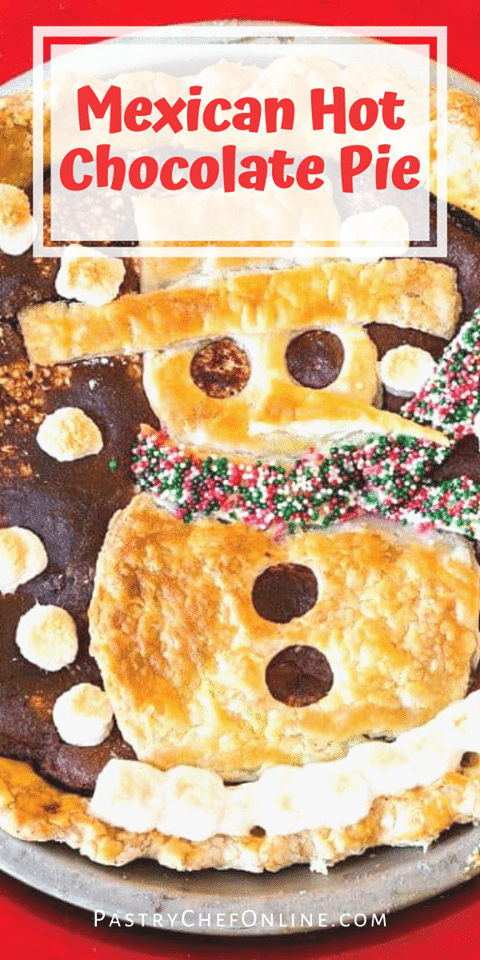
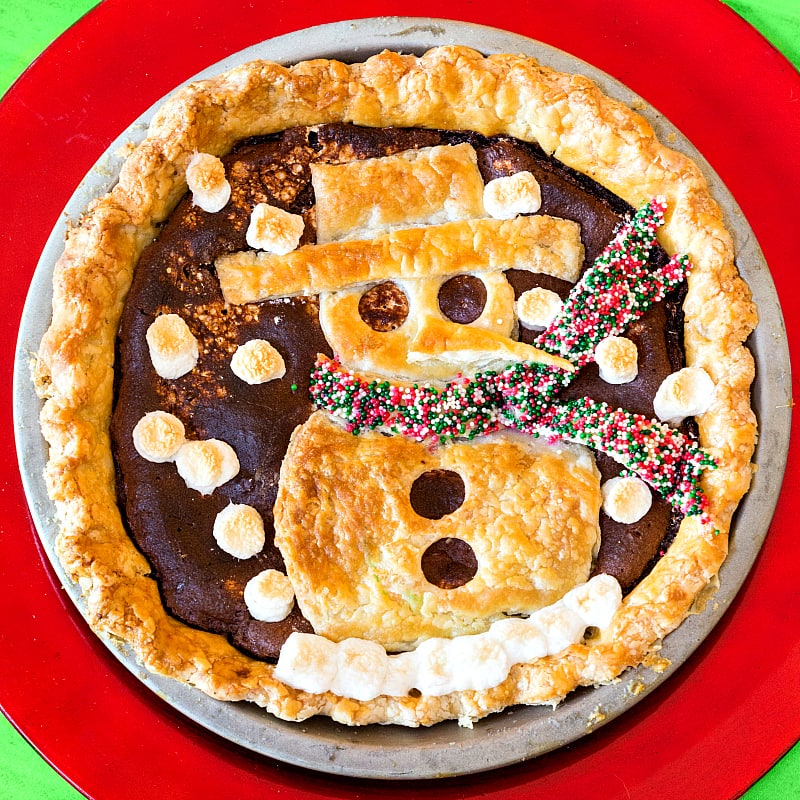
Not convinced? Take a look at him from overhead. I think he’s pretty cute!
Turning an Old Fashioned Pie into a Christmas Pie
First, let’s talk about this pie. It’s based on a chocolate chess pie. As a matter of fact, the base recipe is identical to my Old-Fashioned Chocolate Chess Pie.
The only changes I made were to:
Pastry Chef Online Participates in Affiliate Programs. If you make a purchase through one of my links, I may earn a small commission. For more information click to read my disclosure policy
- add a layer of marshmallow cream to the bottom of the crust before adding the batter
- add a touch of cinnamon and chipotle powder to the batter itself.
The marshmallow cream ups the gooey factor, and the spices add some depth and complexity.
Seriously a winner, even without the snowman crust applique. Which is super cute, though, right.
Plus as far as I’m concerned, the snowman makes it into a Christmas pie.
Snowman Crust Applique
I am not nearly as good at taking process shots as Renee is, so for an in-depth look at the process of cutting out pieces of dough to make an applique, please do read her post and check out all the photos of her adorable turkey crust pie.
What I can do is tell you the Rules I followed to make the applique come out crisp and clean, so let’s get to it.
The following section contains affiliate links. Pastry Chef Online participates in the Amazon Associates program. If you make a purchase through one of my affiliate links, I will receive a small commission. Your price is not affected.
- Roll the dough for the appliques much thinner than you would for regular pie crust. They will be baking only half as long, and you want them to crisp up all the way through, so roll them about half as thick as “normal” pie crust–about 1/16″.
- Use plain water to “glue” pieces of your applique together.
- I assembled the main parts: body, head, piece of scarf that goes around the neck, hat, and brim first before placing it on the pie.
- You don’t need to glue the applique down to the pie itself. You only need to glue the pieces together (again, with water). I placed the tails of the scarf once I had the snowman where I wanted him.
- You can keep the assembled applique in the fridge until you’re ready to place it on the pie.
- Brush the whole applique (except the parts you covered with sprinkles) with a thin coat of egg wash before placing back in the oven.
- I used graduated cutters to cut out the rounds for the snowman. I used the base of a piping tip to cut out the eyes and buttons. I free-handed the nose, scarf, hat, and brim just using a knife.
- I baked the pie for 25 minutes before adding the applique pieces. Then I baked an additional 22 minutes (your time might vary) until the filling was well puffed and firm on top.
- The marshmallow cream sort of bubbled up through the filling in a few places and gave a feeling of snow. I added the marshmallows after baking, let them melt into the pie for a couple of minutes, and then finished them under the broiler for 1 minute.
- If you don’t want big honking marshmallow snowflakes, you could use these instead.
- Bake the pie on a preheated baking stone to ensure the bottom crust bakes up nice and crisp, even without blind baking.
How to Coat Your Pie Dough Pieces in Sprinkles
To completely coat a piece in sprinkles like I did for the scarf (which was composed of three pieces I glued together after dipping):
- brush on a thin coat of egg wash
- dip the egg washed side into a plateful of your desired sprinkles
- press the piece gently into the sprinkles to encourage them to adhere.
How To Cleanly Slice a Pie with an Applique on Top
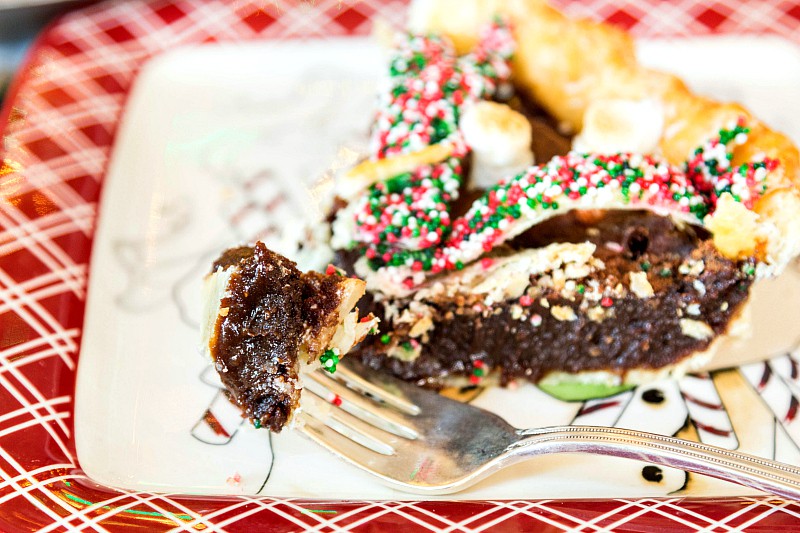
To get the cleanest possible slices, start each cut with the tip of a sharp knife and just cut down all along the slice you’re cutting–no sawing motion.
When you have cut through all the top crust cleanly, you can go back and drag your knife through continuously to make sure the slice is free before serving.
Would you like to save this post?
I was a little concerned it would be a pain to slice, and while I did have to take more-than-usual care, the process was easier than I’d anticipated, and the cut slices look really good.
PRO TIP: Try not to cut through the marshmallows, if using. They get stuck on the knife blade and muck up the works.
Now you know the ins and outs, let’s get on with the recipe, shall we?
Mexican Hot Chocolate Pie
Here’s the recipe for this souped up chocolate chess pie with the basic instructions for making the applique. The steps I used to make the applique are reiterated in the Notes section so you don’t have to scroll back and forth.
If you are not feeling crafty, leave it a plain, one crust pie. There’s no need to do the fancy applique. Leaving the applique off also means you can make this pie any time of year rather than having it be a winter or Christmas pie.
It’s a seriously flavorful recipe–not just brown filling hiding behind a cute crust. I promise.
If not using store-bought pie crust, I recommend Stella’s Pie Crust Recipe from Serious Eats. Easy, flaky, delicious!
A Note About Measurements
NOTE: Most of my recipes are written by weight and not volume, even the liquids.
Even though I try to provide you with volume measurements as well,I encourage you to buy a kitchen scale for ease of measuring, accuracy, and consistency.
In this pie recipe, I specify 1 ounce of cocoa powder. In volume, that’s about 1/4 cup.
This is the scale I use, love, and recommend:
It helps me and other readers so much if you take a moment to rate and review this recipe.
Your star rating and comments help others decide whether the recipe is worth making, and your feedback helps me continue improving recipes here at Pastry Chef Online.
Other lovely ways to share include pinning or posting on your favorite social media platform.
Thank you so much for taking the time!

And if you have any questions or need any help, don’t hesitate to get in touch.
Mexican Hot Chocolate Pie with Snowman Crust Applique
The marshmallows keep this from being vegetarian. It's a simple swap from marshmallows to sprinkles though to keep it vegetarian.
Ingredients
For the Crust
- You can use store-bought crust for this. You’ll need 1 crust for the bottom and about 1/2 of another for the applique. I made Stella’s recipe from Serious Eats. So good and you don’t need a recipe since the formula is so easy to remember.
For the Filling
- 2 oz 1/2 stick unsalted butter, melted
- 10.5 oz brown sugar (light or dark is just fine)
- 3 large eggs
- ¾ teaspoon kosher salt (or about 1/2 teaspoon fine salt)
- 2 teaspoons espresso powder (or finely ground instant coffee)
- 1 oz sifted cocoa powder
- 2 Tablespoons fine cornmeal
- 1 teaspoon vanilla extract
- ⅜ teaspoon ground cinnamon
- ¼ teaspoon chipotle powder
To Finish and Bake
- ½ cup marshmallow fluff or cream
- All the filling
- Your applique
- 1 egg beaten with 1 teaspoon of water
- optional handful of mini marshmallows
Instructions
- Preheat the oven to 350F and set a rack in the middle of the oven. Place a baking stone on the rack.
For the Crust
- Line a 9" regular pie pan with one of the crusts. Trim to within 3/4 inches of the edge of the pan. Fold excess underneath to make a double thickness and crimp however you like.
For the Filling
- In a large bowl, whisk together all the filling ingredients until smooth.
To Finish and Bake
- With a small offset spatula, spread the marshmallow cream in a thin, even layer across the bottom of the pie shell. It may fight with you a bit, but don’t worry. You will win. I know it.
- Pour in the batter evenly on top of the marshmallow cream and shake the pan a bit to level it out. Brush the crust with egg wash.
- Place the pie in the oven on the stone and set the timer for 25 minutes.
- While the pie is baking, cut out all your pieces. First, roll your dough a bit to make it fairly thin. For the snowman, you’ll need a large circle and a smaller circle, a rectangle shape for the hat, a long, skinny rectangle for the brim, a triangle for the nose and 3 free-form pieces for the scarf and "tails."
- If using sprinkles, pour them out into onto a small plate and brush each piece you want covered in sprinkles in egg wash. Then press the pieces, egg wash side down, into the sprinkles so they adhere.
- Cut out eyes and buttons with the back of a piping tip. You can also glue on circles rather than cutting them out. Your call.
- Attach the pieces together with water. Leave the scarf tails to be placed after you place the snowman.
- When the timer goes off, carefully remove the pie from the oven. Place the applique using a large spatula. Attach the scarf tails with a bit of water.
- Put the pie back in the oven and bake until the pie is well risen and firm, another 20 minutes or so.
- Add mini marshmallows for snow if you’d like. Let the marshmallows melt on the pie for a minute or two and then put them under the broiler for a minute until they puff up. (If you don’t want to use the mini marshmallows, use your favorite snowflake sprinkles instead. Or leave them off entirely.)
Did You Make Any Changes?
Notes
The Pie Crust Recipe I Used
Old Fashioned Pie Crust by Stella Parks at Serious EatsNotes on Building the Applique
- Roll the dough for the appliques much thinner than you would for regular pie crust. They will be baking only half as long, and you want them to crisp up all the way through, so roll them about half as thick as "normal" pie crust–about 1/16".
- Use plain water to "glue" pieces of your applique together.
- I assembled the main parts: body, head, piece of scarf that goes around the neck, hat, and brim first before placing it on the pie.
- You don’t need to glue the applique down to the pie itself. You only need to glue the pieces together (again, with water). I placed the tails of the scarf once I had the snowman where I wanted him.
- You can keep the assembled applique in the fridge until you’re ready to place it on the pie.
- Brush the whole applique (except the parts you covered with sprinkles) with a thin coat of egg wash before placing back in the oven.
- I used graduated cutters to cut out the rounds for the snowman. I used the base of a piping tip to cut out the eyes and buttons. I free-handed the nose, scarf, hat, and brim just using a knife.
- I baked the pie for 25 minutes before adding the applique pieces. Then I baked an additional 22 minutes (your time might vary) until the filling was well puffed and firm on top.
- The marshmallow cream sort of bubbled up through the filling in a few places and gave a feeling of snow. I added the marshmallows after baking, let them melt into the pie for a couple of minutes, and then finished them under the broiler for 1 minute.
- If you don’t want big honking marshmallow snowflakes, you could use these instead.
- Bake the pie on a preheated baking stone to ensure the bottom crust bakes up nice and crisp, even without blind baking.
How to Coat Pieces in Sprinkles
To completely coat a piece in sprinkles like I did for the scarf (which was composed of three pieces I glued together after dipping):- brush on a thin coat of egg wash
- dip the egg washed side into a plateful of your desired sprinkles
- press the piece gently into the sprinkles to encourage them to adhere.
How to Cleanly Slice Your Pie
To get the cleanest possible slices, start each cut with the tip of a sharp knife and just cut down all along the slice you’re cutting–no sawing motion. When you have cut through all the top crust cleanly, you can go back and drag your knife through continuously to make sure the slice is free before serving. I was a little concerned it would be a pain to slice, and while I did have to take more-than-usual care, the process was easier than I’d anticipated, and the cut slices look really good.Nutrition
Would you like to save this post?
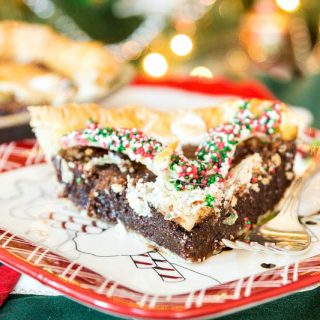
And there you have it! How cute, right?!

Hi, y’all! I hope you’ve enjoyed this post and hopefully also learned a thing or two.
If you like my style, I invite you to sign up for my occasional newsletter, The Inbox Pastry Chef.
Expect updates on new and tasty recipes as well as a bit of behind-the-scenes action. I hope to see you there!

Thanks for taking the time to read today. Take care, and have a lovely day. And yay, pie!


Join in Today!