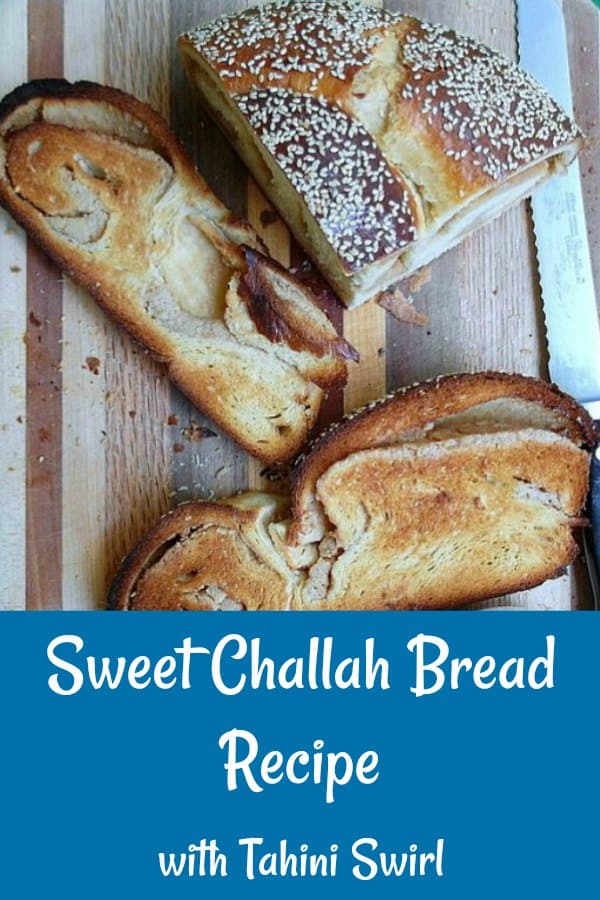
I made this sweet challah bread recipe with sesame seeds and a tahini swirl for my friend’s church’s communion service. May it sweeten your celebrations as well.
I’ve added this recipe to my collection of Easter bread recipes as well since this tahini challah is perfect for celebrating Easter. You may also enjoy my tahini swirls, or sukkar bin tahin.
I made this bread for a 52 weeks of cooking challenged (week’s theme was seeds) after watching George make his Tahini Chocolate anniversary cake on the Great British Bake Off. It turned out amazing! I think everyone in the family liked it even though some aren’t huge sesame fans. Reader TinaThe last time my friend Nadine and I collaborated to make the Communion bread for her church, the passages were about sowing seeds and eating rich foods. At first we discussed making brioche, but then I realized that challah would be much more appropriate. After all, Jesus was Jewish, and even though he and his disciples ate unleavened bread at the last supper, they certainly would have enjoyed an enriched bread for other holiday celebrations. And that means challah. The seeds were easy enough to work in. Sesame challah is an actual Thing, so not only did I sprinkle the tops of the loaves liberally with sesame seeds, I also added tahini, or sesame paste, to the dough itself. Nadine’s congregation enjoyed a wonderful communion celebration and happily ate the leftovers after church. And that’s how we like it. The tahini swirl challah I’m sharing today is based on that communion bread, hence the Throwback Thursday. I also incorporated another element from a recent post. The lovely, lightly sweet Sukkar bi Tahin or Beirut Tahini Swirls I made for Cookbooks&Calphalon a few weeks ago are swirled with a simple 1:1 mixture of tahini and sugar that bakes up smooth and creamy and delicious. After checking with a Jewish friend to see if it’s okay to add a swirl to a challah (she said yes), I married the tahini swirl element with my tahini challah, and Tahini Swirl Challah was born!
Ways to Shape Challah Bread
There are many, many ways to shape your challah bread, from very simple to very ornate. Some of the more common shapes are (with links to tutorials):- Four Strand Round Challah
- Round Spiral Challah
- 6-Strand Braided Challah
- 4 Strand Woven Crown Challah
- 5 Braid Challah (Video Technique)
How To Shape A Spiral Challah Bread Recipe
Making the coil or spiral challah is pretty straightforward. It starts out like you’d make cinnamon rolls: spread your filling on the rolled out dough and then roll up into a log. After that, you just coil the log around into a spiral, and you’re done!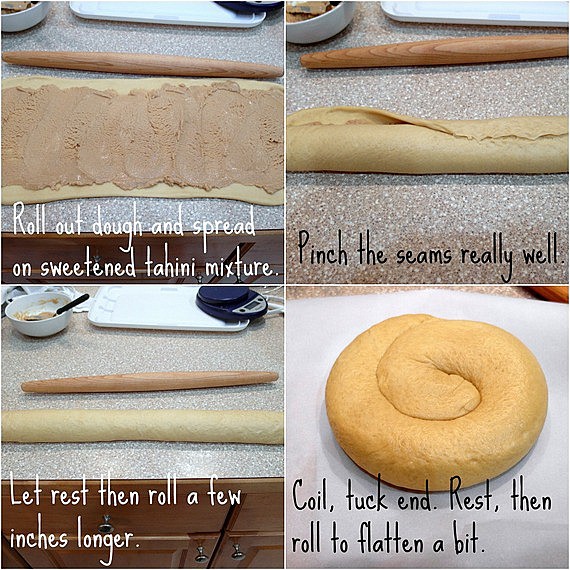
Do I Have To Put Filling In My Challah Bread?
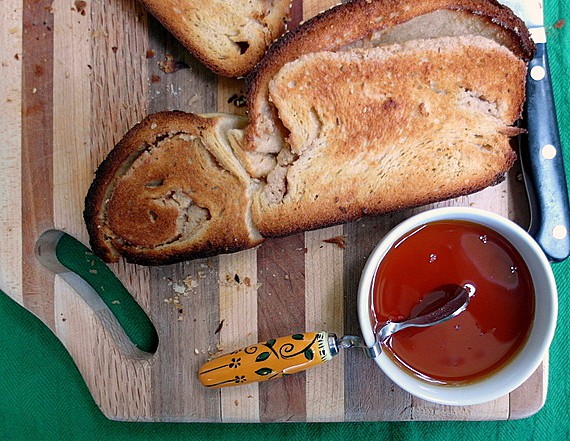
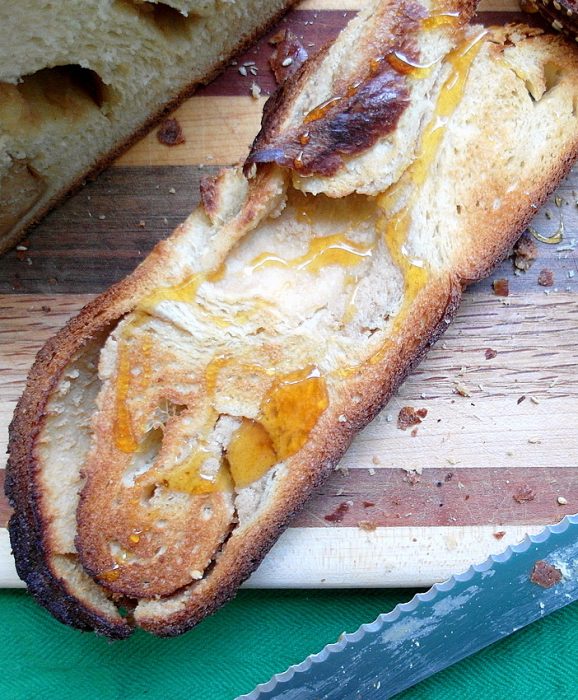
Nope. You can also leave the swirl out of this bread if you want plain challah. To shape your unfilled dough into a spiral, just roll the dough into a thick rope without bothering to roll it out into a rectangle and spread filling on it. I can tell you that this challah bread recipe is lovely on its own. The light sesame flavor that permeates the loaf almost reads as peanut butter, and it is perfect with thick schmears of jam. I’m afraid if I tried it with honey I’d never stop eating it, but honey would make a perfect accompaniment. (UPDATE: I had it toasted with honey. For photographic purposes, mind you. Lord, it’s good.)
How To Get Your Challah Bread Recipe Nice and Shiny
Many recipes for bread that require egg wash tell you to mix a bit of water with the egg. To get a really dark and shiny crust on your challah, use straight egg for your egg wash. Beat an egg very, very well and then brush on a thin coat. Wait about 5 minutes and then brush on another coat before adding the sesame seeds.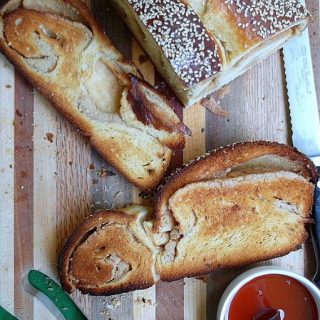
Tahini Swirl Challah
This tahini swirl challah is a sesame-lover's dream. Perfect for a sweet Rosh Hashanah celebration or for whenever the mood strikes. I suggest toasting thick slabs of this bread and drizzling it with honey.
If you'd like to braid the loaf rather than make a coiled loaf, simply divide the dough in thirds or fourths, roll each piece out into a long rectangle, spread with the tahini mixture and roll up. Pinch the seams well, let them rest for a few minutes and then braid as desired.
All ounce measurements are for weight and not volume.
Equipment
Ingredients
For the Dough
- 4.5 oz warm water
- 3 oz 1/4 cup honey
- 2 oz tahini (3 Tablespoons)
- 2 oz vegetable oil (4 Tablespoons)
- 2 large eggs
- 1 ½ teaspoons fine sea salt (or 1 3/4 teaspoon kosher salt)
- 17 oz all purpose flour (I use King Arthur. If you use a different brand with a lower protein content, you may have to reduce the amount of water by 1/2 oz or so)
- 2 teaspoons active dry yeast
For the Swirl
- ¾ cup tahini
- ¾ cup granulated sugar
To Finish
- 1 egg , well beaten
- white sesame seeds for sprinkling
Instructions
For the Dough
- In the bowl of your stand mixer, whisk together the water, honey, tahini, oil, eggs and salt.
- Add all the flour on top of this mixture and then top with the yeast.
- Attach the dough hook and mix on low speed until the dough comes together. It may seem a little wet, but just give it some time.
- Once there is no more loose flour in the bowl, increase the speed to medium low and knead for 7 minutes. Do not add any flour yet. Be patient.
- Look in the bowl with the mixer on. There should be no dough sticking to the sides of the bowl. There may be a spot in the very bottom of the bowl, maybe 1 1/2" in diameter where the dough is sticking. If that's what you see, you're good. Feel the dough. If it is soft but not sticky, you're good.
- Only if the dough feels a little dry or is not sticking in the bottom of the bowl even a little bit, add another tablespoon of water. If the dough is sticking in the bottom of the bowl more than in a small circle, add a tablespoon of flour. Don't do any more than that. Take a deep breath and trust that all will be well.
- Whether or not you needed to add water or flour (I have given you the measurements that made perfect dough for me. You may have to adjust by a tiny bit), let the dough knead for another 5-7 minutes until it is smooth and when you pull on a piece of it, it stretches out farther than you think it should be able to. The dough will feel a tiny bit grainy because of the tahini. Otherwise, it will be smooth and gorgeous.
- Form the dough into a ball, and oil the top of the ball. Cover with a towel and let rise in a warm place until doubled, about 2 hours.(To make a "warm place," I boil water in the microwave and then move the mug of hot water to the back corner before shoving the bowl inside and shutting the door.)
- (Optional Second Rise: Once the dough has risen, press out all the gases, give it a couple of kneads by hand to redistribute the yeast, then reform into a ball. Oil it a bit then cover again and let rise in a warm place until doubled again. This time should only take about 1 1/2 hours or so.)
- Press out the gases and then roll out the dough into a rectangle about 20-24" long and maybe 8" wide.
- Evenly spread the tahini mixture onto the dough, leaving about 1" of space on one long end and 1/2" on the sides.
- Starting from a long end, roll the dough up into a cylinder and pinch the seam really well to seal.
- Cover with a towel or plastic wrap and let rest for about 10 minutes.
- Roll the dough cylinder gently to lengthen it to between 28"-30" long. Letting the dough rest will make it easier to do this. Again, cover and let rest for about 5 minutes before coiling it up, seam side down. Tuck the end of the dough under the coil. Cover and--you guessed it--let rest for another 5-10 minutes.
- Roll fairly gently with a rolling pin to flatten the coil just a bit. Place the coiled dough on a piece of parchment paper. Oil the top, cover it and let rise in a warm place until puffy, about 45 minutes.
- Meanwhile, preheat the oven to 375F. If you have a baking stone, place it on the middle rack and let it get good and hot. Preheat the oven for at least 45 minutes before baking.
- When the dough is puffy, brush it very well with the beaten egg (twice to get a very dark and shiny crust) and sprinkle liberally with sesame seeds.
- Slide the seeded dough, parchment and all, onto the baking stone. Bake for 25 minutes.
- After 25 minutes, it should be a very deep, nutty brown.
- Tent the bread with foil and continue baking for another 20 minutes or so, or until the internal temperature is 195F-200F.
- Let cool on a rack until at least warm. Don't slice it hot, though, or you'll end up with a gooey mess.
- Taste the magic.
Did You Make Any Changes?
Nutrition
Serving: 1/12 loafCalories: 396kcalCarbohydrates: 53.9gProtein: 9gFat: 17.4gSaturated Fat: 2.8gCholesterol: 27mgSodium: 269mgFiber: 3.3gSugar: 18.6g
Would you like to save this post?
Did you make this recipe?Please tell us how it went!

 Enjoy this sweet challah bread recipe at your next celebration!
Thanks so much for spending some time with me today.
Have a lovely day.
Enjoy this sweet challah bread recipe at your next celebration!
Thanks so much for spending some time with me today.
Have a lovely day.


Join in Today!
I made this bread for a 52 weeks of cooking challenged (week’s theme was seeds) after watching George make his Tahini Chocolate anniversary cake on the Great British Bake Off. It turned out amazing! I think everyone in the family liked it even though some aren’t huge sesame fans.
Working on it now. I don’t think my yeast stash was up to the challenge but I am forging ahead!!
Saw your photo–it turned out beautifully!
Gorgeous, gorgeous, gorgeous! I know this will make a beautiful and delicious addition to everyone’s Rosh Hashanah table!
Yum!! Round loaves perfect for the Holidays! Am definitely making this for Sukkot! In fact, I think I will practice ahead of time just to make sure my stash of yeast is up to the challenge!!
Practice makes perfect! And lots of bread! =)
Fabulous and I am so trying this! I know tahini is supposed to be excellent swirled into bread but I have never tried it but I have fallen in love with your beautiful Challah so now I will! And Jewish? Yes!
Hooray! You will be so happy (I’m pretty sure)! =)