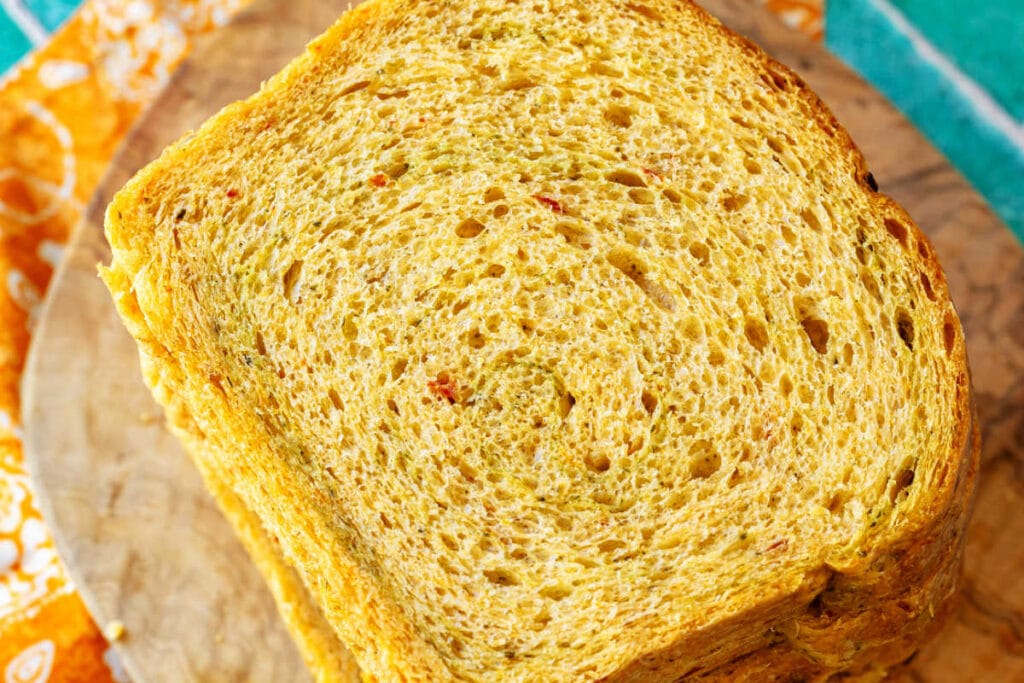
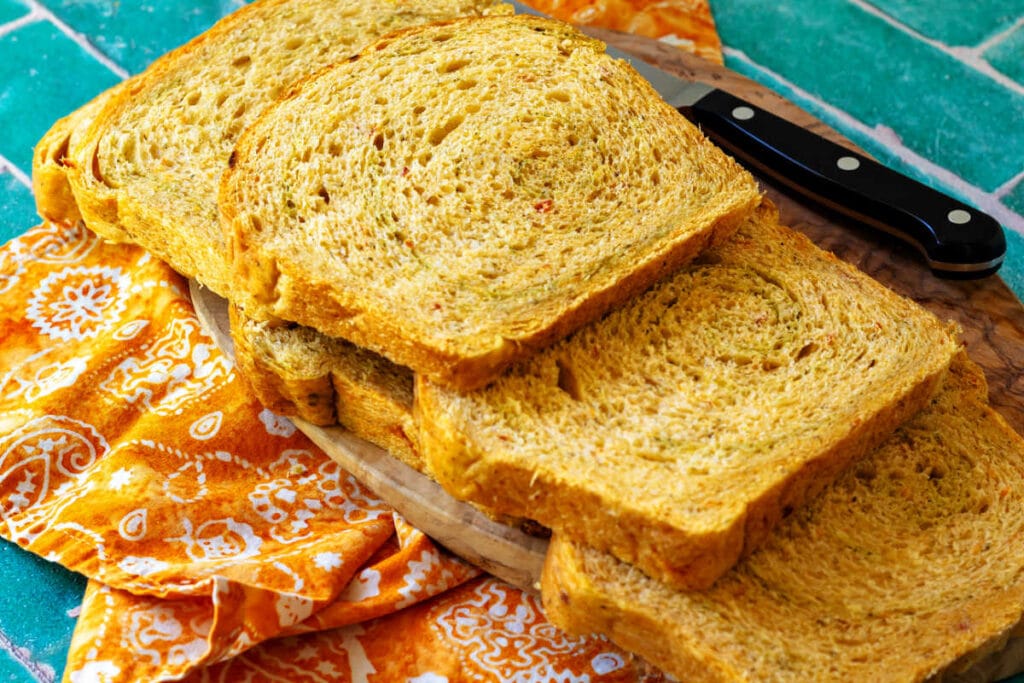
I’ve been working on a savory swirl for sandwich bread so my sweet cinnamon raisin swirl bread would have a savory friend. And after a lot of testing (and a few lessons learned), I nailed it with this lemony pesto swirl. And that means you can nail it too.
This swirl laminates cleanly into the dough, so it doesn’t separate when you slice it. Instead, you get an integrated swirl that adds real flavor and holds up to actual sandwich duty.
In this post, I’ll walk you through how to make it, how to use it, and what makes it work.
Pastry Chef Online Participates in Affiliate Programs. If you make a purchase through one of my links, I may earn a small commission. For more information click to read my disclosure policy
✅Skill Level: Advanced
✅Skills: Laminating, shaping a loaf of bread
✅Type: Integrated swirl for savory bread
✅Number of Ingredients: 4 plus bread dough
✅Prep Time: 5
✅Cook Time: per loaf instructions, usually 30-40 minutes
✅Yield: swirl for 1 9″ x 5″ loaf of bread
Jump Straight to the Recipe
Formulating the Swirl: The Problem
The main challenge was figuring out how to get an oily filling to adhere to dough without causing gaps or delamination.
The fat in pesto, my proposed filling, acts as a lubricant, preventing the swirls in a loaf from bonding to each other. This results in sad slices that gap open or even unroll entirely.
What I needed was a method to incorporate a reasonable amount of this flavorful, oily filling into the structure of the bread itself. The goal was an “integrated swirl” that behaves like a regular sandwich slice, with an even crumb that slices cleanly and is hearty enough to stand up to sandwich fixin’s or a pressed grilled cheese.
Formulating the Swirl: The Solution
The answer to every concern, from gapping to incorporating oil in a discrete layer, seems simple in retrospect, but getting there was a ride. The solution is lamination. Twice.
First, laminate the pesto into a small portion of the dough. Then laminate that portion into the rest of the loaf.
Even after landing on the double-lamination method, another problem popped up: how do you work an oily filling into dough without everything sliding around or the filling bursting through?
The answer was to make the pesto a texture similar to the dough itself. I did that by adding flour (to soak up a bit of oil), a little extra Parm for flavor and friction, and a small piece of the actual dough.
Once the pesto is smushed together with flour, dough, and Parm, it becomes a thick, spreadable paste rather than a thin, slippery filling.
Here’s a rundown, and then we’ll get into details in a sec:
- Cut a piece of dough off the main dough, and then cut a wee piece of that that piece.
- Drain pesto for a couple of minutes. Save that excess oil.
- Mix drained pesto with flour, Parm, and lemon zest.
- Thoroughly mix in the wee piece of dough.
- Roll out the smaller of the remaining two pieces of dough.
- Dot on the filling, spread out, and then fold into a packet.
- Roll out the main dough and the swirl dough. The swirl dough should be about an inch shorter and narrower than the main dough.
- Place the laminated swirl dough onto the main dough and roll briefly to make sure they adhere.
- Shape the loaf, rise, and bake.
Making the Swirl
From your main dough, cut off a 250 gram piece. This will be the piece you use for laminating.
From that 250 gram piece of dough, cut 10%, or 25 grams, to add to the pesto mixture.
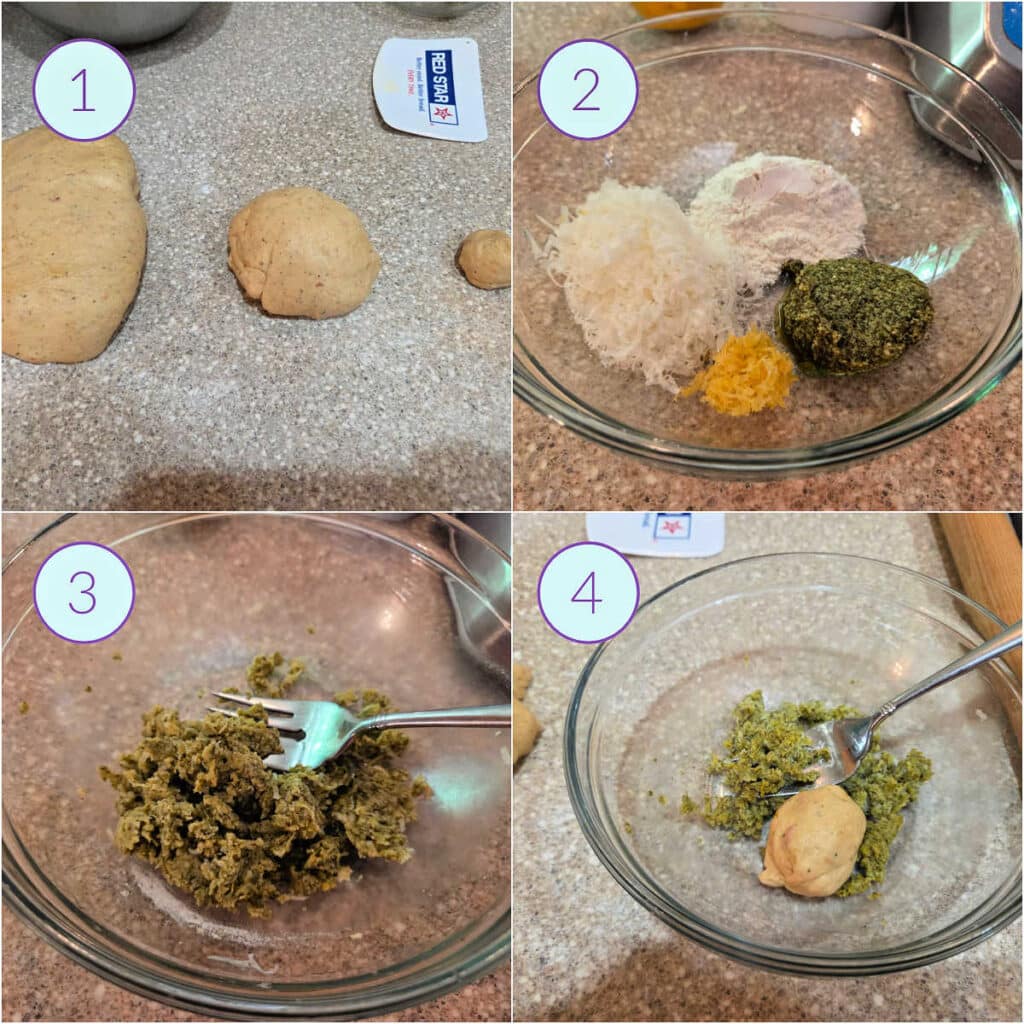
- Bread dough split for swirling. The large piece of dough is the portion that will receive the swirl, the middle piece is used for laminating, and the smallest piece gets mixed into the pesto mixture.
- Mix pesto, lemon zest, Microplaned Parmesan cheese, and flour together.
- You’ll end up with a thick paste. If it seems a little dry (mine was) add about 1/2 teaspoon of oil drained from the pesto. It’s a balancing act. Too wet, and the swirl will be slippery, but too dry, and it will be difficult to spread.
- Mix in the small piece of dough to create a ludicrously enriched dough with very little stretch. It will tear easily rather than extend.
Getting the Swirl Ready for Lamination
Remember when I said my swirl mixture was a little too dry? Well, I sallied forth without adding extra oil.
While nothing awful happened, it was a bit more challenging to spread the filling in an even, unbroken layer.
In the following collage, I’ll show you how that went for the final loaf. So, follow my advice and add a little oil back into the equation if your pesto mixture seems a bit too tight. While it won’t change the awesomeness of your bread, it will make integrating the swirl a bit less fraught.
Incorporating A Stiffer Inclusion into the Swirl
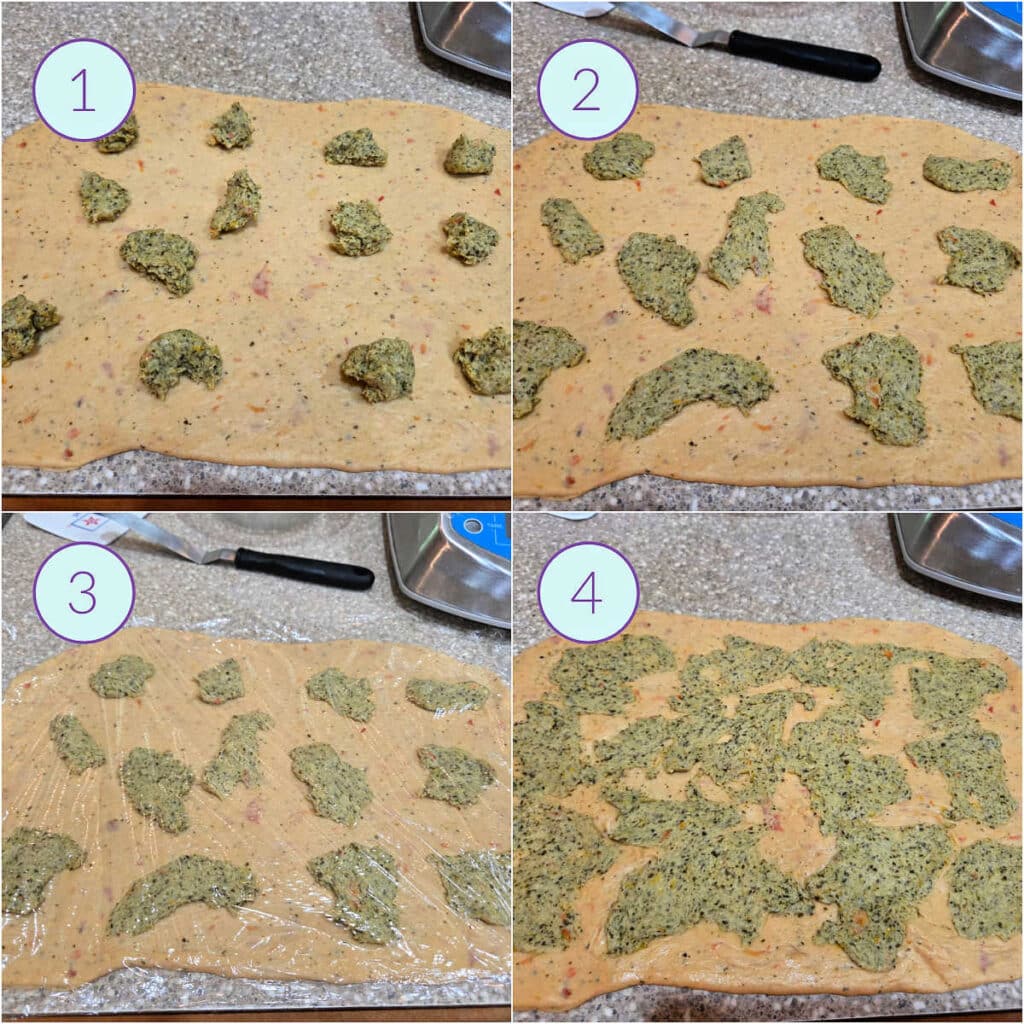
- Dot little “blobs” evenly over the 225 grams of remaining dough for the lamination.
- Spread as well as you can with an offset spatula. You’ll see how the blobs are holding together rather than spreading evenly. This is where a little extra oil could have helped.
- Cover with plastic wrap and let the gluten relax for about 10 minutes.
- Continue spreading until you have as thin and as even a layer of pesto as you can manage.
Now, compare that to this collage:
Would you like to save this post?
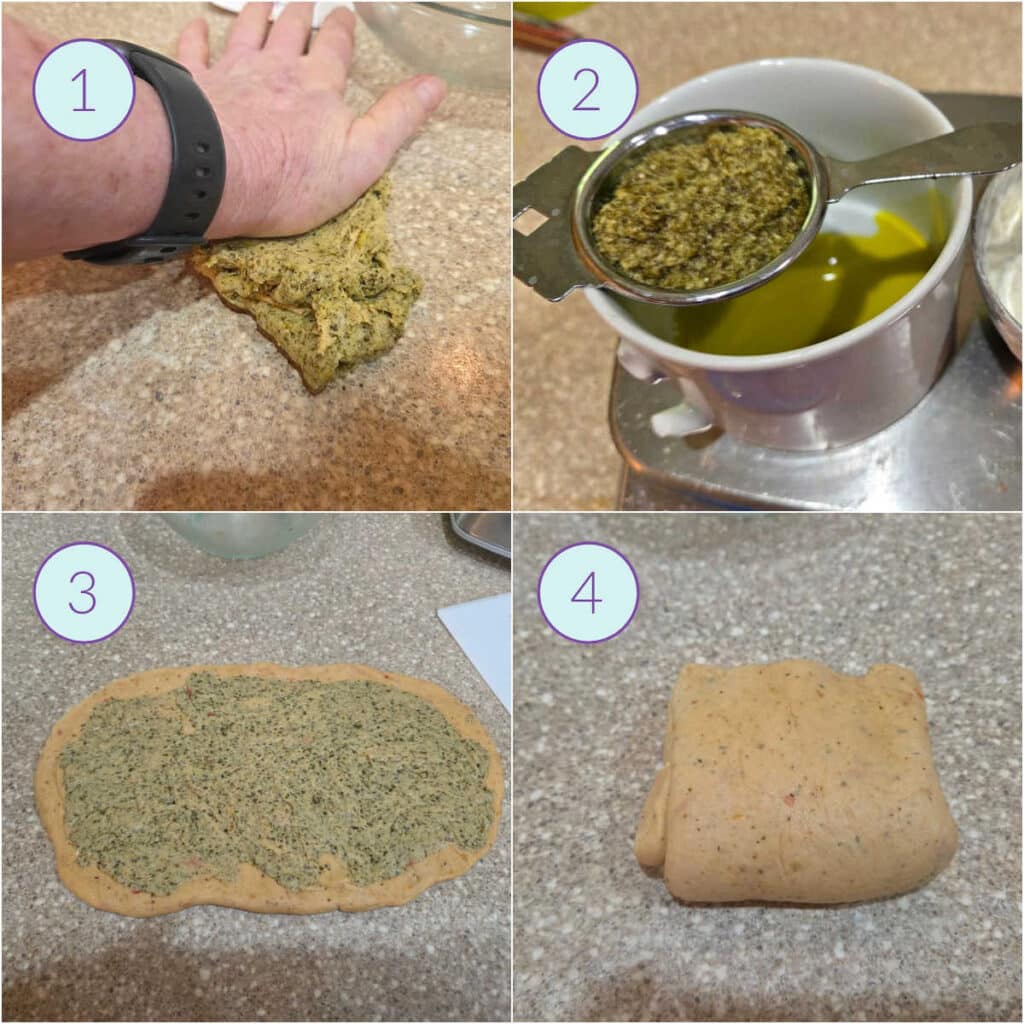
- When incorporating the dough into the pesto, smush it together thoroughly. You want a homogenous mixture with no little bits of dough peeking out.
- Adding a small amount of oil reserved from briefly straining the pesto can help you achieve a spreadable-but-not-oily texture.
- And then it spreads beautifully. Be sure to leave about 3/4″ of “clear dough” around the edges so it can self-seal.
- Fold the dough into thirds (a letter fold), and then in half (folding top to bottom rather than side to side) to end up with a little packet ready for rolling.
NOTE: One of the enemies of lamination is air pockets, so rather than just plopping one side over, fold as if you’re applying a decal or sticker to a window, slowly pressing from one edge to the other.
That will eliminate, or at least minimize, trapped air. And if you feel any pockets while rolling? Just pop them. All will be well.
Incorporating the Swirl into the Loaf
Once you have your packet of laminated, swirled dough, it’s time for the second lamination.
This step integrates the swirl into the loaf so the dough rises and slices as one, with an even texture and no gapping or—heaven forbid—unrolling.
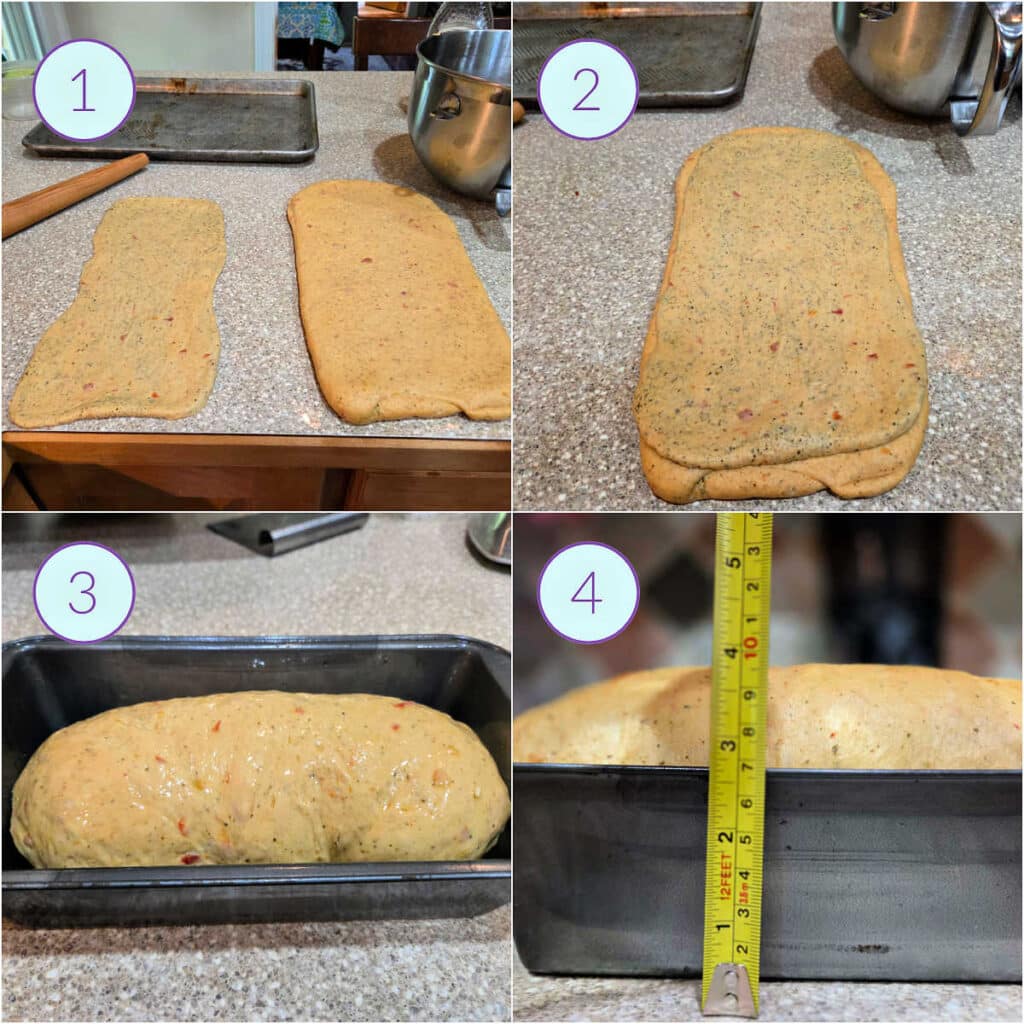
- Roll out both the packet of pesto dough and the main piece of dough. The main dough should measure about 7″ x 16-18″ and the pesto dough should measure about 6″ x 15-17″, or roughly 1″ smaller than the main dough.
You will probably have to let the dough rest at least once during this process. When the dough starts snapping back, listen to it. Cover with plastic wrap and let rest for 10 minutes and then keep going. - Place the pesto dough on top of the main dough, leaving about 1/2″ all around. Remember to press from one end to the other, slowly, like you’re applying a decal or sticker. Roll briefly to make sure they adhere.
- Roll up the dough snugly, and place in the pan…
- …allowing to rise, covered, until it crests about 1″ above the rim of the pan.
Jenni Says: Take care when rolling out the packet. It ends up fairly thin, so pay attention to any weak spots.
If you see pesto starting to gather toward one end, roll in the opposite direction to redistribute it.
The goal is to read this long, thin piece of dough and correct issues before any pesto decides to burst forth. I lifted the dough several times and rolled both toward myself and away, depending on what the pesto seemed to need.
What Dough to Use
I developed this swirl specifically for my sun-dried tomato pesto sandwich bread, and it works beautifully. It provides the right sized loaf, dough strength and, most importantly, a 12/10 flavor pairing.
Start there, and feel free to do your own experiments using this method to incorporate a pesto swirl into any sandwich loaf recipe you like.
But Does It Really Work?
In a word: yes. Yes, it works.
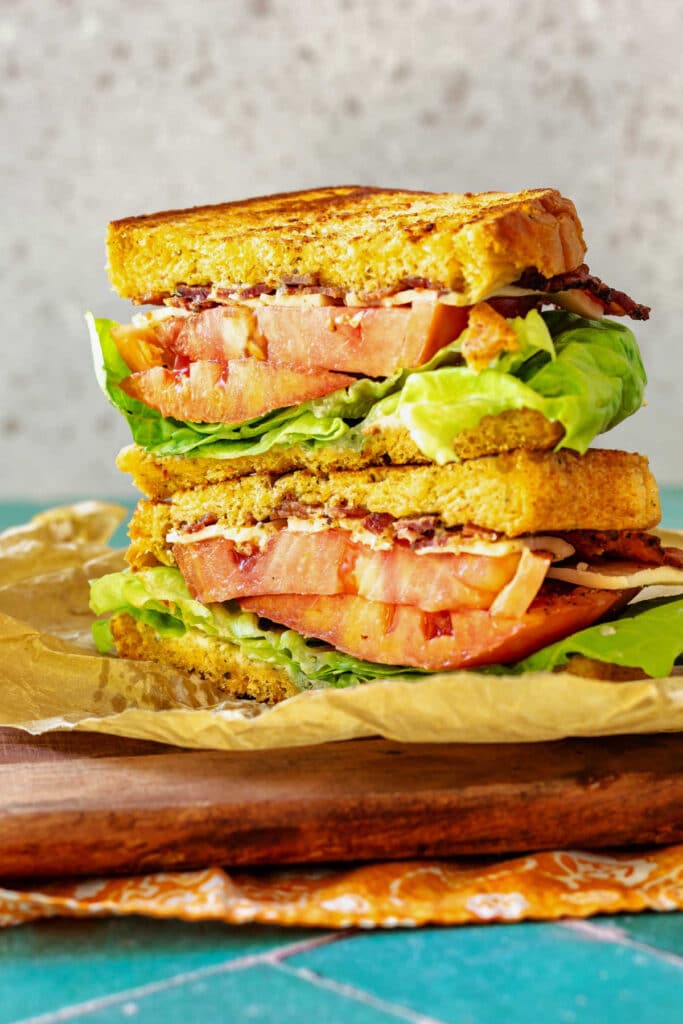
But even I didn’t want to take my own word for it, so I dutifully put it through its paces with both a stacked-high BLT with Havarti and a griddled grilled cheese.
And I am here to tell you: this bread can handle slicing, stacking, grilling, smashing, cutting, and more.
I tested thoroughly. For science.

So dive in with confidence, y’all. I think you’ll be so happy.
Questions?
If you have any questions about this post or recipe, I am happy to help.
Simply leave a comment here and I will get back to you soon. I also invite you to ask questions in my Facebook group, Fearless Kitchen Fun.
If your question is more pressing, please feel free to email me. I should be back in touch ASAP, as long as I’m not asleep.
A Note About Measurements
My recipes are almost all written by weight, including liquids, unless otherwise specified.
For accuracy and consistency of results, I encourage you to buy–and use–a kitchen scale.
I promise that baking and cleanup will be so much quicker and easier.
This is the scale that I recommend for home use. I have owned and used one for years.
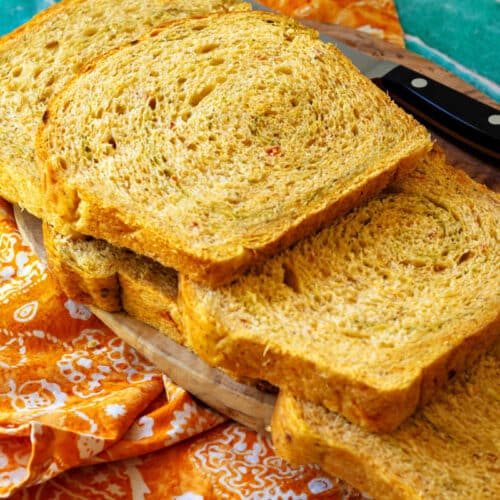
Lemony Pesto Swirl for Sandwich Bread
Ingredients
- 35 grams prepared pesto, drained for 5 minutes reserve the drained oil, store bought works perfectly here. I used Alessi.
- 12 grams bread flour
- 6 grams Microplaned Parmesan cheese
- ½ teaspoon lemon zest from about 1/2 medium lemon.
- 1 recipe sun-dried tomato pesto sandwich bread recipe here
Instructions
- Mix the drained pesto, bread flour, Parmesan, and lemon zest together.
- Cut a 250 gram piece from your main dough. This is your lamination dough.
- From that piece, cut a 25 gram piece and add it to the pesto mixture.
- Knead and smush together thoroughly until no separate bits of dough remain. You want a completely homogeneous paste.
- Test spreadability on a clean counter. If too stiff, knead in a little reserved pesto oil. You’re aiming for a spreadable but not oily paste.
- Pat out the remaining main dough and fold lengthwise into thirds. Roll into a 7" x 18" rectangle. Cover loosely with plastic wrap.
- Roll the remaining lamination dough (now 225 grams) into a rough rectangle about 12" x 8". It will be fairly thin.
- Evenly distribute little blobs of your pesto filling over the dough. Spread with an offset spatula, leaving a 1/2-inch border all around.
- Fold into thirds like a letter, easing each section down gradually to minimize trapped air. Think applying a decal, not slapping on a sticker.
- Fold from top to bottom into an approximately 4" square packet.
- Roll this packet into a 6" x 17" rectangle. Work in stages, covering and resting the dough for a few minutes anytime it springs back.
- Place the laminated rectangle on top of the main dough rectangle, leaving about a 1/2-inch border around the edges. Ease it down from one end to the other to prevent air pockets.
- Roll lightly to help the layers adhere. Pop any trapped bubbles with a pin or skewer.
- Roll the dough up snugly, place seam-side-down in a 9" x 5" pan, and oil the top.
- Finish the second rise and baking according to the main recipe.
Did You Make Any Changes?
Nutrition
Would you like to save this post?
Love This Swirl? Please Rate, Comment, and Share
It helps me and other readers so much if you take a moment to rate and review this recipe.
Your star rating and comments help others decide whether the recipe is worth making, and your feedback helps me continue improving recipes here at Pastry Chef Online.
Other lovely ways to share include pinning or posting on your favorite social media platform.
Thank you so much for taking the time!

And there you have it. What are you waiting for? Go make you some pesto-swirled bread at your earliest convenience!

Hi, y’all! I hope you’ve enjoyed this post and hopefully also learned a thing or two.
If you like my style, I invite you to sign up for my occasional newsletter, The Inbox Pastry Chef.
Expect updates on new and tasty recipes as well as a bit of behind-the-scenes action. I hope to see you there!


Join in Today!